 bluename
How to Speed Up Nepenthes Propagation for US Spring Planting: A Grower's Proven Guide
I've been fascinated by Nepenthes, the tropical pitcher plants, for years. There's something magical about watching those intricate pitchers form. But if you're like me, you've probably felt the frustration of slow propagation. Waiting months for a cutting to root, only to have it fail as the ideal US spring planting window slips by, is a common heartbreak. This guide is born from that exact pain point. After numerous trials and a dedicated two-week experiment this past season, I've refined a method to significantly accelerate the propagation timeline. My goal is to help you get robust, rooted Nepenthes cuttings ready just in time for their prime spring growth spurt.
Understanding the Spring Advantage
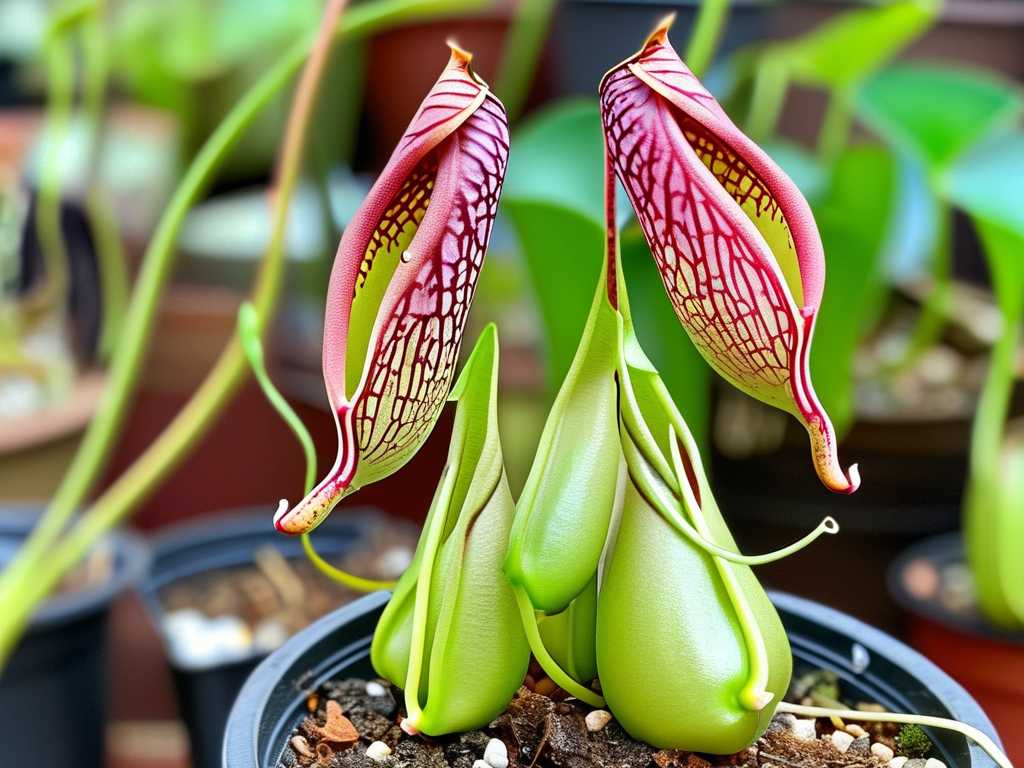
Spring in most of the US offers a perfect synergy of increasing light levels and warming temperatures. For Nepenthes, this signals the start of their active growing season. Propagating now means your new plants hit their stride with nature's momentum, leading to faster establishment and healthier pitchers. The core challenge we're tackling is shortening the initial, vulnerable rooting phase.
My Two-Week Speed Propagation Protocol
This isn't just theory; it's a process I followed meticulously, observing changes almost daily.
Gearing Up: The Right Tools for the Job
Success starts with preparation. I use a sharp, sterile razor blade—alcohol-wiped—for a clean cut. My rooting medium of choice is long-fiber sphagnum moss, rehydrated with distilled water. For the environment, a clear propagation box with a vented lid is non-negotiable. It creates a miniature humid greenhouse. I also keep a spray bottle of distilled water and a quality rooting hormone containing Indole-3-butyric acid (IBA) on hand.
Step 1: Selecting and Taking the Perfect Cutting
I look for a healthy, vigorous vine section with at least three nodes. The stem should be firm, not woody. Using my sterile blade, I make a clean, angled cut about a quarter-inch below a node. This is where root growth will be most concentrated. I immediately remove the lowest leaf near the cut to expose the node and reduce moisture loss. A critical step I learned the hard way: I let the cut end callus for about an hour in a shaded, dry place. One early attempt where I skipped this led to stem rot within days.
Step 2: Hormone Application and Planting
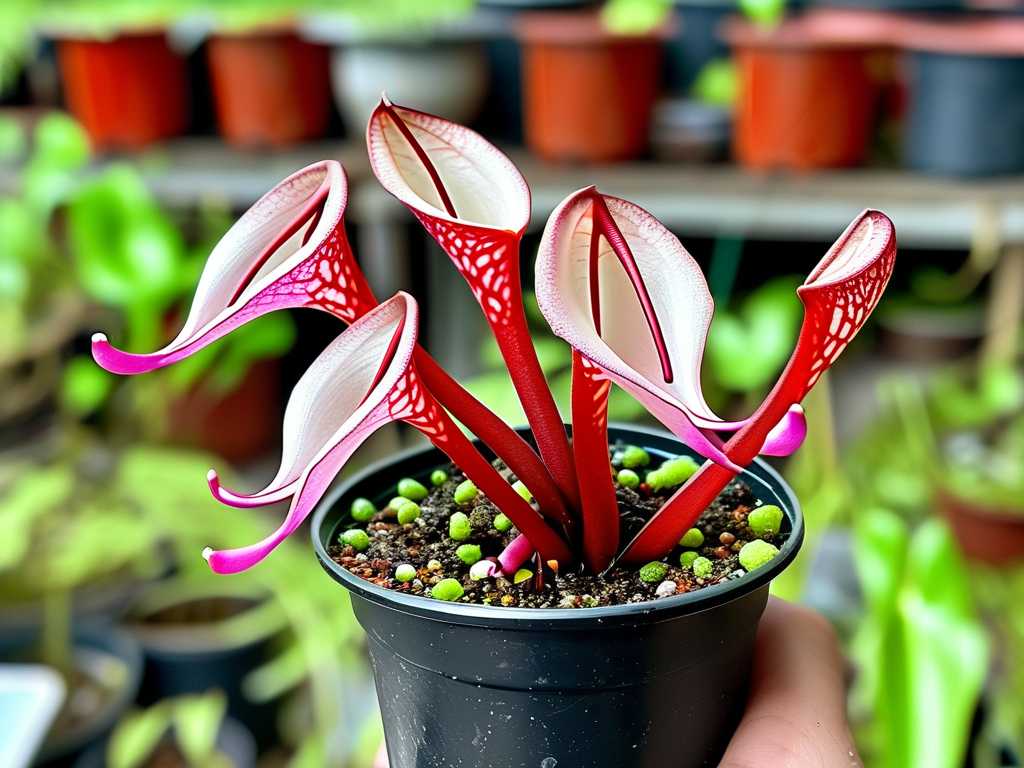
Once callused, I dip the cut end and the exposed node into the rooting hormone powder, tapping off the excess. I then create a small hole in the pre-moistened sphagnum moss in my propagation box and insert the cutting, gently firming the moss around it. The remaining leaves must not touch the moss directly to prevent decay.
Step 3: Creating the Ideal Microclimate
This is the accelerator. I place the planted cutting in the box, mist the interior lightly, and close the lid. The box goes under bright, indirect light—a grow light set to a 14-hour cycle works perfectly. I maintain a temperature between 75-80°F (24-27°C), using a heat mat underneath the box for consistency. The sealed environment keeps humidity near 90-100%, drastically reducing water stress on the cutting.
My Two-Week Observation Log and Pitfalls Solved
- Days 1-3: The cutting looks unchanged, which is good. No wilting. I check for condensation on the box daily—it's my humidity gauge.
- Days 4-7: I notice the growth tip, which had paused, is now visibly greener and slightly more plump. This is the first sign the cutting is no longer in survival mode but is actively engaging with its environment. I open the vent for 15 minutes daily for fresh air exchange, a step recommended by the Carnivorous Plant Society to prevent fungal issues.
- Days 8-10: A potential disaster struck. I saw a faint white fuzz on a leaf edge—the start of mold. This is a common pitfall in high humidity. I immediately removed the affected leaf with sterilized tweezers, increased airing to twice daily, and lightly sprayed the area with a diluted cinnamon water solution (a natural fungicide). The problem was contained.
- Days 11-14: The most exciting development. While I never disturb the cutting to check for roots, the top growth is undeniable. A new, tiny tendril has begun to extend from the growing tip. According to expert growers like those at the International Carnivorous Plant Society, top growth is a reliable indicator that root initiation has successfully occurred beneath the surface. The plant is allocating energy upward because it has established a foundation below.
Transitioning for Spring Planting
After this two-week intensive care, the cutting is actively growing but not fully rooted. The next phase is acclimation. Over the next 7-10 days, I gradually increase the venting time on the box until the lid is mostly off. This "hardens off" the plant to lower ambient humidity. Once I see significant new leaf development (usually around week 4-5 post-cutting), I can carefully pot it into its permanent Nepenthes mix, just as outdoor spring conditions stabilize. It will be perfectly synced to explode with growth.
Why This Method Works: The Science of Speed
The combination of factors creates an ideal rooting environment. The high humidity minimizes transpiration, allowing the cutting to focus energy on root production rather than water retention. Consistent warmth accelerates metabolic processes. The rooting hormone, as studies cited by the American Society for Horticultural Science note, stimulates rapid cell differentiation at the wound site. The sterile medium and clean tools prevent pathogens from derailing the process. It's a holistic system that addresses every need of the cutting.
Essential Care During the Speedy Rooting Phase
Light is crucial but must be indirect. Direct sun will cook the cutting in the sealed box. I use a T5 fluorescent or low-intensity LED setup. Watering is simple: I only re-mist the moss if it shows signs of drying on the surface, and I always use distilled or rainwater to avoid mineral burn. Patience, supported by daily brief checks for mold or distress, is your final tool.
Common Questions from Fellow Growers
Can I use water propagation to speed things up? I've tried it. While some species may root in water, the transition to soil later is often problematic and can lead to shock. The sphagnum moss method provides a more natural medium, resulting in roots adapted to a solid environment and a smoother transition to potting mix, ultimately saving time.
My cutting has produced a small pitcher. Is that a good sign? It's a fascinating sign of health, but I recommend pinching it off. The plant is expending tremendous energy to create that complex structure. During propagation, we want all resources directed toward root and leaf growth. Removing the pitcher allows for faster root establishment.
What if I see no growth after three weeks? Don't panic. Gently tug on the cutting. If there's resistance, roots are likely forming. Ensure your temperatures are warm enough—cold is a major slowdown. If the stem is still firm and green, give it more time. If it's soft or black, the cutting may have failed, often due to unseen rot or an unclean cut, and it's best to start anew.
Successfully speeding up Nepenthes propagation hinges on controlling the microenvironment with precision. By providing unwavering warmth, high humidity, and cleanliness, you effectively convince the cutting it's in an ideal tropical climate, prompting it to root with urgency. My two-week experiment showed that visible top growth—a new tendril—is a clear milestone indicating the rooting process is well underway beneath the surface. This method doesn't just create cuttings; it creates vigorous starters primed to take full advantage of the US spring planting season. With these steps, you can move from hopeful waiting to the confident anticipation of a thriving new pitcher plant.





