 bluename
How to Propagate Nepenthes in USDA Zone 7 This Spring: A Grower’s Step-by-Step Diary
If you’re a fellow carnivorous plant enthusiast living in USDA Zone 7, you’ve probably felt that familiar pang of hesitation. You adore your tropical pitcher plants (Nepenthes), but the idea of propagating them in our climate—with its late frosts and variable spring weather—seems daunting. I was right there with you. The fear of losing precious cuttings to rot or cold kept me from trying for years. But this spring, I decided to turn my sunniest windowsill into a propagation laboratory. What followed was a two-week journey of intense observation, a few heart-stopping mistakes, and ultimately, the incredible reward of seeing tiny roots emerge. Let me walk you through exactly how I successfully propagated my Nepenthes ventrata and sanguinea this season, tailoring every step for our Zone 7 spring conditions.
Understanding the Zone 7 Spring Challenge for Nepenthes
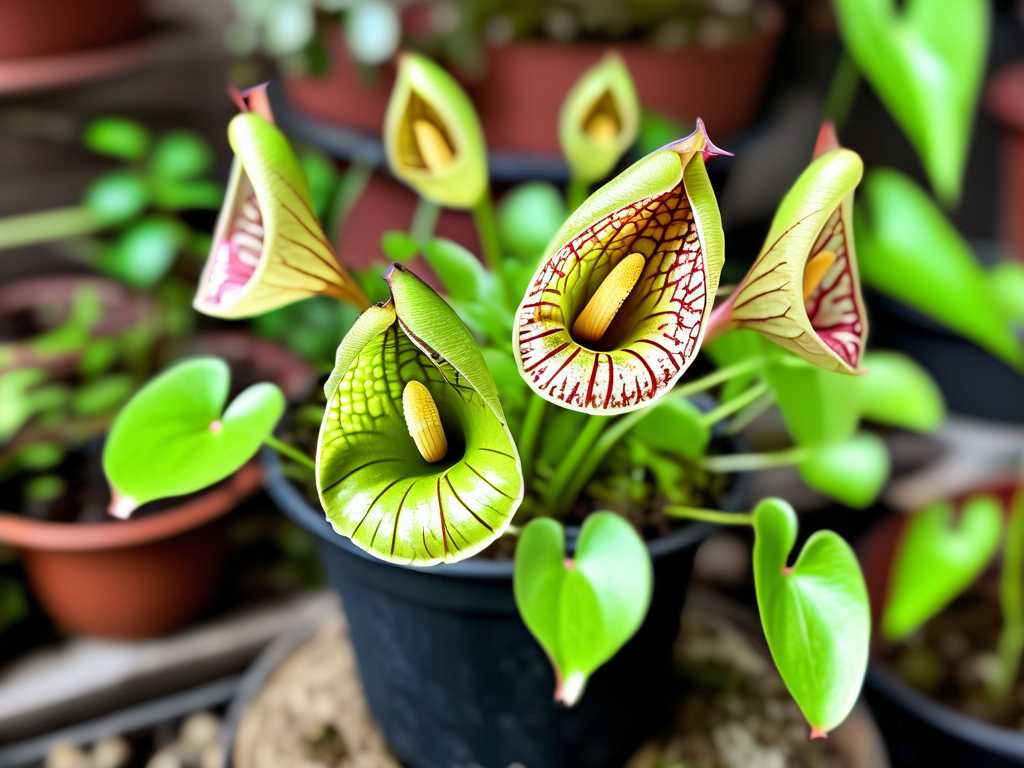
Before we make the first cut, it’s crucial to acknowledge our environment. According to the American Horticultural Society (AHS), Zone 7 springs are characterized by an average last frost date between late March and mid-April, but weather can be wildly unpredictable. Nepenthes, being tropical plants, demand consistent warmth and high humidity to root successfully—conditions our outdoor spring cannot reliably provide. Therefore, indoor propagation is not just recommended; it’s essential. The Royal Horticultural Society (RHS) emphasizes that bottom heat and a humid microenvironment are the most critical factors for rooting tropical plant cuttings. This became the cornerstone of my approach.
My Propagation Toolkit: Gear Tailored for Indoor Success
I gathered my materials with a focus on creating a stable, warm, and humid microclimate. Here’s what I used:
- Sharp, Sterile Blade: A fresh razor blade disinfected with isopropyl alcohol. Clean cuts prevent crushing stems and introduce fewer pathogens.
- Rooting Hormone: I used a gel containing Indole-3-butyric acid (IBA). The gel formulation clings better than powder, especially since I was working with stem cuttings that have a wet surface.
- Sphagnum Moss: Long-fibered, high-quality moss. I soaked it in distilled water until it was thoroughly moist but not waterlogged.
- Propagation Chambers: Clear plastic containers with lids. These are perfect mini-greenhouses.
- Heating Mat: This was my non-negotiable item for Zone 7. An adjustable seedling heat mat set to a constant 75°F (24°C) to counteract our still-cool indoor nights.
- Light Source: A bright, east-facing windowsill supplemented with a basic LED grow light for 14 hours a day to compensate for cloudy spring days.
- Potting Mix: My final mix was 50% long-fiber sphagnum moss and 50% perlite for perfect aeration and moisture retention.
The Step-by-Step Process: A Diary of Two Weeks
Selecting and Taking the Cuttings I chose vigorous, healthy vines from the top of my plants. The goal was a cutting with at least three nodes (the small bumps where leaves emerge). Using my sterile blade, I made a clean, angled cut about a quarter-inch below the bottom node. This angled cut increases the surface area for rooting. Immediately, I trimmed the lowest leaf away to expose the node—this is where roots will form. The remaining leaves I trimmed by half to reduce water loss through transpiration, a critical step often overlooked.
Applying Hormone and Potting With the cutting prepared, I dipped the bottom inch, including the exposed node, into the rooting hormone gel, ensuring good coverage. I then made a small hole in my pre-moistened sphagnum moss (in the propagation cup) and gently inserted the cutting. I firmed the moss around it so it stood upright. No soil at this stage—just pure moss in a small cup with drainage holes, which was then placed into the sealed, clear container.
Creating the Perfect Microclimate This is where Zone 7 strategy came into play. I placed the sealed propagation box directly onto the heating mat. The mat’s steady warmth kept the rooting zone temperature ideal, even when our indoor ambient temperature dipped to 68°F (20°C) at night. I positioned the setup about 8 inches below the LED light. The container lid kept humidity near 95-100%, visible by the constant condensation on the walls. I opened it for 30 seconds every other day for fresh air exchange to prevent fungal issues.
The Critical Two-Week Observation Period
- Days 1-4: The cuttings looked unchanged, which I took as a good sign. No wilting meant the humidity was doing its job. The condensation cycle was my daily indicator.
- Days 5-7: Here, I encountered my first major pitfall. I noticed a faint white fuzz on the stem of one cutting. Panic! It was the beginning of fungal growth, likely because my moss was too wet and my air exchange insufficient. My solution: I immediately unsealed the box. I carefully removed the affected cutting, rinsed the stem with distilled water, applied a mild fungicide (a diluted copper-based one), and re-potted it in fresh, slightly less soggy moss. For all cuttings, I increased air exchange to 1-2 minutes daily. This quick action saved the cutting.
- Days 8-12: Recovery mode. The treated cutting stabilized. The others continued to look healthy. The most exciting moment came on Day 10 when I gave a very gentle tug on my Nepenthes sanguinea cutting and felt slight resistance. I resisted the urge to dig and look—patience is key!
- Days 13-14: Success! Through the clear cup, I could see tiny, bright white root tips pushing through the moss near the base of several cuttings. The root development was unmistakable. The heating mat had done its job, providing the consistent bottom heat the RHS advocates for.
Transitioning to Permanent Pots Once I saw a network of roots about half an inch long (after about 4 weeks total), I began the acclimation process. I first opened the propagation box lid for progressively longer periods over 3 days to lower the humidity. Then, I potted each rooted cutting into my final 50:50 sphagnum-perlite mix in small, permanent pots. I kept them on the heating mat and under the grow light for another week before gradually moving them to their final growing location.
Key Takeaways for Propagating Pitcher Plants in a Cool Climate
My journey underscored that successful Nepenthes propagation in Zone 7 hinges on controlling the environment. The heating mat was the MVP, effectively creating a tropical root zone on my temperate-spring windowsill. Monitoring humidity and preventing fungal growth through careful watering and air exchange is a daily necessity. You cannot set it and forget it.
Frequently Asked Questions
When is the absolute best time to start propagating Nepenthes in Zone 7? I’ve found mid to late April to be ideal indoors. This ensures that by the time your cuttings are rooted and acclimated (5-6 weeks later), our outdoor nighttime temperatures are consistently above 50°F (10°C), allowing for safer transition if you choose to move them to a sheltered patio for summer.
Can I use water propagation for Nepenthes cuttings? You can, but I don’t recommend it for our climate context. While some have success, transferring water roots to soil can be tricky, and the risk of rot is higher. The sphagnum moss method provides a more natural and stable medium, especially when paired with bottom heat, leading to stronger roots adapted to their final growing medium.
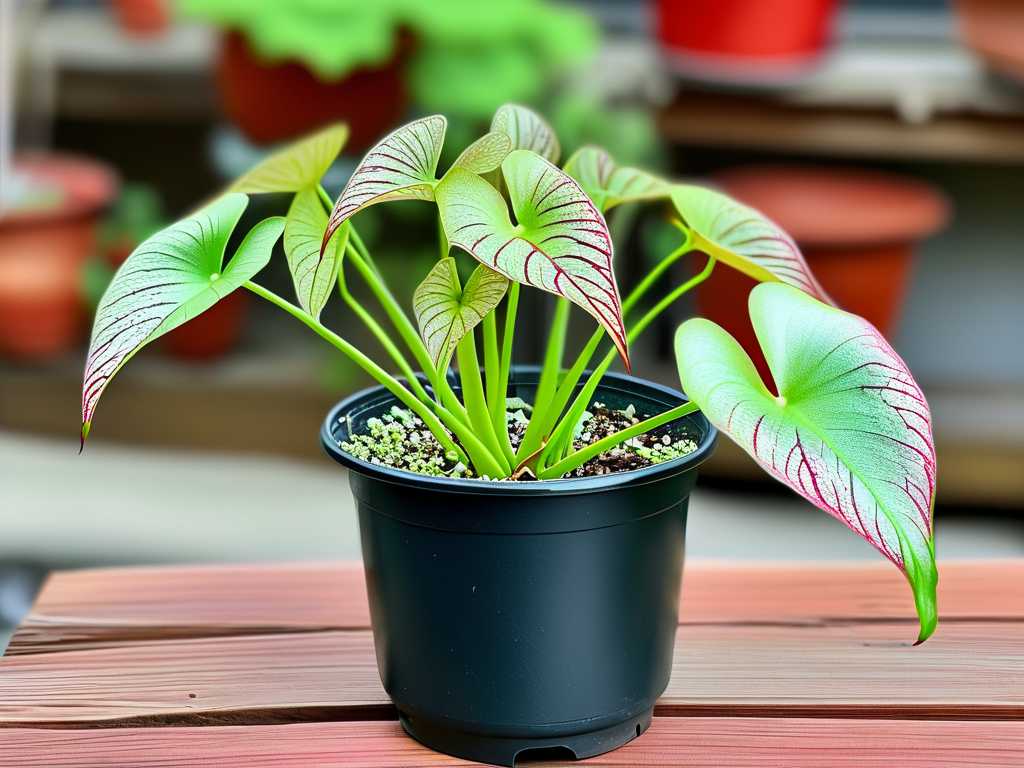
My cutting has a growth point but no pitchers. Is this normal? Absolutely, and it’s very common. The plant is prioritizing root and leaf growth to establish itself. Pitcher production requires significant energy and stable, high humidity. Don’t worry if you don’t see new pitchers for several months. Focus on the health of the leaves and roots—the pitchers will follow once the plant is fully settled and thriving.
Propagating Nepenthes in Zone 7 is deeply rewarding because it defies the climatic odds. It requires attention to detail—sterile tools, consistent warmth, and vigilant humidity management. By learning from my misstep with over-wet media and trusting in the science of bottom heat, you can transform a single vine into multiple thriving plants. This spring, embrace the experiment. Gather your materials, set up your warm, bright station, and take that first cut. The sight of those first tiny white roots pushing through the moss is a victory you’ll remember every time you look at your expanding collection.





