 bluename
How to Propagate Nepenthes from Stem Cuttings: A Step-by-Step Guide for US Gardeners
I remember staring at my prized Nepenthes, its vine stretching awkwardly across the windowsill. I wanted more of these fascinating pitcher plants but balked at the price of new specimens. That’s when I decided to master how to propagate Nepenthes from stem cuttings. If you’ve ever felt that same mix of desire and hesitation, wondering if you can successfully clone these exotic carnivores at home, you’re in the right place. This guide is born from my own trials, errors, and ultimate successes in my US-based garden. I’ll walk you through the exact process I used, including the mistakes I made and how I fixed them, so you can confidently multiply your collection.
Why Stem Cuttings Are the Best Method for Home Propagators
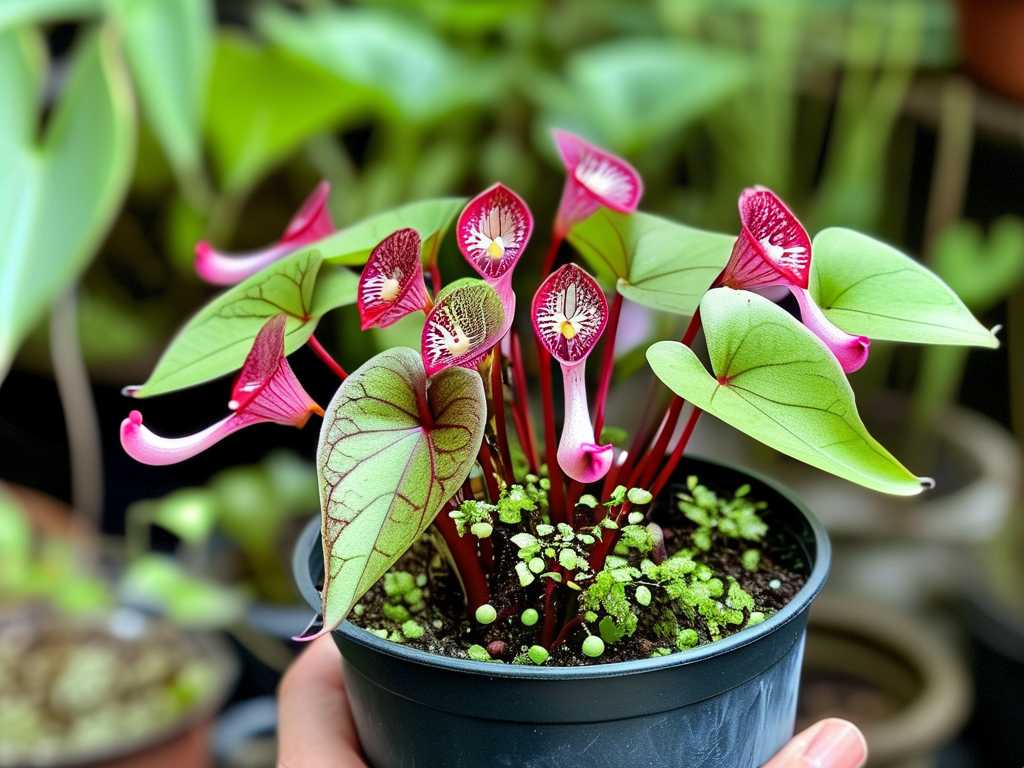
While Nepenthes can be grown from seed or tissue culture, taking Nepenthes cuttings offers the most practical route for enthusiasts. It’s faster than seeds, which can take years to mature, and far less technical than lab work. For popular varieties like Nepenthes ventrata or alata commonly found in US garden centers, stem propagation is remarkably effective. It allows you to create genetically identical copies of a healthy parent plant, ensuring you get the same beautiful pitcher forms. According to guidelines from botanical societies like the International Carnivorous Plant Society (ICPS), vegetative propagation is the recommended method for preserving the specific traits of a cultivated hybrid or species.
Gathering Your Supplies: A US Gardener’s Toolkit
Success starts with the right tools. Here’s what I gathered, most of which I found at local hardware stores or online:
- Sharp, Sterilized Pruners or Razor Blade: Clean cuts are crucial. I wipe mine with isopropyl alcohol.
- Rooting Hormone: I use a powder containing Indole-3-butyric acid (IBA). Brands like Garden Safe or Bonide are widely available.
- Sphagnum Moss (Long-Fibered): My preferred medium. I soak it in distilled water until it’s moist but not dripping.
- Small Pots with Drainage: 3-4 inch plastic nursery pots are perfect.
- Clear Plastic Bags or Domes: For creating a humid microenvironment.
- Distilled Water or Rainwater: Nepenthes are sensitive to minerals in tap water.
- A Bright, Warm Spot: Indirect light is key. No direct sun, which will cook your cuttings.
My Step-by-Step Process for Propagating Nepenthes
Selecting and Taking the Perfect Cutting The first pitfall is choosing the wrong stem. I look for a healthy, vigorous vine section with at least 2-3 nodes (the little bumps where leaves emerge). The stem should be firm, not woody or too green and succulent. Using my sterilized blade, I make a clean, angled cut about 1/4 inch below a node. My cutting is usually 4-6 inches long. I immediately remove the lowest leaf or two to expose those nodes, as this is where roots will emerge.
Preparing and Planting the Cutting Here’s where I made my biggest mistake early on: not letting the cut end callous. I now lay the cutting on a paper towel for an hour or two to let the wound seal slightly. This helps prevent rot when it goes into the damp medium. Next, I dip the moistened cut end and nodes into the rooting hormone powder, tapping off the excess. I gently pack the pre-moistened sphagnum moss around the base of the cutting in a small pot, ensuring the exposed nodes are in contact with the moss. Firm it lightly.
Creating the Ideal Humid Environment Nepenthes cuttings need consistent humidity. I place the potted cutting inside a clear plastic bag or under a humidity dome. I don’t seal it completely; a slight opening allows for minimal air exchange. This “mini-greenhouse” goes in a warm location (70-80°F is ideal) with very bright, indirect light. An east-facing windowsill or under grow lights has worked well for me.
The Critical First Two Weeks: My Observation Diary This is the period that tests your patience. Here was my experience over a two-week observation period:
- Days 1-3: The cutting looked unchanged. The moss remained moist, and condensation formed on the bag. No signs of distress.
- Days 4-7: I noticed the remaining leaves stayed firm, a good sign. I opened the bag for 10 minutes every other day to prevent fungal stagnation.
- Days 8-10: The first potential crisis! The tip of one leaf on a cutting started to brown. I panicked, thinking it was rot. After consulting resources from experts like those at the Atlanta Botanical Garden’s Fuqua Conservatory, I realized it was likely the cutting reallocating energy. I carefully checked the stem base—it was still firm and green. I trimmed the brown tip and carried on.
- Days 11-14: No further browning. The most exciting moment came on day 14 when I gave the cutting a very gentle tug. There was the slightest resistance! This didn’t guarantee roots, but it hinted that something was anchoring it. I resisted the urge to dig and see.
Transitioning to Normal Growth After about 4-6 weeks, when I saw definite new leaf growth emerging from a node, I knew roots had likely formed. I began the “hardening off” process, gradually opening the humidity dome over a week to acclimate the new plant to lower ambient humidity. Finally, I treated it like a mature Nepenthes, watering with distilled water only when the moss surface felt slightly dry and providing bright, filtered light.
Troubleshooting Common Problems I Encountered
Cutting Rotting at the Base: This happened to me when I used old, decomposed sphagnum that stayed too wet. The solution was to start over with fresh, high-quality long-fibered sphagnum and ensure my cutting had calloused properly. Better drainage is key.
No Root Development After Weeks: Patience is part of growing pitcher plants from cuttings. Some species are slower than others. If after 8 weeks there’s no new growth but the cutting isn’t dead, it may still be working. Ensure consistent warmth—using a seedling heat mat set to low can stimulate root growth.
Mold or Fungus in the Humidity Dome: This is common. Increasing air circulation solved it for me. I made more holes in the bag or propped the dome open slightly more during my daily airing-out routine.
Frequently Asked Questions
What is the best time of year to take Nepenthes cuttings? I’ve had the most consistent success in late spring or early summer when the plant is in its active growth phase. The increased light and warmer temperatures naturally support root development.
Can I root a Nepenthes cutting in water? I’ve experimented with this, and while some tropical plants do well in water, Nepenthes stems are very prone to rot in standing water. The semi-aerobic environment of moist sphagnum moss is far more reliable and is the method recommended by most carnivorous plant nurseries.
How long before my new cutting will produce pitchers? Don’t be discouraged if your young plant only produces non-carnivorous leaves for a while. It needs to establish a robust root system first. Once it settles into growth, providing high humidity, bright light, and consistent moisture will encourage it to start producing pitchers on new vines, often within several months to a year.
Propagating Nepenthes from stem cuttings is a deeply rewarding skill. It transforms you from a passive collector into an active cultivator, deepening your connection to these incredible plants. By following these steps, learning from my missteps, and applying a dose of patience, you can successfully expand your own collection and share the wonder of pitcher plants with fellow gardeners. The moment you see that first new leaf unfurl on a plant you created yourself makes every bit of the effort worthwhile.





