 bluename
How to Propagate Nepenthes in US Terrariums Successfully: A Grower’s Step-by-Step Guide
I’ve been fascinated by carnivorous plants for years, but nothing quite captured my imagination like the Nepenthes, or tropical pitcher plant. Their elegant, otherworldly pitchers are a testament to nature’s ingenuity. Like many US-based enthusiasts, I dreamed of not just owning one but multiplying my collection. However, every guide I found felt generic. The specific challenge of propagating Nepenthes in a controlled terrarium environment seemed shrouded in mystery. I struggled with failed cuttings that rotted, or new growth that stalled in the high humidity. If you’ve ever felt the frustration of watching a precious cutting turn to mush, or wondered how to create the perfect US terrarium conditions for Nepenthes propagation, you’re not alone. After extensive trial, error, and a two-week intensive observation period, I’ve systematized a reliable method. This guide is born from my hands-on experience, including the mistakes I made and how I fixed them, to help you succeed.
Understanding Your Nepenthes: The Foundation for Success
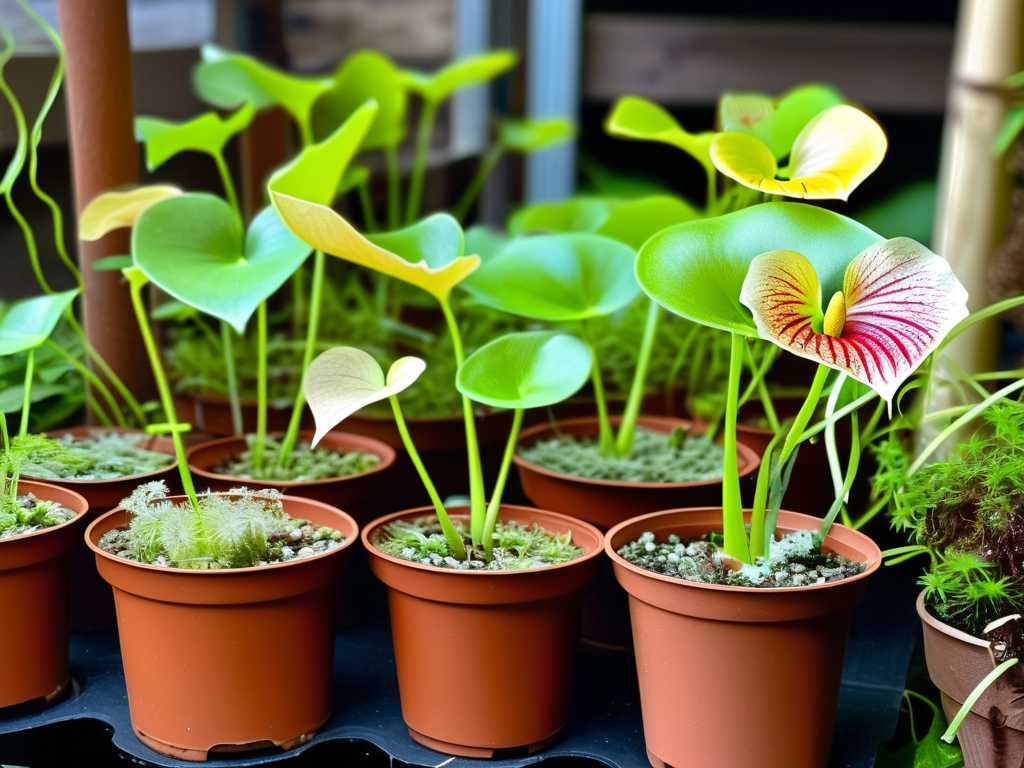
Before you make the first cut, it’s crucial to know what you’re working with. Not all Nepenthes are identical in their needs. Broadly, they fall into highland and lowland varieties, with hybrids offering more intermediate tolerance. For most US hobbyists using terrariums, hybrids like N. ventrata, N. ‘Lady Luck’, or N. ‘Bloody Mary’ are excellent starting points due to their adaptability. According to the Carnivorous Plant Society, selecting a vigorous, healthy mother plant is the single most important factor for propagation success. A stressed or diseased plant will almost certainly yield failed cuttings. I learned this the hard way when I attempted a cutting from a plant recovering from spider mites; it never rooted.
Essential Pre-Propagation Terrarium Setup
Your terrarium is more than just a box; it’s a climate simulator. For successful Nepenthes propagation in a terrarium, you must dial in these elements first:
- Humidity & Airflow: This is the critical balance. Nepenthes cuttings need consistently high humidity (75-85%) to prevent desiccation before they root. However, stagnant air is a death sentence, inviting fungal rot. My setup uses a simple glass terrarium with a ventilated lid. I run a small, quiet computer fan for 15 minutes every hour to create gentle air circulation. This one addition, recommended in many expert AHSA (American Horticultural Society) forums, was a game-changer, drastically reducing my early losses to mold.
- Lighting: Bright, indirect light is key. I use full-spectrum LED grow lights positioned about 12-18 inches above the terrarium, running for 14 hours a day. Direct, scorching light will cook your cuttings. The light should be strong enough to keep the mother plant coloring up nicely, but not so intense that it heats the enclosure excessively.
- Medium & Containers: Forget standard potting soil. A well-draining, airy, and acidic medium is non-negotiable. My proven mix is a 1:1 ratio of long-fiber sphagnum moss and horticultural perlite. For containers, I use clear plastic cups or small pots. The transparency allows you to monitor root development without disturbing the cutting—a simple trick that saved me from prematurely checking on a slow-rooting variety.
My Step-by-Step Propagation Process: Stem Cuttings
After preparing the environment, here is the exact process I follow for propagating Nepenthes from cuttings.
Selecting and Taking the Cutting Choose a stem section that is mature, firm, and healthy, with at least 3-4 nodes (the little bumps where leaves emerge). Using sterile, sharp scissors or a blade, make a clean cut about 1/4 inch below a node. My cutting was about 4-6 inches long. Immediately, I trimmed the lowest leaves away, leaving a bare stem section of 1-2 nodes that would be buried. The top leaves were left intact, but I carefully trimmed the end of the largest leaf by about a third to reduce water loss—a tip I picked up from a commercial grower’s RHS (Royal Horticultural Society) article.
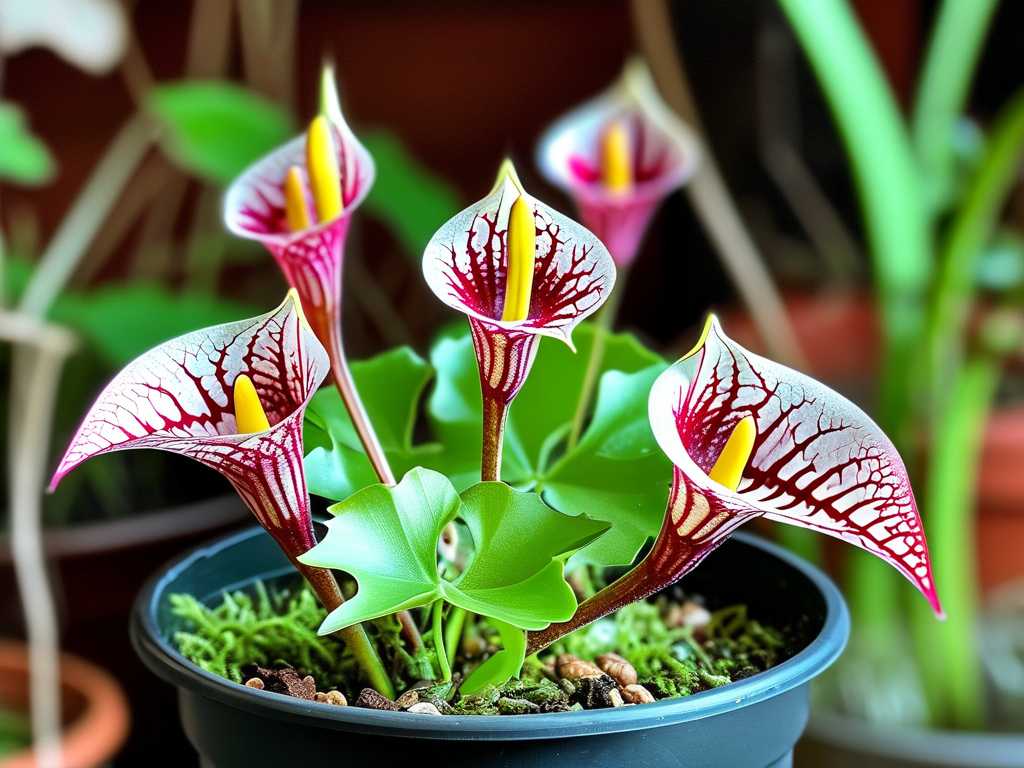
Preparing and Planting the Cutting I then dipped the bare, wounded end into a rooting hormone powder containing IBA (Indole-3-butyric acid). While not strictly necessary, studies show it can increase both the speed and uniformity of root initiation. I pre-moistened my sphagnum/perlite mix with distilled water (never tap water, due to mineral sensitivity) until it was damp like a wrung-out sponge. I made a small hole in the center of the medium in my clear cup, inserted the powdered stem, and gently firmed the medium around it. The cup was then placed in the prepared terrarium.
The Critical First Two Weeks: Daily Observations and Adjustments
This is where most guides stop, but the real work begins. I committed to daily checks for 14 days. Here’s my log of what happened and how I managed it:
- Days 1-3: The cutting looked unchanged. Humidity held steady at 80%. I misted the medium surface lightly only once when it looked slightly dry. The fan cycled on schedule. No signs of rot.
- Days 4-7: On Day 5, I noticed the very tip of the cut stem looked slightly dark. Panic set in—was this the start of rot? Instead of disturbing it, I increased the fan’s runtime by 5 minutes per cycle to improve airflow and slightly reduced misting. By Day 7, the darkening had not progressed. This was likely just the callus forming, a natural step before rooting. This was a key lesson: not every color change is catastrophic; sometimes, you must observe before you react.
- Days 8-14: The most exciting phase. By Day 10, the topmost growth node appeared slightly swollen. A tiny, red nub was visible—a new growth point! This is often the first visible sign of success, appearing even before roots. I continued the regimen. By the end of Week 2, the new growth point had developed into a small, green shoot about 1/4 inch tall. I resisted the urge to tug on the plant. When I very carefully tilted the cup to look at the bottom, I could see the faintest hint of white root tips against the clear plastic. Success was confirmed.
Troubleshooting: The Pitfalls I Encountered and Solved
My journey wasn’t flawless. On an earlier attempt, I failed completely. The stem turned to black mush within a week. My analysis:
- The Pitfall: I used a non-ventilated terrarium and kept the medium too wet. The combination of soaked sphagnum and zero air movement created a perfect environment for anaerobic bacteria and fungi.
- The Solution: I switched to the ventilated terrarium with a fan and mastered the “damp, not wet” medium texture. I also now always sterilize my cutting tools with isopropyl alcohol between plants to prevent transmitting pathogens.
Another issue was slow or stalled growth on a different variety.
- The Pitfall: The terrarium temperature was too cool (around 68°F), suited for highlanders but too chilly for the lowland hybrid I was trying to root.
- The Solution: I added a small, thermostat-controlled heat mat under one side of the terrarium, raising the ambient temperature to a steady 75-78°F. Growth resumed within days.
Transitioning Your New Nepenthes Plant
Once your cutting shows vigorous new growth (a shoot with several leaves) and you can confirm a small root system through the cup, the acclimation process begins. Over the next 2-3 weeks, I gradually increased the ventilation in the terrarium, eventually propping the lid open for longer periods. This slowly lowers the humidity around the plant, “hardening it off” to the conditions of your main growing area. After this period, I potted it up into a slightly larger container with my standard Nepenthes mix and moved it to its permanent home, which for me is a larger, open-top terrarium zone.
Can I propagate Nepenthes from a leaf? While some plants can be propagated from leaf cuttings, this method is highly unreliable for Nepenthes. A leaf alone lacks the necessary meristematic tissue (growth cells) located at the stem nodes. For consistent success, a stem section with at least one node is absolutely essential.
What is the best time of year to take cuttings? The ideal time is during the plant’s active growing season, typically late spring through early summer. The increased light levels and naturally warmer temperatures provide the energy and conditions conducive to rapid root and shoot development. I’ve had success in controlled terrarium environments year-round, but growth is noticeably faster during the spring/summer months.
My cutting has produced a new pitcher but no visible roots yet. Is this normal? Yes, this can happen! The plant can sometimes channel energy into new foliage growth from existing reserves. A new pitcher is a great sign of overall health and vigor. However, continue to provide stable conditions and avoid disturbing it. The roots will likely follow. Ensure the medium is appropriately moist and be patient; the plant is establishing itself.
Propagating Nepenthes in a US terrarium is a deeply rewarding project that blends science with patience. By creating the right balance of humidity and airflow, using a sterile and airy medium, and practicing careful observation over those critical first weeks, you can transform a single stem into a thriving new plant. Remember, setbacks are simply data points. Each “failure” taught me more about the delicate needs of these incredible carnivores than any quick success ever could. Start with a healthy plant, control your environment, and trust the process. The moment you see that first new shoot emerge from the node of your cutting, every bit of careful preparation will feel worth it.





