 bluename
How to Root Nepenthes Cuttings in US Perlite Mix Fast: My 2-Week Success Log
I’ve been there. You have a beautiful, mature Nepenthes vine you want to propagate, but the thought of the cuttings rotting in a standard peat mix or struggling with complex setups is daunting. The main pain point for many enthusiasts, myself included, is finding a method that balances high success rates with simplicity and speed. After trying various mediums, I discovered that rooting Nepenthes cuttings in US perlite mix offered a remarkably fast and reliable solution. In this guide, I’ll walk you through my exact, hands-on process, share the detailed observations from a two-week rooting period, and explain the mistakes I made along the way so you can avoid them.
Why I Chose a US Perlite Mix for Nepenthes Propagation
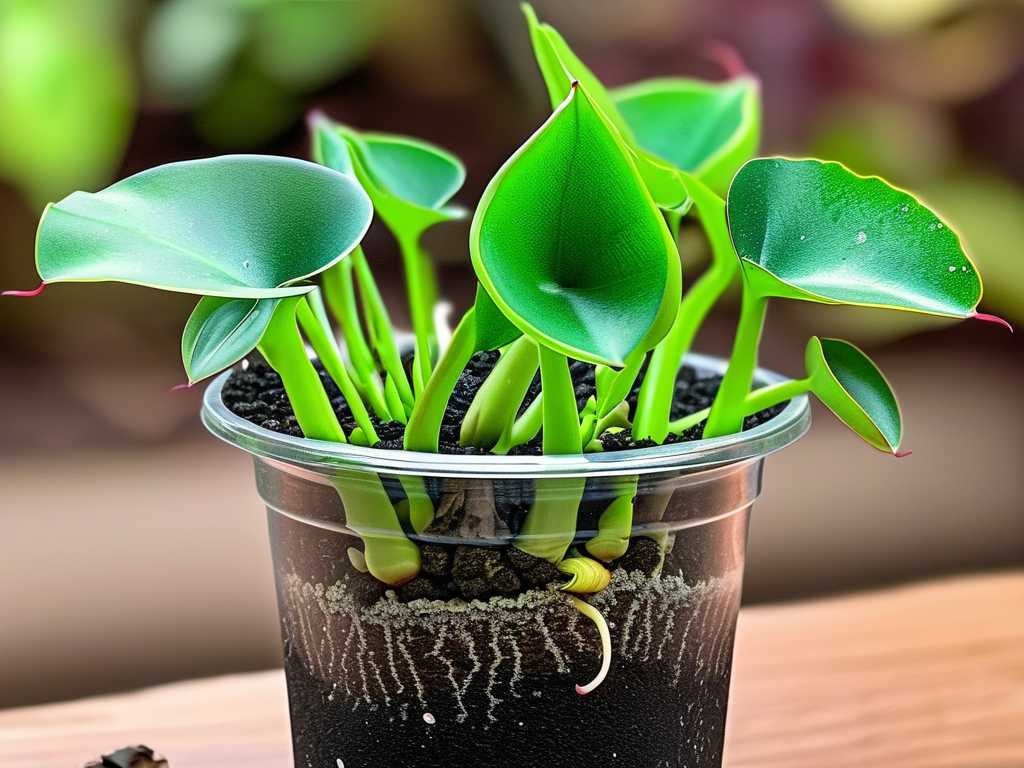
For years, I used sphagnum moss, which works but can be inconsistent. It sometimes stays too wet, leading to stem rot before roots ever form. I needed a more forgiving medium. After consulting resources from expert growers and societies like the Carnivorous Plant Society, the benefits of pure perlite, specifically a coarse horticultural grade from the US, became clear.
Perlite is sterile, which minimizes fungal threats. Its structure provides excellent aeration around the stem base, preventing the suffocation that causes rot. Most importantly, it holds just enough moisture to encourage root growth without waterlogging. This method is particularly effective for achieving fast Nepenthes propagation with less guesswork. I sourced a bag of coarse #3 horticultural perlite, a common US product, for my experiment.
My Step-by-Step Process for Rooting in Perlite
Gathering the right materials is half the battle. You’ll need sharp, sterilized pruning shears, a clear plastic container with a lid (a storage tub works perfectly), your coarse perlite, distilled or rainwater, and of course, your Nepenthes cuttings.
Preparing the Perfect Cutting
I selected a semi-hardwood stem section from my Nepenthes ventrata with three nodes. Using my sterilized shears, I made a clean, angled cut just below the bottom node. The angle increases the surface area for root formation. I removed the lowest leaves to expose the nodes, which is where roots will emerge. I left two or three leaves on the top to allow for photosynthesis. This is a critical step—too many leaves can dehydrate the cutting, too few and it can’t produce energy.
Setting Up the Propagation Chamber
I took my clear plastic tub and filled it with about 2-3 inches of dry perlite. Then, I slowly poured distilled water into one corner until the perlite was evenly dampened, but not sitting in free-standing water. You want it moist, like a wrung-out sponge. I then used a chopstick to make pre-holes for the cuttings. This prevents damaging the tender stem tissue when inserting them.
I placed my prepared cutting into a hole, gently firming the perlite around it for stability. I spaced multiple cuttings so their leaves didn’t touch. Finally, I placed the clear lid loosely on top to create a humid environment, essentially a mini-greenhouse. I placed the tub under bright, indirect LED grow lights—no direct sun, as it would cook the cuttings inside the closed container.
The Critical First 48 Hours and Initial Care
The first two days are about stabilization. I kept the chamber closed and the perlite consistently moist. I observed the leaves for any signs of wilting, which would indicate excessive stress. Thankfully, the high humidity inside the tub kept the cuttings turgid. I made sure the temperature stayed in a warm range, between 75-80°F (24-27°C), which I’ve found optimal for root initiation.
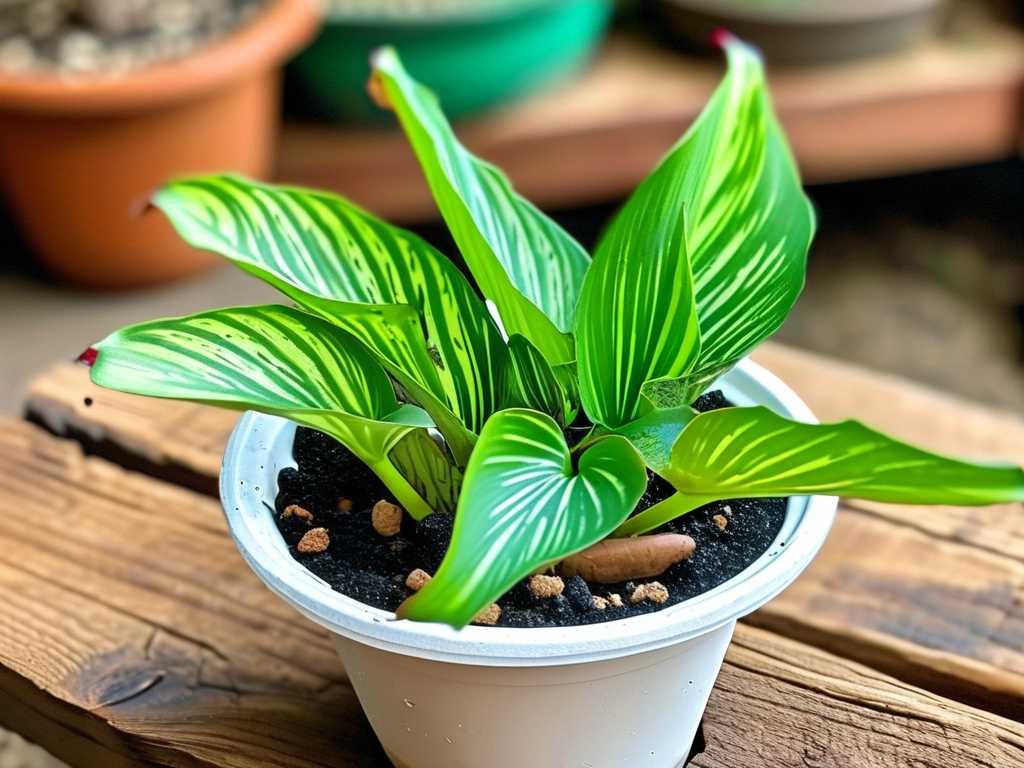
My 2-Week Observation Log: From Stem to Root
This is where the real story unfolded. I checked on the cuttings every other day, noting changes and adjusting care as needed.
- Days 1-4: No visible change. The stems looked green and healthy, and the leaves remained firm. The condensation on the lid confirmed humidity was high.
- Days 5-7: I noticed the very tip of the stem where I made the cut had callused over—a good first sign! This is the plant’s way of sealing the wound and is the precursor to root formation. No roots yet, but no rot either.
- Days 8-10: The moment of truth! On the morning of Day 9, I gently tugged on one cutting and felt slight resistance. Carefully brushing away a bit of perlite, I saw several tiny, white nubs emerging from the node buried in the mix. These were the first root initials. By Day 10, most cuttings showed this promising development.
- Days 11-14: Root growth exploded. The white nubs elongated into proper, fibrous roots that began to branch and explore the perlite medium. The existing leaves showed new, vibrant growth, a sure sign the cutting was successfully establishing itself. This rapid progress confirmed this was a quick method for Nepenthes cuttings.
The Pitfalls I Encountered and How I Fixed Them
My first attempt wasn’t flawless. I learned through trial and error.
Mistake 1: The Perlite Was Too Fine. Initially, I used a fine-grade perlite. It compacted more easily and retained too much water around the stem. By Day 5, one cutting showed a blackening stem. I immediately switched to coarse perlite for all future batches. The larger particles create more air pockets, solving the rot issue entirely.
Mistake 2: Over-Misting and Sealing the Lid Tight. In my enthusiasm, I misted the cuttings directly and kept the lid snapped shut. This created stagnant, super-saturated air and promoted algae growth on the perlite surface. The fix was simple: I stopped misting, relied on the moisture in the perlite itself, and simply rested the lid on top without sealing it, allowing for slight gas exchange. The algae subsided.
Mistake 3: Impatience with Checking for Roots. I used to dig up cuttings weekly, damaging delicate new roots. Now, I look for top-growth as the indicator. Once you see new leaves forming, roots are almost certainly present. A gentle tug for resistance is a safer check than excavation.
Transitioning Rooted Cuttings to Long-Term Mix
After the two-week mark, with a healthy network of roots about an inch long, the cuttings are ready to pot up. I prepared my standard Nepenthes mix (a blend of long-fiber sphagnum and perlite) and carefully lifted the rooted cutting from the propagation tub. I planted it, disturbing the new roots as little as possible, and kept it in higher humidity for another week as it acclimated to its new home. The transition was smooth because the root system established in perlite is robust and adapts well.
What is the ideal perlite size for Nepenthes cuttings? Coarse horticultural perlite (#3 or #4 grade) is ideal. Fine perlite compacts and retains too much moisture, increasing the risk of stem rot. The coarse grade provides the perfect balance of moisture retention and critical aeration around the stem.
Can I use tap water in the perlite propagation setup? It is strongly recommended to use distilled water, rainwater, or reverse osmosis water. Nepenthes are sensitive to dissolved minerals and salts found in tap water. These can build up in the inert perlite and potentially harm the delicate new root cells, slowing down or stunting growth.
How long should I keep the cuttings in the humid propagation box? Maintain high humidity until you see clear signs of new leaf growth, which typically indicates a functional root system. This usually takes 2-4 weeks. After potting them into their permanent medium, you can gradually reduce humidity over a week by increasing the ventilation, allowing the plant to adjust to normal room conditions.
Witnessing those first white roots emerge in just over a week was incredibly rewarding. The US perlite mix method provided the clear, low-risk environment my cuttings needed to thrive. By focusing on aeration, consistent moisture, and stable warmth, you can significantly speed up the propagation timeline. Remember to use coarse perlite, resist the urge to overwater, and let the plant’s growth be your guide. This straightforward approach has now become my default for cloning my favorite Nepenthes, turning a once-nerve-wracking process into a routine and successful part of my plant care.





