 bluename
How to Propagate Nepenthes in North American Greenhouses: A Grower’s Practical Guide
If you’re like me, a dedicated carnivorous plant enthusiast in North America, you’ve probably felt the sting of seeing a prized Nepenthes vine become leggy or, worse, suffer damage. The thought of propagating these exotic pitchers can be daunting. The high humidity needs, specific temperature ranges, and fear of losing a rare cultivar often hold us back. I’ve been there, staring at a beautiful Nepenthes and hesitating to make the cut. But after years of trial, error, and meticulous note-taking in my own greenhouse, I’ve refined methods that work consistently in our unique North American climates—from the dry winters of the Southwest to the cold snaps of the Northeast. This guide is born from my hands-on experience, including a recent two-week propagation marathon where I documented every success and setback.
My goal is to demystify the process. We’ll move beyond textbook theory into the practical, sometimes messy, reality of Nepenthes propagation in controlled environments. I’ll share the exact steps I use, the results I observed over a critical 14-day period, and the honest mistakes I’ve made so you can avoid them. Whether you’re aiming to expand your collection or save a cherished plant, this guide is for you.
Understanding Your Nepenthes: The First Step to Successful Propagation
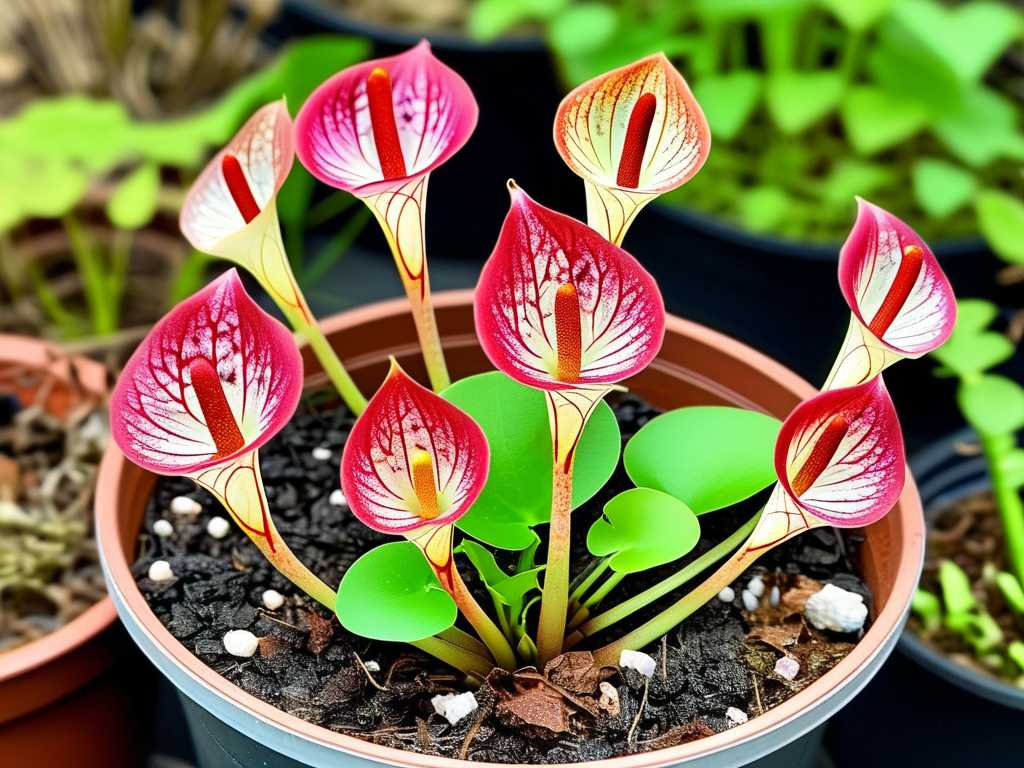
Before you reach for the pruning shears, it’s crucial to understand what you’re working with. Not all Nepenthes are created equal, and their propagation preferences can vary. Most species we cultivate fall into two broad categories: highland and lowland. Highland types, like N. rajah or N. ventricosa, thrive with cooler nights, while lowland varieties, such as N. ampullaria or N. bicalcarata, demand consistent warmth. This distinction is vital for greenhouse propagation of tropical pitcher plants, as it dictates where you place your cuttings or seedlings for optimal root development.
In my greenhouse, I maintain distinct zones. For this propagation project, I focused on a highland hybrid (N. x ‘Ventrata’) and an intermediate species (N. sanguinea). The Royal Horticultural Society (RHS) emphasizes the importance of mimicking a plant’s natural habitat as closely as possible for successful propagation. This doesn’t require a perfect replica, but being mindful of temperature swings in your greenhouse is key. The American Horticultural Society (AHS) also notes that stress from incorrect temperatures is a leading cause of cutting failure, even before fungal issues arise.
Method 1: Stem Cuttings – The Most Reliable Technique
This is my go-to method for cloning a specific plant. It’s efficient and preserves the exact characteristics of the mother plant.
Selecting and Preparing the Cutting
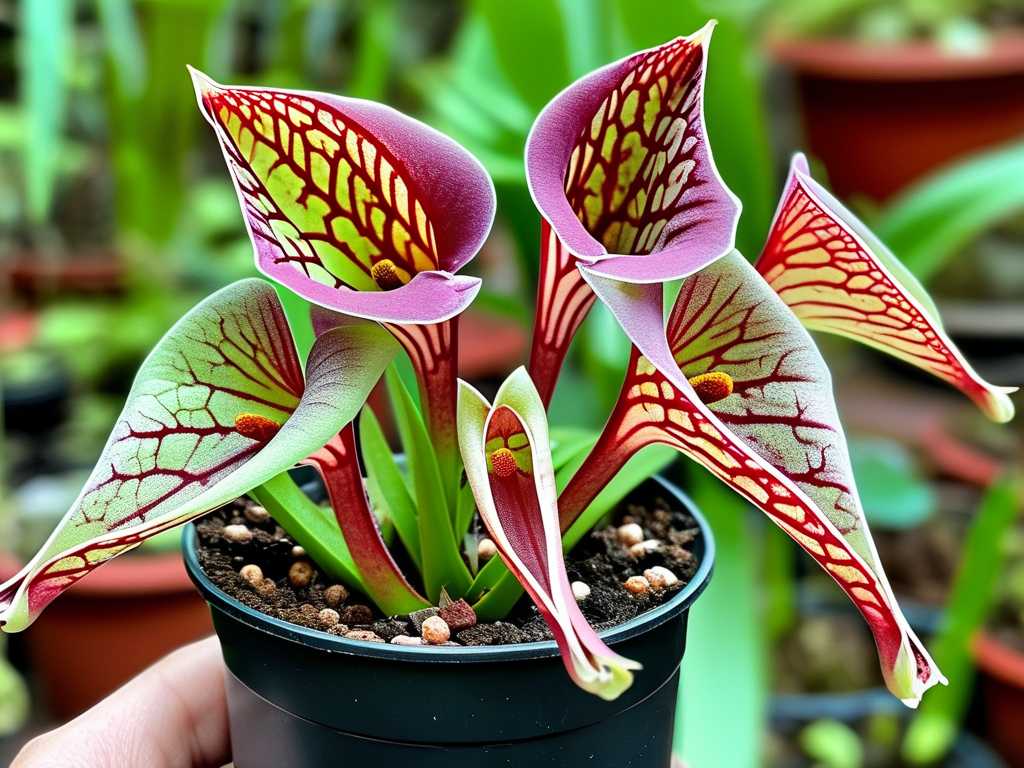
I always choose a healthy, vigorous vine with at least three growth nodes. A node is that slightly swollen ring on the stem where leaves and tendrils emerge. Using sterilized, razor-sharp scissors, I make a clean cut about 1/4 inch below a node. My cutting is typically 4-6 inches long, with 2-3 leaves. Here’s a critical step I learned the hard way: immediately trim each leaf on the cutting by half. This reduces water loss through transpiration, a major killer of unrooted cuttings. I once lost a precious N. maxima cutting because I left the full leaves on; it wilted irreversibly within days.
Rooting Medium and Environment
I’ve experimented with various media: long-fiber sphagnum moss, a 50/50 moss and perlite mix, and even sterile horticultural foam. For North American growers, I consistently get the best results with pre-moistened, high-quality sphagnum moss. It’s acidic, holds moisture well, and has natural antifungal properties. I fill small, clear plastic cups with drainage holes punched in the bottom, nest the cutting’s bare stem (with the node buried), and gently firm the moss around it.
The environment is everything. The cutting goes into my high-humidity zone—a propagation tray with a clear dome, placed on a heated mat set to a steady 75°F (24°C). The dome maintains humidity near 90%. Light is bright but indirect; direct sun will cook the cutting inside the dome.
The Critical Two-Week Observation Period
This is where patience and observation are paramount. I label each cutting with the date and check them daily.
- Days 1-3: The cuttings look unchanged. Moss remains moist. No condensation loss from the dome.
- Days 4-7: This is the danger zone. On day 5, I noticed one N. sanguinea cutting’s stem darkening slightly at the base. My heart sank—the start of rot! This was my “pitfall moment.” I quickly removed it, recut above the rot with a sterile blade, dipped it in rooting hormone (containing IBA), and replanted it in fresh moss. The others looked fine, with leaves still firm.
- Days 8-14: The rescued cutting stabilized. By day 10, the healthy N. x ‘Ventrata’ cuttings showed the first sign of success: a tiny, bright green growth nub emerging from a node above the moss. This is a new shoot, not a root, but it’s a fantastic indicator that the cutting has established vascular flow and is actively growing. True roots typically follow a week or two later. The dome was vented slightly at this stage to increase air flow and prevent fungal growth.
Method 2: Seed Propagation – The Long-Term Adventure
Growing Nepenthes from seed is a test of dedication, often taking 3-5 years to produce a pitchering plant, but it’s incredibly rewarding for creating genetic diversity.
Sourcing and Sowing Seeds
Freshness is non-negotiable. Nepenthes seeds lose viability within weeks if not stored correctly. I sourced fresh seeds from a reputable society exchange. The sowing medium must be sterile. I use a shallow tray filled with finely milled sphagnum peat, pasteurized in the oven. The tiny, thread-like seeds are scattered on the surface, not buried. The tray is then placed in a sealed plastic bag under grow lights.
Germination and Early Care
Germination can take anywhere from 3 weeks to 3 months. In my recent batch, the first green specks appeared after about 4 weeks. The seedlings are incredibly fragile. The pitfall here is algae or moss growth on the medium, which can smother them. To combat this, I ensure excellent air circulation by opening the bag for a few minutes daily once germination occurs. I also water only from below using distilled water to avoid disturbing the seeds. The American Horticultural Society’s guidelines on seedling care stress the importance of consistent moisture and cleanliness above all else during this stage.
Essential Greenhouse Management for Propagation Success
Your greenhouse isn’t just a room; it’s an ecosystem you must manage.
Humidity and Airflow: The Delicate Balance
This is the tightrope walk of Nepenthes cultivation in North America. Cuttings and seedlings need high humidity (80%+), but stagnant air invites fungal pathogens like Botrytis. My solution is a combination of a humidifier on a timer and small, oscillating fans set on low, running continuously. The fans should create a gentle breeze, not a wind tunnel. This mimics the natural air movement of their mountain habitats and strengthens plant tissues.
Temperature and Light Control
As noted by the RHS, a consistent temperature is more important than an exact number for many hybrids. I aim for a 10-15°F (6-8°C) drop at night, which seems to stimulate root growth in cuttings. For lighting, I rely on LED grow lights to supplement natural sunlight, ensuring 12-14 hours of bright, diffuse light daily. During summer, shading cloth is essential to prevent greenhouse temperatures from soaring and scorching tender propagules.
Common Pitfalls and How I Solved Them
- Pitfall 1: The Rotten Cutting. As described, swift surgery—recutting above the rot, applying fungicide, and using a rooting hormone—can save it.
- Pitfall 2: The Dehydrated Cutting. If leaves wilt but the stem is firm, humidity is too low. I double-check the seal on my propagation dome and mist the interior lightly.
- Pitfall 3: Slow or No Growth. This often points to temperature being too low. Adding a heat mat set to a consistent 75-80°F (24-27°C) under the propagation tray was a game-changer for my winter rooting success.
Frequently Asked Questions
What is the single most important factor for successful Nepenthes propagation? Consistency. Fluctuations in humidity, temperature, or moisture are the biggest stressors. Choose a method and environment you can maintain steadily for weeks without major changes.
Can I propagate a Nepenthes from a leaf cutting? Unlike some plants, a Nepenthes leaf alone, without a piece of stem containing a node, will not grow into a new plant. It may root but will eventually die. A stem node contains the meristematic tissue needed for new growth.
How long should I wait before fertilizing a newly rooted cutting or seedling? Wait until the plant is actively growing new leaves and pitchers on its own, usually at least 2-3 months after rooting for cuttings, and 6+ months for seedlings. Then, use an extremely diluted, foliar-applied orchid or carnivorous plant fertilizer at 1/4 strength, once a month.
Propagating Nepenthes is a deeply satisfying skill that transforms your greenhouse from a static display into a dynamic nursery. It connects you intimately to the lifecycle of these amazing plants. By understanding their needs, managing your greenhouse environment with care, and learning from each attempt—successful or not—you’ll confidently expand your collection. Start with a hardy hybrid, follow these steps, and keep a detailed journal. Your future self, surrounded by thriving pitcher plants you nurtured from cuttings or seeds, will thank you.





