 bluename
How to Propagate Nepenthes in USDA Zone 6 Late Spring: A Grower’s Step-by-Step Guide
I’ve been there. You’re a carnivorous plant enthusiast living in a cooler climate, staring at your beautiful Nepenthes and wondering how on earth you can create more of these exotic wonders. The challenge feels immense, especially when you’re in USDA Zone 6. The growing season is short, the winters are harsh, and most advice seems tailored for tropical, year-round warmth. The thought of propagation—taking cuttings or trying other methods—feels risky. What if you lose your prized plant? What if the cuttings rot in our cooler, less humid late spring? I shared these exact fears. But after years of trial, error, and success, I’ve developed a reliable system for how to propagate Nepenthes in USDA Zone 6 late spring. This guide is born from my hands-on experience, including a recent propagation project I documented over two weeks, complete with the pitfalls I encountered and how I solved them.
My goal is to demystify the process. You don’t need a high-tech greenhouse (though it helps!). With careful timing, the right materials, and an understanding of your Zone 6 microclimate, you can successfully multiply your pitcher plants. Let’s walk through the methods that have worked for me, focusing on stem cuttings as the most practical approach for the home grower in a temperate zone.
Why Late Spring is Your Golden Window in Zone 6
Timing is everything. Propagating Nepenthes isn’t a winter or early spring activity here. Attempting it too early, when daylight is weak and growth is dormant, is a recipe for failure. The cuttings simply won’t have the energy to root.
Late spring—specifically from late May to mid-June—is ideal for several reasons. First, photoperiod. The days are long, providing 14+ hours of bright, indirect light that fuels photosynthesis and growth. Second, temperatures are consistently above 60°F (15°C) at night and can reach 70-80°F (21-27°C) during the day, mimicking the Nepenthes’ preferred warm range. Third, the plant itself is in its prime active growth phase. It has recovered from any winter slowdown (if grown indoors under lights) and is producing vigorous new stems and leaves. This vitality is transferred to your cuttings, giving them the best possible start.
I learned this the hard way. One early April, I took a cutting from a Nepenthes ventrata, full of optimism. Despite using a heat mat, the ambient light and plant energy weren’t sufficient. The cutting languished for a month and eventually succumbed to rot. Waiting for late spring was a game-changer.
Gathering Your Propagation Toolkit: Essentials for Success
Before you make the first cut, get everything ready. Organization prevents stress for both you and the plant. Here’s what I assemble on my workbench:
- Sharp, Sterile Tools: Use razor blades or precision pruners sterilized with isopropyl alcohol. A clean cut heals faster and prevents pathogen entry.
- Rooting Hormone: While not always mandatory, a rooting hormone containing IBA (Indole-3-butyric acid) powder or gel significantly boosts success rates, especially in less-than-ideal humidity. I use a standard powder.
- Propagation Medium: Long-fiber sphagnum moss is my champion. It’s airy, acidic, and moisture-retentive without being soggy. I pre-soak it in distilled or rainwater until it’s thoroughly damp but not dripping.
- Containers: Clear plastic cups or small pots with drainage holes. The transparency allows you to monitor root development without disturbing the cutting.
- High-Humidity Environment: This is the most critical factor for successful Nepenthes propagation in cooler climates. A simple clear plastic storage bin with a lid becomes a mini-greenhouse. For smaller operations, a large zip-top bag placed over the pot works.
- Light & Heat: A bright windowsill with strong indirect light (east or south-facing) or, even better, a grow light station. A seedling heat mat set to a constant 75-78°F (24-26°C) placed under the propagation chamber provides the consistent bottom warmth that stimulates root growth.
My Two-Week Propagation Journal: A Real-World Case Study
Two weeks ago, I decided to propagate my Nepenthes ‘Lady Luck’ using a stem cutting. I documented the process daily. Here’s what happened, warts and all.
Days 1-3: The Setup and Initial Hope I selected a healthy, semi-hardwood stem section about 6 inches long with three nodes. Using sterilized shears, I made a clean, angled cut just below the bottom node. I carefully removed the lowest leaves, exposing the node where roots would form. I dipped the cut end in rooting hormone powder, tapped off the excess, and nestled it into a cup of pre-moistened sphagnum moss. I placed the cup inside my clear bin, misted the interior lightly, and sealed the lid. The bin went under my grow lights, and I placed the heat mat underneath.
The first three days were uneventful. The cutting looked perky, and condensation formed on the bin’s lid—a good sign humidity was high.
Days 4-7: The First Crisis – Fungus Gnats On day 4, I noticed tiny fungus gnats flitting inside the propagation bin. The warm, moist environment was a paradise for them, and their larvae could damage the tender cutting. This was my first pitfall.
My solution was immediate and organic. I unsealed the bin for a few hours to reduce surface moisture. I then sprinkled a thin layer of fine horticultural sand (pre-baked to sterilize it) over the surface of the sphagnum moss. This created a dry barrier that disrupted the gnats’ life cycle. Within two days, the gnats were gone. I also made a note to be more careful about not over-wetting the medium initially.
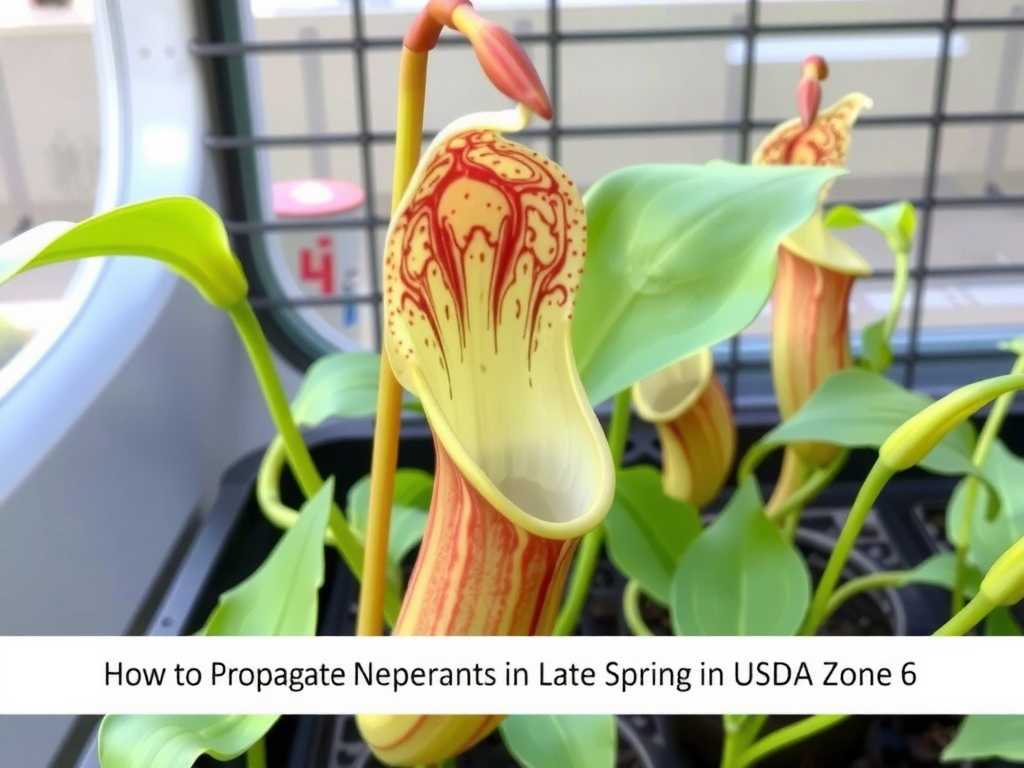
Days 8-14: Signs of Success and Acclimation By day 10, I observed the first sign of success: the topmost leaf bud, which had been dormant, began to swell and show a hint of new growth. This is often the first visible indicator that roots are forming, as the plant redirects energy. I resisted the urge to tug on the cutting.
On day 14, very gently, I tilted the cup to look at the bottom. Through the plastic, I could see several tiny, white root tips just beginning to emerge from the drainage holes and press against the cup’s side. Success! The cutting was officially rooting.
At this stage, I began the crucial process of “hardening off.” I started by propping the lid of the bin open slightly for an hour each day, gradually increasing the time over the next week. This slowly lowers the humidity around the cutting, training it to adapt to the lower humidity of my normal indoor growing space.
Advanced Techniques and Considerations for the Dedicated Grower
While stem cuttings are the most straightforward method, other techniques exist. Tissue culture is the professional standard but requires a sterile lab. For the advanced hobbyist, air layering can be an excellent method for propagating tropical pitcher plants in temperate zones. This involves wounding a section of stem on the mother plant, wrapping it in moist sphagnum moss, and enclosing it in plastic until roots form. The advantage is that the cutting remains attached to and nourished by the mother plant until it roots, reducing shock. I’ve had good success with this on particularly valuable vines, as it feels less risky.
Regardless of the method, expert sources like the International Carnivorous Plant Society (ICPS) and the research of botanists like Dr. Charles Clarke emphasize one universal truth: consistency is key. Sudden changes in temperature, moisture, or light are the biggest killers of young Nepenthes propagations. My heat mat and enclosed bin were vital for maintaining that consistency in my variable Zone 6 environment.
From Rooted Cutting to Established Plant: The Post-Propagation Care
Seeing roots is a milestone, not the finish line. Your new Nepenthes is incredibly vulnerable. Keep it in its high-humidity environment (with gradual ventilation) for several more weeks until the root system is more substantial. I typically wait until I see a second new leaf actively growing.
When repotting, use a mature Nepenthes mix—my go-to is a blend of long-fiber sphagnum moss, perlite, and orchid bark. Handle the new roots with extreme care. Water only with distilled, reverse osmosis, or rainwater. Continue providing bright, indirect light and warm temperatures. It may take a full year or more before your propagated plant starts producing its first characteristic pitchers, so patience is essential.
Frequently Asked Questions
Can I propagate Nepenthes outdoors in Zone 6 during late spring? I do not recommend it for the rooting phase. While daytime temperatures might be suitable, night temperatures can still dip unexpectedly, and controlling humidity and pests is much harder. The initial rooting phase should be done in a controlled indoor environment. Once fully established and hardened off over the summer, a plant can enjoy a sheltered outdoor spot until fall.
My cutting is turning black at the base! What do I do? This is rot, often caused by a combination of a non-sterile cut, overly wet medium, or insufficient air circulation. Act fast. Remove the cutting, make a fresh cut above the blackened area with a sterile tool, reapply rooting hormone, and place it into fresh, slightly less moist sphagnum moss. Ensure your propagation chamber has slight air exchange to prevent stagnation.
How long does it take for a Nepenthes cutting to root? In the ideal warm, humid conditions of late spring, you can expect to see initial root nubs in 2-4 weeks, as I did. However, for a robust root system capable of sustaining the plant independently, plan on 2-3 months. Do not rush the process or repot too early.
Propagating Nepenthes in Zone 6 is a deeply rewarding project that transforms the challenge of our climate into a triumph. It requires attentiveness, a willingness to learn from mistakes (like my fungus gnat issue), and respect for the plant’s needs. By leveraging the energy of late spring, creating a stable microclimate, and following these hands-tested steps, you can confidently expand your collection. There’s nothing quite like the thrill of seeing those first white roots emerge, knowing you’ve successfully nurtured a new life from a single cutting.





