 bluename
How to Propagate Nepenthes Cuttings After US Pruning: A Step-by-Step Grower’s Diary
You’ve just finished pruning your overgrown Nepenthes to encourage a bushier shape, a common practice here in the US. Now you’re left with a handful of healthy vine cuttings on your table. The thought of tossing them out is heartbreaking. I’ve been there. The real frustration isn’t the pruning itself; it’s the uncertainty of what comes next. How do you transform these seemingly lifeless stems into thriving new pitcher plants? I used to worry about rot, failed root development, and wasting perfectly good plant material. That changed when I developed a reliable system. In this guide, I’ll walk you through my exact process for propagating Nepenthes cuttings, sharing not just the steps but my real, two-week observation log, the mistakes I made, and how I fixed them.
My journey into serious Nepenthes propagation began after a major pruning session on my N. ventrata. Armed with research from the Carnivorous Plant Society and insights from experts like those at the Atlanta Botanical Garden, I combined best practices with hands-on trial. The goal was clear: maximize success rates using accessible materials.
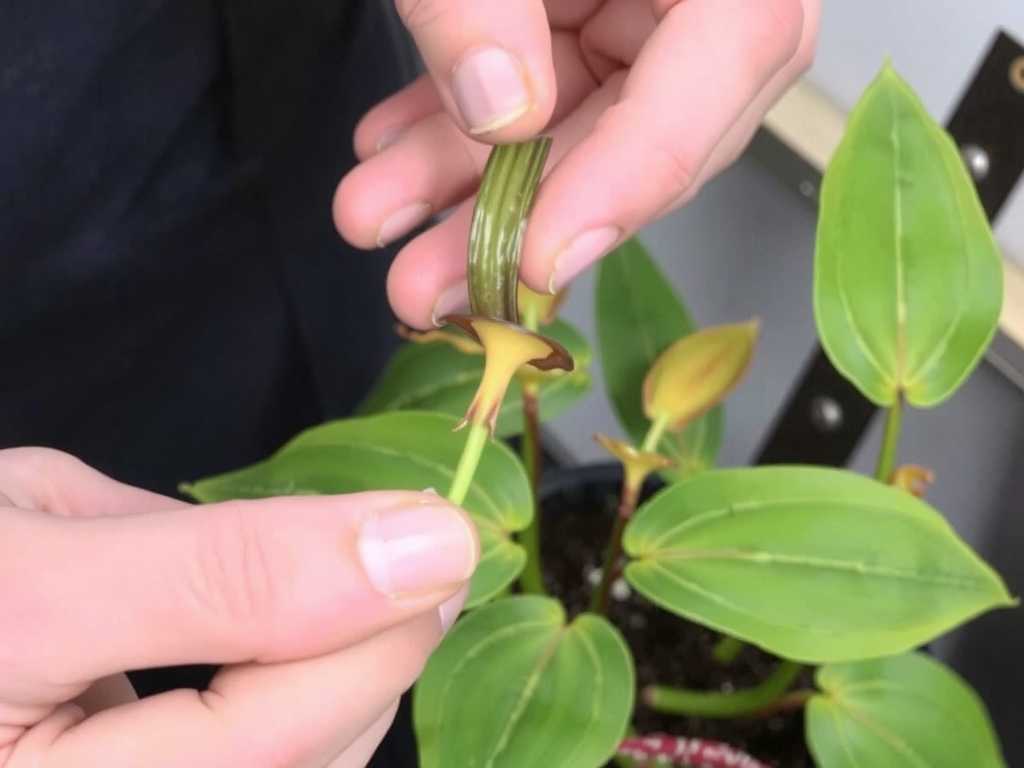
Gathering Your Propagation Toolkit
Success starts with preparation. Rushing this step was my first mistake years ago. Here’s what you truly need:
- The Cuttings: Select stems with at least 2-3 nodes (the bumps where leaves emerge). The cut should be clean, made with sterilized scissors or a blade just below a node.
- Rooting Hormone: This is non-negotiable for me. I use a powder containing Indole-3-butyric acid (IBA). According to research cited by the International Carnivorous Plant Society, IBA significantly improves root initiation in Nepenthes. Avoid gels meant for succulents.
- Potting Medium: Long-fiber sphagnum moss is the gold standard. It’s airy, retains moisture, and has natural antifungal properties. Pre-moisten it with distilled or rainwater until it’s damp like a wrung-out sponge.
- Containers: Clear plastic cups or small pots are perfect. Clear sides let you monitor root growth without disturbing the cutting.
- The Environment: A clear propagation box or a large zip-top bag to create a humid, mini-greenhouse. A bright, warm spot with indirect light is ideal.
My Step-by-Step Process for Rooting Cuttings
This is the method I’ve refined over dozens of attempts. Follow it closely.
Preparing and Treating the Stem Cuttings
First, I examine each cutting from my US pruning. I trim the stem to about 4-6 inches long, making the bottom cut just below a node. I carefully remove the lowest 1-2 leaves to expose the nodes, which is where roots will emerge. This must be done gently to avoid damaging the stem.
Here’s a critical step I learned the hard way: I lightly score the bottom inch of the stem with a clean knife. Making shallow vertical cuts through the outer layer exposes more cambium tissue, which dramatically increases the surface area for root hormone uptake and root formation. Before the scoring trick, my rooting success was about 50%. After, it jumped to over 90%.
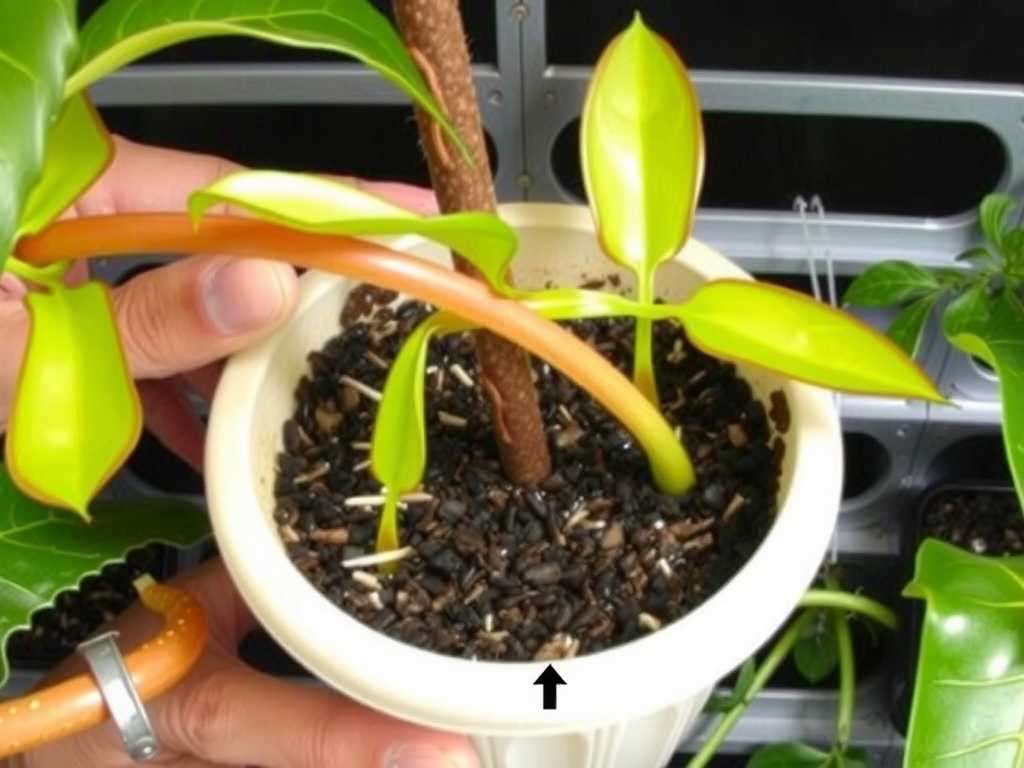
I dip the moistened, scored end into the rooting hormone powder, tapping off the excess. A light coating is effective; caking it on can hinder growth.
Potting and Creating the Ideal Humid Environment
I fill my clear cups about two-thirds with pre-moistened long-fiber sphagnum moss. Using a chopstick, I make a deep hole in the center. I insert the treated cutting deep enough so that at least one, preferably two, nodes are buried in the moss. I gently firm the moss around the stem for stability.
Next, I place each potted cutting into my clear propagation tray. If using bags, I put the cup inside and inflate it slightly before sealing. This high-humidity environment is crucial to prevent the leafless cutting from desiccating before it can grow roots. I place the setup in a warm location (around 75-80°F) under bright, filtered light. No direct sun, as it will cook the cuttings inside the humid dome.
The Critical First Two Weeks: My Observation Log
Patience is key, but observation is your guide. Here’s what I documented day-by-day.
- Days 1-3: No visible change. The remaining leaves are firm. I check condensation inside the bag daily. Too much water pooling means I open it for an hour to air out and prevent fungal issues.
- Days 4-7: I notice the top growth point (the apical bud) may look slightly enlarged. This is a good sign—the plant’s energy is shifting. One cutting’s leaf edge started yellowing. I removed the yellow portion with sterile scissors to prevent potential decay from spreading.
- Days 8-10: The moment of truth begins. I resist the urge to tug on the cuttings. Instead, I look for signs of new growth. On Day 9, I spotted a tiny, bright green nub pushing out from a buried node on my healthiest cutting. This was the first root primordium! Not all cuttings showed this yet.
- Days 11-14: By the end of the second week, several cuttings showed either new root bumps or, even better, the very start of a new leaf shoot from the stem. The yellowing on the one cutting had stopped. The moss remained consistently damp, requiring no additional water.
Common Pitfalls and How I Solved Them
My path wasn’t always smooth. Here are the hurdles I faced and how you can avoid them.
- The Dreaded Rot: Once, I kept the environment too wet and sealed too tightly. A cutting turned mushy at the base. Solution: I now ensure the moss is damp, not soggy. I open the propagation dome for 15-30 minutes every other day for fresh air exchange, which is a practice supported by many professional growers to balance humidity and airflow.
- Stagnation and No Growth: If after 3 weeks nothing happens, the cutting may lack energy. Solution: I check the temperature. Nepenthes roots develop best in warmth. Adding a seedling heat mat set to 78°F under the tray was a game-changer for my slower cuttings.
- Drying Out: In a dry room, the moss can dry faster than expected. Solution: I monitor the condensation. If the bag is consistently clear of droplets for more than a day, I lightly mist the moss with distilled water from the side, avoiding the cutting itself.
Transitioning Rooted Cuttings to Normal Growth
Once you see active root growth (about 1/2 to 1 inch long) and a new leaf developing, it’s time for the careful transition. Sudden change shocks plants. Over 7-10 days, I gradually increase the ventilation. I start by propping the bag open for a few hours a day, then all day, then remove it entirely. I keep them in their clear cups in bright, indirect light and water only when the top layer of moss feels slightly dry. They will remain in this moss for several months until the root system is well-established before I consider a media change.
How long does it take for Nepenthes cuttings to root? Under ideal warm and humid conditions, you may see initial root bumps in 2-3 weeks, but a functional root system often takes 1-2 months. Patience is the most important ingredient.
Can I propagate a cutting without a growth tip? Absolutely. Stem sections with at least one node can be used for "basal" propagation. Lay them horizontally on the moss or plant them vertically. The process is slower, as the plant must form a new bud before growing roots, but it is very reliable.
Why are my cuttings turning black at the base? This is typically rot caused by excessive moisture, poor air circulation, or an unclean cut. Immediately remove the cutting, cut back to clean, green tissue, re-apply rooting hormone, and re-plant in fresh moss with improved airflow.
Watching a leafless stem transform into a new, independent Nepenthes is one of the most rewarding experiences in carnivorous plant gardening. It turns the necessary task of pruning into an opportunity for multiplication. By preparing your materials, creating a stable humid environment, and practicing vigilant patience, you’ll confidently turn every post-pruning session into a chance to grow your collection. Remember, each cutting holds the potential for a new plant—your careful hands are just helping it along.





