 bluename
How to Fertilize Nepenthes Safely for North American Growers
I’ve killed my share of pitcher plants. There, I said it. As a North American grower, I spent years watching my beloved Nepenthes struggle, their pitchers shriveling before they could even form, while my other houseplants thrived. The turning point came when I finally understood this brutal truth: fertilizing a carnivorous plant like a Nepenthes is a tightrope walk between nourishment and poison. The standard potting soil and plant food that fuel our Monsteras and Pothos are a death sentence for these specialized beauties. If you’ve ever wondered why your Nepenthes looks hungry despite your care, or if you’re terrified of burning its delicate roots, you’re in the right place. This guide is born from my own failures and, ultimately, a safe fertilization routine that finally got my plants pitchering consistently.
The core philosophy is simple: less is more, and timing is everything. We’ll move beyond the fear and into a practical, step-by-step system.
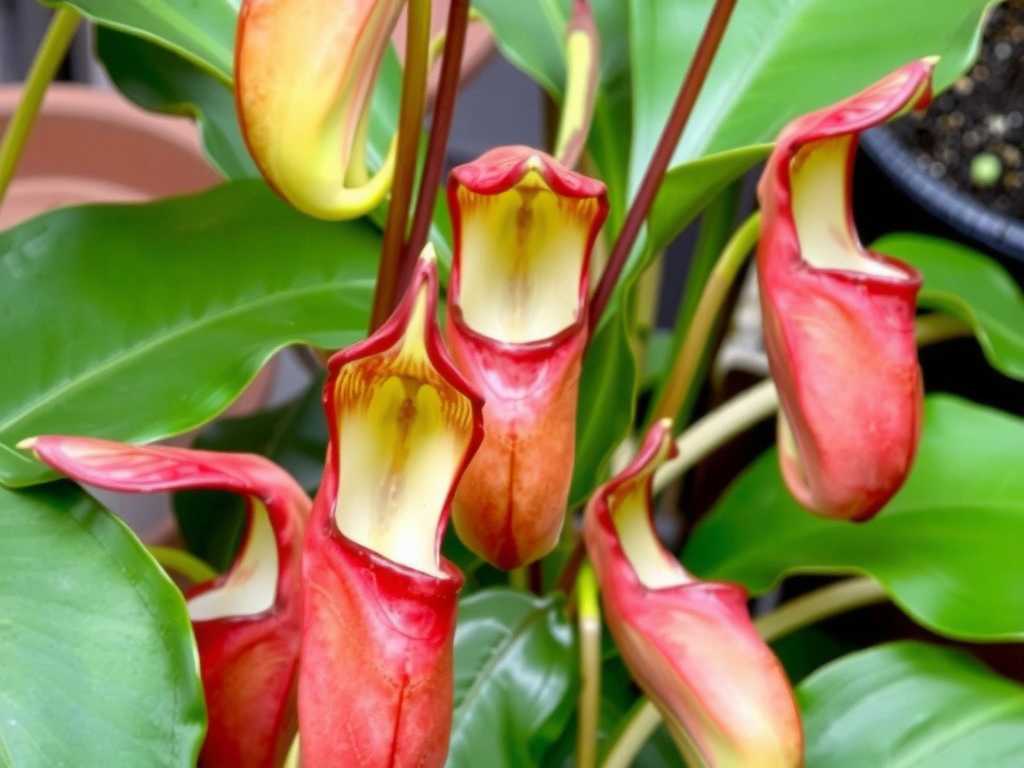
Understanding the "Why": The Delicate Physiology of Nepenthes
Before we pour anything, we must think like the plant. In their native, nutrient-poor habitats, Nepenthes evolved to get minerals not from soil, but from the insects they trap. Their root systems are exceptionally sensitive to mineral salts. According to the International Carnivorous Plant Society (ICPS), the primary cause of Nepenthes decline in cultivation is the accumulation of soluble salts in the growing medium from fertilizers or hard water. This burns the roots, leading to stalled growth, blackened leaves, and pitcher drop.
This doesn’t mean they need to starve. In our homes, especially away from greenhouses with ample insect life, they benefit greatly from supplemental feeding. The goal is to mimic the slow, gentle nutrient input of a decomposed insect, not the concentrated blast of a commercial fertilizer.
My Arsenal: Choosing the Right Fertilizer for Nepenthes
Through trial and error, I’ve narrowed down safe options. I completely avoid any granular or liquid fertilizer designed for typical houseplants.
1. Foliar Feeding with Diluted Orchid Fertilizers: This is my primary, safest method. I use a urea-free, water-soluble orchid fertilizer (like a 30-10-10 or 20-20-20 formula). Why orchid food? It’s often formulated for sensitive epiphytic roots. The key is the dilution rate. I use only 1/4 of the recommended strength on the label. For example, if it says 1 teaspoon per gallon, I use 1/4 teaspoon.
2. Direct Pitcher Feeding (The Most Natural Method): This involves putting food directly into the pitchers, where the plant’s own digestive enzymes work. My go-tos are:
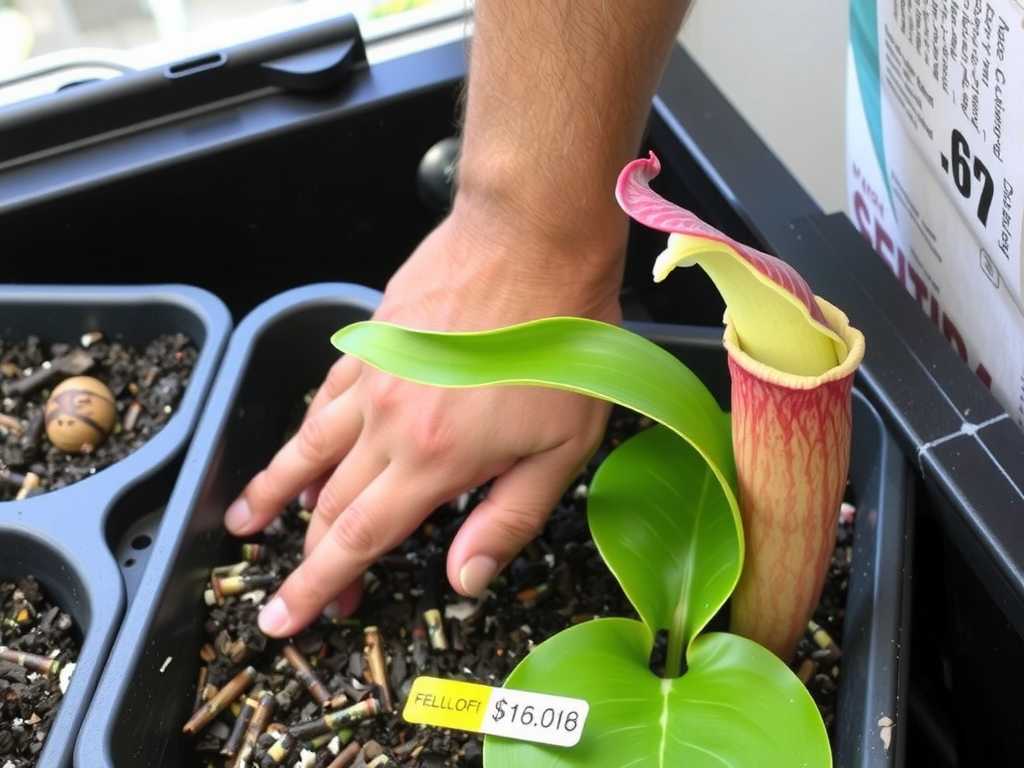
- Maxsea 16-16-16: A seaweed-based fertilizer beloved by the carnivorous plant community. It’s gentle and effective.
- Freeze-Dried Bloodworms: A fantastic, clean option for feeding Nepenthes pitchers. They’re used for fish food and are pure protein.
3. The Super-Dilute Root Feed (Advanced, Proceed with Caution): I only attempt this with vigorous, established plants in pure, long-fiber sphagnum moss. I use the same orchid fertilizer at 1/8 strength and only apply it to the media once every 4-6 weeks during peak growth, and only after thoroughly pre-wetting the pot with pure water.
The Safe Fertilization Protocol: My 2-Week Observation Journal
Here is the exact routine I followed on my Nepenthes x ‘Gaya’, a common and robust hybrid, over a two-week period. The goal was to trigger pitcher initiation on a new leaf.
Week 1: Initiation and Observation
- Day 1: I prepared my foliar spray. Using a 1-liter spray bottle, I added 1/8 teaspoon of Maxsea 16-16-16 (far below the 1/4 tsp per gallon recommendation). I misted the entire plant—leaves, stems, and especially the tiny, developing tendrils at the leaf tips. I avoided drenching the soil. I also took a single freeze-dried bloodworm, rehydrated it with a drop of water, and dropped it into one of the plant’s largest, healthiest pitchers.
- Day 2-3: No changes. The plant looked normal.
- Day 4: I noticed the first potential "pitfall" – a slight yellowish tinge on the very edge of one older leaf. Alarm bells rang! Had I burned it? Upon investigation, I realized this leaf was already declining before feeding. I learned a crucial lesson: always assess plant health before feeding. Never fertilize a stressed Nepenthes. I removed the yellowing leaf to prevent any potential fungal issues.
- Day 7: The bloodworm in the pitcher was completely dissolved. The pitcher was plump and dark. The developing tendril on the newest leaf appeared slightly swollen—a promising sign!
Week 2: Development and Adjustment
- Day 8: Second application. This time, I used only the foliar spray (1/8 tsp Maxsea in 1L water). I skipped the pitcher feeding to avoid overloading it.
- Day 10: Clear progress! The swollen tendril had begun to inflate, clearly forming a miniature pitcher. No signs of burn on new growth.
- Day 12-14: The new pitcher continued to enlarge. Growth rate seemed accelerated compared to previous, unfertilized leaves. The plant exhibited a deeper, healthier green color. The experiment was a success: gentle, foliar-based Nepenthes nutrient supplementation had safely stimulated growth without toxicity.
Critical Pitfalls I Encountered (And How to Fix Them)
- The Burn from "Weak" General Fertilizer: Early on, I used a "weak" solution of all-purpose plant food. Even at low doses, the chemical salts built up in the sphagnum moss. The fix was a complete emergency repot into fresh, pre-rinsed sphagnum and a months-long flush with distilled water only.
- Overfeeding the Pitchers: I once put a small piece of fish food in every pitcher. The oldest pitchers quickly turned black and died—a classic sign of rot from overfeeding. The solution is to feed only one or two of the largest pitchers per plant, and only a tiny morsel every 2-4 weeks.
- Ignoring Water Quality: This is the silent killer. Tap water contains minerals that act as a constant, low-grade fertilizer in the worst way. Switching to distilled water, reverse osmosis (RO) water, or rainwater is non-negotiable for successful long-term Nepenthes care in North America. The American Horticultural Society (AHS) emphasizes that water quality is fundamental for sensitive plants, and this is exponentially true for carnivores.
Creating Your Fertilization Calendar
Fertilization is not a year-round task. I follow this seasonal rhythm:
- Spring & Summer (Active Growth): Foliar feed every 2-3 weeks. Pitcher feed once a month.
- Fall: Reduce foliar feeding to once a month. Stop pitcher feeding.
- Winter (Dormancy/Slow Growth): Stop all fertilization. The plant cannot use the nutrients, leading to harmful salt accumulation.
FAQ: Your Top Questions Answered
Can I use Maxsea on all my Nepenthes? Yes, Maxsea is widely considered one of the safest and most effective options. Always start at half the already-recommended dilution rate (e.g., if the carnivorous plant community says 1/4 tsp per gallon, I start at 1/8 tsp). Observe for a week before proceeding.
My Nepenthes has no pitchers. Should I fertilize it? No. A pitcherless plant is often a stressed plant. Address the fundamentals first: more humidity (aim for 60%+), brighter indirect light, consistent pure water, and proper soil (long-fiber sphagnum moss). Fertilizer is the last piece of the puzzle, not the first.
How do I know if I’ve over-fertilized? Look for halted growth, sudden pitcher loss, blackening leaf edges, or a whitish crust on the soil surface. The remedy is an immediate and thorough "flush": run copious amounts of distilled water through the pot for several minutes to leach out salts, and cease all feeding for 2-3 months.
The journey to a thriving, pitcher-covered Nepenthes is incredibly rewarding. By respecting their unique biology, choosing the right tools like diluted orchid fertilizer or Maxsea, and adopting a "less is more" mindset, you can provide the nutritional boost they need without the risk. Remember, consistency with pure water and high humidity will always be more important than any fertilizer. Start low, go slow, watch your plant closely, and you’ll transform from a fearful grower into a confident one, ready to enjoy the spectacular results of a safely and well-fed Nepenthes.





