 bluename
How to Care for Nepenthes in USDA Zone 7 for Early Spring: A Grower’s Survival Guide
If you’re a fellow carnivorous plant enthusiast living in USDA Zone 7, you know the unique challenge we face. Our winters are just cold enough to be risky, and our early springs are a chaotic mix of hope and frost warnings. For years, I struggled with my beloved Nepenthes, or tropical pitcher plants, during this transitional period. They’d often come out of winter dormancy looking weak, only to be shocked by a late cold snap, resulting in browned pitchers and stunted growth. I was determined to crack the code. After extensive research, trial, and significant error, I developed a practical, step-by-step system for early spring care. This guide is the result of my hands-on experience, including a detailed two-week observation log of implementing these very steps.
Understanding the Zone 7 and Nepenthes Mismatch
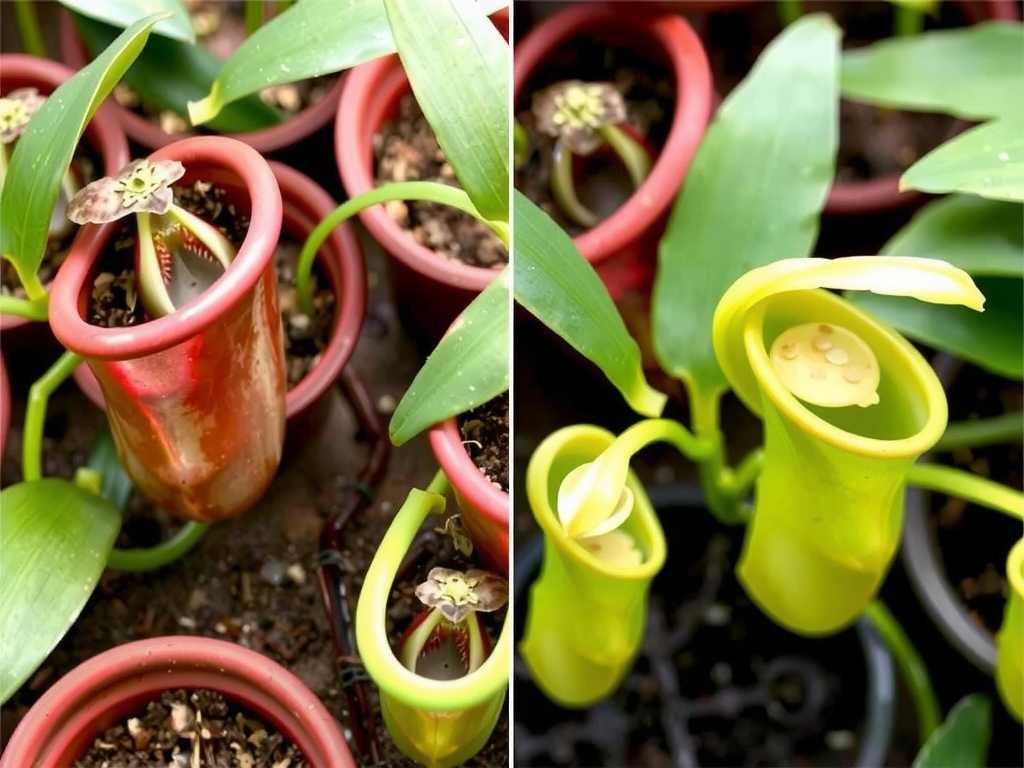
First, let’s clarify the core issue. Most popular Nepenthes species are true tropicals, thriving in consistently warm, humid conditions. USDA Zone 7, with its average annual minimum temperatures of 0°F to 10°F (-17.8°C to -12.2°C), is inhospitable to them year-round. Therefore, our care revolves around container gardening and seasonal migration. Early spring is the most critical window for this migration—moving plants from their protective winter quarters back into the growing season’s light and warmth, without rushing them into danger.
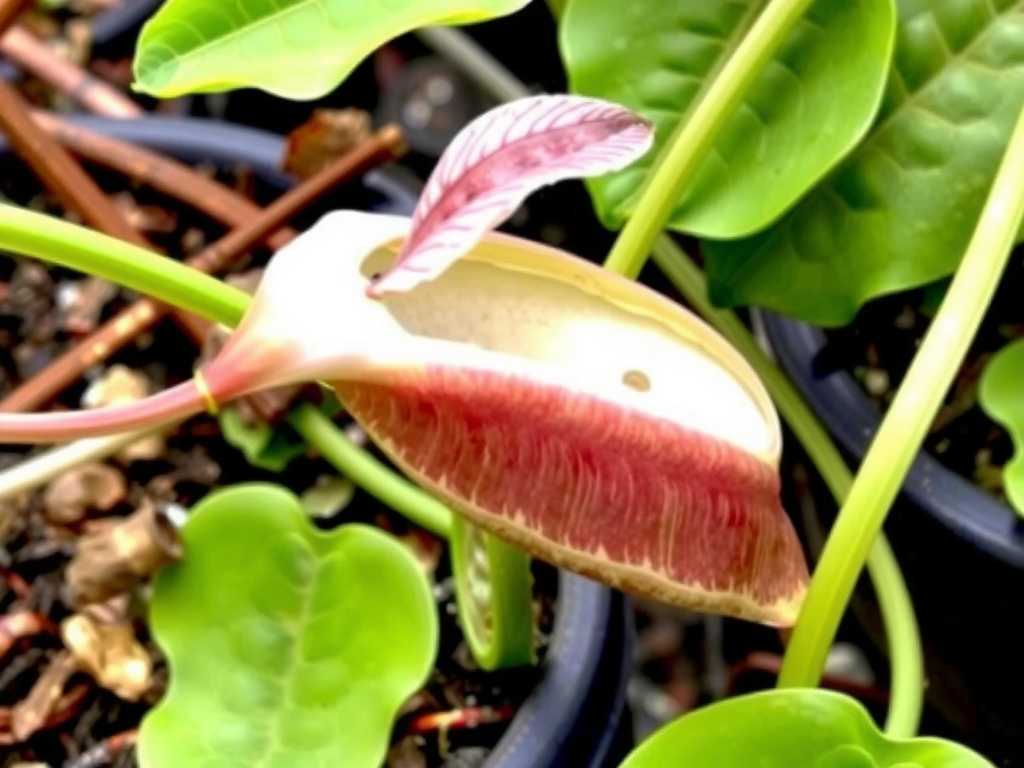
My Early Spring Action Plan: A Week-by-Week Protocol
I initiated this protocol in mid-March, after the last average frost date for my area but while nighttime temperatures were still volatile (dipping into the high 30s °F / 3-4°C). My subjects were a Nepenthes ventrata and a Nepenthes sanguinea, both considered more adaptable hybrids.
Week 1: The Assessment and Acclimatization Phase
The goal here is patience. Do not immediately put your plants outside.
Step 1: The Thorough Health Inspection I moved my plants from their bright, cool windowsill (their winter home) to a central table. Under a strong light, I examined every leaf, stem, and the few remaining pitchers. I looked for signs of pest infestation (scale, mealybugs) and fungal issues (black spots, mushy stems). I found some dried, brown leaf edges—a sign of low humidity over winter—but no active pests. Using sterilized scissors, I carefully trimmed away only the completely dead material. As the Royal Horticultural Society (RHS) advises for plant care after winter, “Remove dead and damaged growth to improve appearance and prevent disease entry points.” This was my first task.
Step 2: The First Humidity Boost Winter indoor air is brutally dry. To prevent further stress, I needed to ramp up humidity gradually. I placed the pots on large pebble trays filled with water, ensuring the pot bases sat above the waterline to prevent root rot. I also grouped the plants together. This creates a beneficial microclimate, as transpiration from one plant helps its neighbors. I avoided misting directly into the new growth points, as stagnant water can encourage rot.
Step 3: Light Increase and Initial Watering Shift They were getting about 4 hours of direct winter sun. I moved them to a south-facing window that provided 6-7 hours of bright, indirect light. This begins the “hardening off” process for increased light intensity. I also adjusted my watering. In winter, I kept the soil just barely moist. Now, I began watering with distilled water (never tap, due to minerals) when the top half-inch of the medium felt dry. The goal is to rehydrate the root system without waterlogging it.
Week 2: The Transition and Observation Phase
This is where I made my biggest mistake in past years: moving plants outside too soon.
Step 4: The Daytime “Field Trip” Once daytime temperatures consistently reached above 55°F (13°C), I began taking my plants outside. But only for a few hours at first, and only to a fully shaded, sheltered spot—like under a dense patio table or on a covered porch. This exposes them to natural breeze, ambient humidity, and the intensity of outdoor light filtered through shade. I started with 2 hours on the first day, adding about an hour each subsequent day. This slow acclimatization is non-negotiable. A sudden move from a window to full spring sun will scorch leaves in a single afternoon, a lesson I learned the hard way with a Nepenthes alata years ago.
Step 5: Nighttime Vigilance This is the most crucial step for Zone 7 early spring care. Every single afternoon, I brought the plants back indoors. Nighttime temperatures are the killer. Even if the day is lovely at 65°F (18°C), a drop to 35°F (1.5°C) at night can cause severe cold damage, halting growth for weeks. I used a wireless thermometer to monitor my porch’s ambient temperature.
Step 6: Fertilization – The Delicate Start Nepenthes get nutrients from their pitchers, not their roots. With only small, old pitchers present, I needed to provide a gentle nutrient boost to fuel new growth. I used a method recommended by experts like those at the Carnivorous Plant Society: a highly diluted orchid fertilizer. I applied it as a foliar spray, at one-quarter strength, only to the leaves, once during this second week. Never pour fertilizer into the soil.
My Two-Week Observation Log and Pitfalls
- Day 1-3: Plants look unchanged. Soil drying slightly faster with increased light.
- Day 4-7 (First Outdoor Exposure): Noticeable perkiness in the leaves. The N. sanguinea shows a slight red tinge on new leaf edges—a sign of positive light response. Pitfall & Solution: On Day 5, a windy afternoon. I came home to find the N. ventrata pot knocked over. Solution: I now use heavier ceramic saucers or secure pots in a sheltered crate during outdoor time.
- Day 8-10: Visible new growth! Tiny, red “dots” appear at the stem tips of both plants—the beginning of new leaves. The most exciting sign. I notice the growing media (a mix of long-fiber sphagnum moss and perlite) is drying more quickly. I increase watering frequency slightly.
- Day 11-14: New leaves are unfurling. The N. ventrata is developing its first tiny pitcher bud at the leaf tip. Critical Pitfall: On Day 12, the weather forecast was wrong. An unexpected frost advisory was issued after I’d already left the plants out for the day. I had to rush home at dusk to bring them in. Solution: I now never rely on the general forecast alone. I check an hourly app and set a reminder to check conditions at 3 PM daily. This is the single most important habit for successfully growing Nepenthes in a cold climate like ours.
Long-Term Setup for Spring and Summer
After this two-week hardening-off period, if nighttime temperatures are reliably above 50°F (10°C), I transition to their permanent summer spot: a location with dappled morning sun and bright, filtered afternoon shade (often under a tree or a 50-70% shade cloth). They remain in containers with excellent drainage. I water almost daily in peak summer heat, always with distilled or rainwater, and continue my diluted foliar feeding every 3-4 weeks.
Addressing Your Top Concerns
Can I leave my Nepenthes outside overnight in Zone 7 during spring? Almost never before mid-to-late April, and even then, you must watch the forecast vigilantly. A single night below 45°F (7°C) can trigger cold stress, slowing growth. Below 40°F (4.5°C) risks permanent damage. My rule is: when in doubt, bring it in. The hassle of carrying them is far less than the heartbreak of losing a year’s growth.
What’s the biggest sign of trouble during this transition? Sudden red or black discoloration on new leaves or existing pitchers, or the new growth point (the crown) turning mushy. This usually indicates cold damage, sunburn, or fungal rot from overwatering. Immediately move the plant to a stable, warm, shady location, adjust your watering, and trim any fully rotted parts with a sterile tool.
My plant made it through but isn’t producing pitchers. Why? Pitcher production requires three things: sufficient light (bright, indirect), very high humidity, and established, healthy growth. Your plant is likely using its energy to build new leaves and roots first after the stress of winter. Ensure your humidity is high (pebble trays, grouping plants), light is ample but not scorching, and be patient. Once the new leaves mature, they will initiate pitchers if conditions are right.
Success with Nepenthes in Zone 7 is a testament to attentive, patient care. It’s about understanding that our climate is a series of micro-seasons, not a broad calendar. By acting as a gentle bridge between winter shelter and summer abundance, you give these fascinating plants the stability they crave. The reward—watching those first delicate, glistening pitchers of the season inflate—is worth every minute of the careful watch you keep during these unpredictable early spring weeks.





