 bluename
How to Revive Nepenthes After US Winter Dormancy Easily
I remember the sinking feeling I got last spring. After a long, dim winter indoors, my beloved Nepenthes looked… defeated. The once-vibrant pitchers were brown and crispy, new growth had stalled, and a few leaves showed worrying yellow edges. I wasn't just worried about losing a plant; I felt like I’d failed a friend I’d nurtured for years. If you're staring at your own pitcher plant after its winter dormancy, wondering how to bring it back to its glorious, insect-trapping best, you’re in the right place. I’ve been there. Through trial, error, and careful observation, I’ve developed a straightforward, effective revival process. This guide will walk you through exactly how to revive Nepenthes after US winter dormancy, step-by-step, based on my hands-on experience and the lessons learned from my mistakes.
Understanding the "Why" Before the "How"
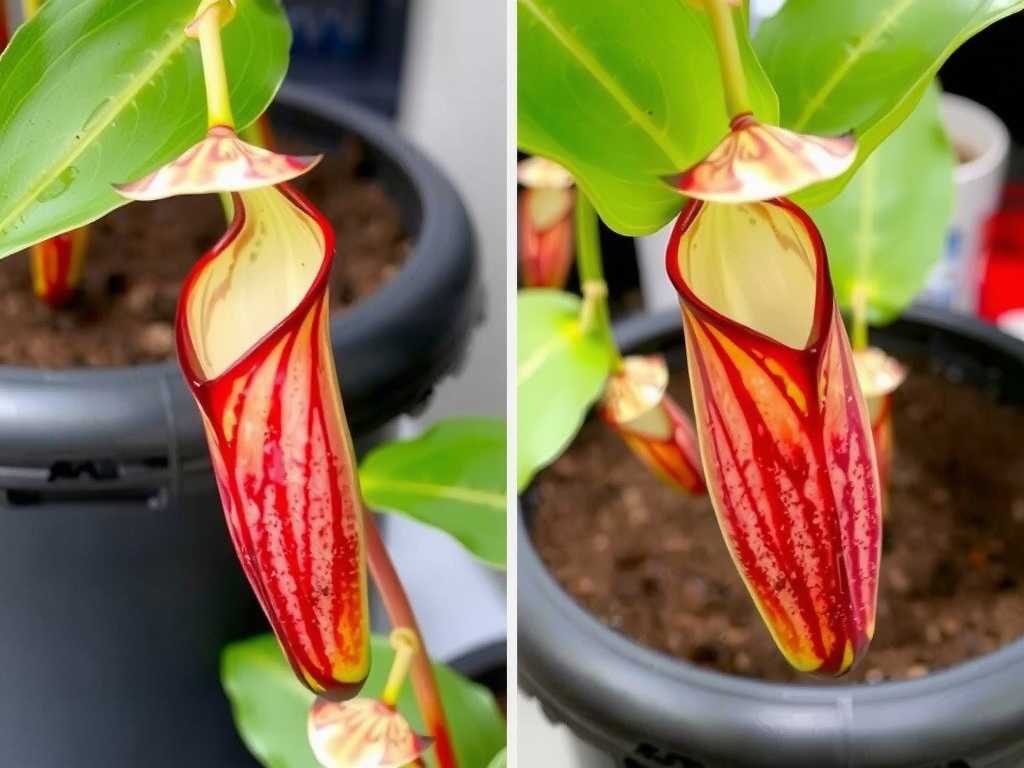
First, let's acknowledge the core issue. In their native tropics, Nepenthes don't experience true dormancy like temperate plants. Our winter care—often involving lower light, cooler temperatures, and reduced watering—is a survival simulation, not a natural cycle. The plant slows down significantly. The goal of spring revival isn't to shock it awake, but to gently and progressively restore the conditions it craves for active growth. According to resources from the International Carnivorous Plant Society (ICPS), sudden, drastic changes are a primary cause of stress and failure during this transition period.
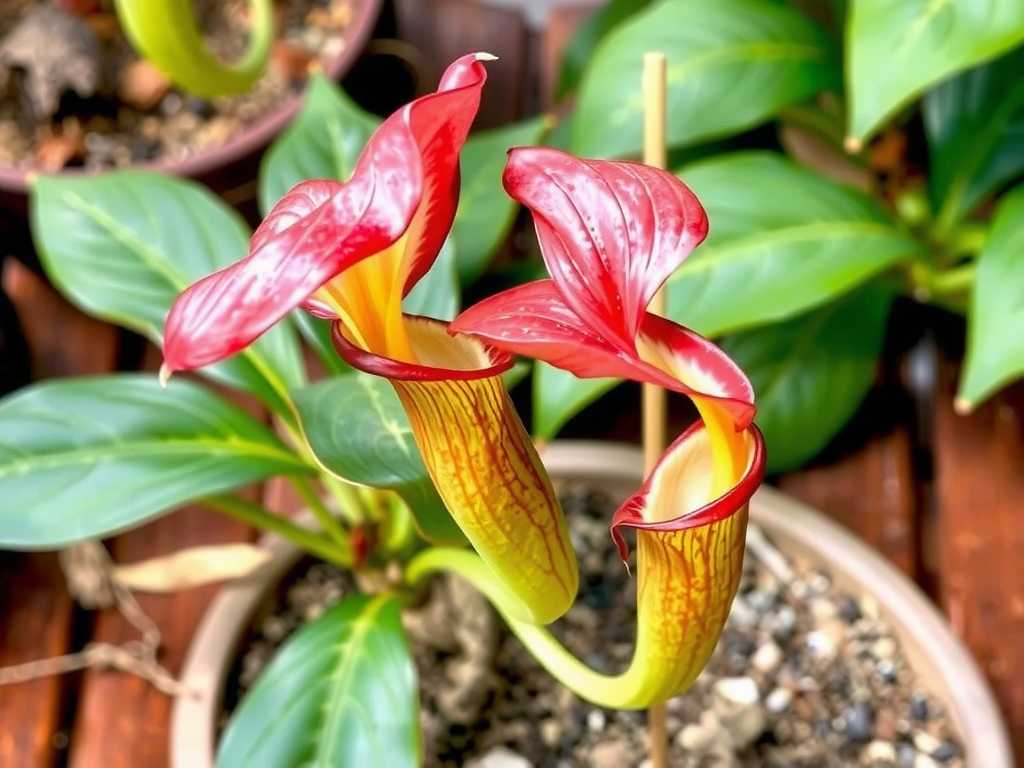
My 2-Week Revival Protocol: A Day-by-Day Guide
I structure my revival over a concentrated two-week period. This gradual approach prevents shock and allows you to monitor the plant's response.
Week 1: The Gentle Awakening
The focus here is on light and moisture. Do not repot or fertilize now.
Days 1-3: Assessing and Hydrating My first step is always a thorough inspection. I check the soil moisture deeply—not just the surface. Winter often leaves the core of the potting mix drier than you think. I use the "tray method": I place the pot in a shallow tray of distilled or rainwater and let it soak from the bottom for about 30 minutes, then remove it. This ensures deep, even hydration without waterlogging the crown, which is a death sentence. I also carefully trim away any completely brown, dead pitchers and leaves with sterilized scissors. This isn't just cosmetic; it helps the plant redirect energy.
Days 4-7: Incremental Light Increase This is where I made my biggest mistake one year. I moved my pale Nepenthes directly to a bright south-facing window. Within days, the leaves bleached and scorched. They were utterly unprepared for the intensity. Now, I start with indirect but bright light. An east-facing window is perfect. If I only have a south or west exposure, I use a sheer curtain as a filter. The key is to increase light duration and intensity slowly. I might start with 2-3 hours of gentle morning sun and increase by an hour every other day.
Week 2: Stabilizing and Observing
Now we build on the foundation and watch for signs of life.
Days 8-10: Humidity Boost and Root Check As light increases, so does the plant's need for humidity to support potential new growth. I employ a simple pebble tray. I fill a wide tray with pebbles, add water just below the top of the pebbles, and place the pot on top. The evaporating water creates a localized humid microclimate. I avoid misting the leaves directly, as this can promote fungal issues. Around Day 10, if the plant seems stable (no further decline), I give the pot a gentle wiggle. If it feels loose, it might indicate root loss over winter. I make a mental note but promise myself not to repot for at least another week unless absolutely necessary.
Days 11-14: The First Signs of Life and Fine-Tuning This is the most rewarding phase. I start looking for the tiniest hints of new growth—a reddish node swelling at the stem tip, or the faintest nub of a new leaf. Once I see this, I know the plant has "accepted" the new conditions. I now make its light position permanent, ensuring it gets at least 6 hours of bright, filtered light. I also establish a consistent watering routine: keeping the soil moist but not soggy, and only using low-mineral water.
The Pitfalls I Encountered and How I Solved Them
My journey wasn't smooth. Here are the problems that almost cost me my plants and how I fixed them.
Problem 1: The Case of the Mushy Crown After my initial enthusiasm, I overwatered, keeping the soil constantly wet. The center of the plant (the crown) turned soft and black. Panic set in. My solution was drastic but necessary. I stopped all watering immediately. Using a clean knife, I carefully excised all the rotted tissue until I saw healthy, white stem. I dusted the cut with cinnamon (a natural fungicide) and placed the plant in a spot with excellent air circulation. I withheld water for nearly a week, only resuming with extreme caution. The plant survived but was set back months.
Problem 2: Persistent Yellowing Leaves Even with correct water and light, some lower leaves kept yellowing. I learned this was often a sign of nutrient deficiency in the old soil. Carnivorous plants get nutrients from insects, not soil. However, a potting mix that's completely broken down can stress them. I resisted the urge to fertilize (which can burn their roots). Instead, after the plant showed steady new growth, I very carefully fed one tiny, newly-opened pitcher with a single dead fruit fly. This provided a direct, safe nutrient boost. The yellowing on new leaves stopped.
Problem 3: No New Pitchers Forming My plant grew new leaves but no pitchers for months. This is a common frustration. The American Horticultural Society (AHS) notes that pitcher formation is tightly linked to consistent high humidity and bright light. My air was too dry. The pebble tray helped, but it wasn't enough. I invested in a small, inexpensive humidifier and ran it near my plant collection for a few hours each morning. Within three weeks, tiny pitcher buds began to form at the leaf tips.
Sustaining the Revival for Long-Term Health
Revival isn't a two-week task; it's the start of a new season of care. Once your Nepenthes is actively growing, consider these steps:
- Repotting: Only repot if essential (e.g., root rot, broken-down medium). Do it in late spring or early summer, using a fresh, airy mix of long-fiber sphagnum moss and perlite.
- Feeding: If kept indoors, occasional feeding of a single pitcher with a small insect is beneficial. Never use liquid fertilizer in the soil.
- Acclimation: If moving your plant outdoors for summer, acclimate it even more slowly than you did in spring, over 3-4 weeks, to avoid sunburn.
Your Questions, Answered
Why are all my winter pitchers dying? Is my plant dead? This is completely normal! Pitchers are temporary organs. The plant often jettisons old ones to conserve resources during the slow winter period. As long as the stem is green and firm, and the growing tip is intact (even if small), your plant is alive and can recover.
Can I use tap water to revive my Nepenthes? I strongly advise against it. Minerals and chemicals in tap water (like chlorine and fluoride) accumulate in the soil and can poison sensitive roots. This is a leading cause of decline. Use distilled, rainwater, or reverse osmosis water exclusively. It's non-negotiable for long-term health.
How long until I see a full recovery with new pitchers? Patience is key. You may see new leaf growth within 2-4 weeks of starting revival. However, pitcher development takes longer—often 6-8 weeks after the new leaf unfurls, provided humidity and light are optimal. Don't be discouraged by a pitcherless phase; focus on healthy foliage first.
Seeing your Nepenthes bounce back from its winter slump is one of the most satisfying experiences for a plant enthusiast. It requires a blend of patience, observation, and a willingness to adapt to your plant's specific signals. By avoiding the common shock tactics, incrementally restoring its ideal environment, and learning from the subtle cues it gives you, you’ll not only revive your plant but also forge a deeper understanding of its needs. The sight of that first new, perfectly formed pitcher emerging will make every careful step worth it.





