 bluename
How to Master Water-Based Nepenthes Propagation for Beginner US Home Gardeners
I killed my first three Nepenthes cuttings before I figured out water-based propagation. It's honestly the easiest method for beginners — no soil, no guessing, just a clear container so you can actually watch roots form. The whole process takes about two weeks before you see the first nubs. Let me walk you through exactly what I did, including the mistakes that cost me those first three plants.
Why Water Propagation Works So Well for Nepenthes
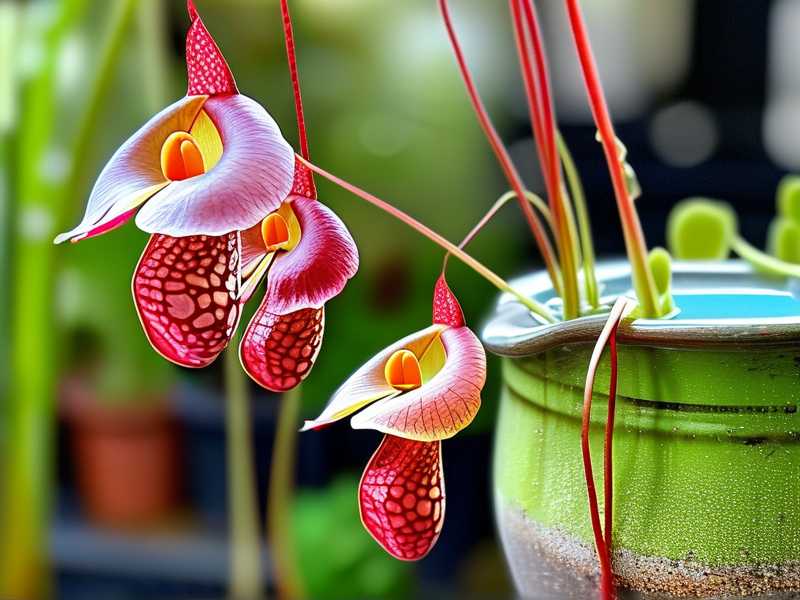
Nepenthes, or tropical pitcher plants, are surprisingly forgiving when you root them in water. The RHS notes that stem cuttings root reliably in water for many tropical species. That's because you can monitor moisture without drowning the stem.
Here's the thing though — water propagation isn't foolproof. I learned that the hard way. My first cutting sat in a mason jar on a sunny windowsill and turned to mush in five days.
The key is understanding what the plant actually needs: warm temperatures, indirect light, and clean water. Simple stuff, right? But most beginners mess up one of those three.
The Three Fatal Mistakes I Made (So You Don't Have To)
Mistake 1: Overwatering — Yes, Even in Water
I know it sounds weird. You're literally rooting a plant in water. How do you overwater it? But you absolutely can.
If you submerge too much of the stem, or if you don't change the water, bacteria builds up and rot sets in. I lost my second cutting because I left it in cloudy water for eight days. The stem went black from the bottom up.
Here's the rule I follow now: only the bottom inch of the stem touches water. Change it every two to three days. That's it.
And this isn't just a Nepenthes thing. 90% of indoor plants die from overwatering — whether they're in soil or water. Excess moisture suffocates roots and invites pathogens. The AHS backs this up, emphasizing drainage and airflow for healthy root development.
Mistake 2: Light Misplacement
My third cutting got direct afternoon sun. The leaves curled and crisped within 48 hours. Nepenthes are understory plants in the wild. They want bright, indirect light. Think dappled shade under a tree canopy.
I now place my propagation jars on a shelf about three feet back from an east-facing window. That gives them gentle morning light without any harsh midday burn. If you only have a south or west window, use a sheer curtain. That diffuses things nicely.
Mistake 3: Using the Wrong Container
I started with a narrow-necked bottle because it looked cute. Big mistake. I couldn't get the cutting out without damaging the new roots. Plus, the narrow opening trapped humidity and caused mold.
Now I use wide-mouth glass jars or clear plastic cups. Easy to clean, easy to remove the plant, and you can see root development without disturbing anything. A clear container is non-negotiable for me. Watching those first white nubs appear is half the fun.
My Step-by-Step Water Propagation Method
Step 1: Take the Right Cutting
Pick a healthy stem with at least two nodes — those little bumps where leaves meet the stem. Cut just below the bottom node at a 45-degree angle. Use clean, sharp scissors. I wipe mine with rubbing alcohol first.
Remove the lower leaves so they don't sit in water. Leave two or three leaves at the top. If the leaves are huge, cut them in half to reduce moisture loss. I know that sounds brutal, but it helps the cutting focus energy on root growth.
Step 2: Set Up Your Jar
Fill a clean glass jar with room-temperature water. If your tap water is heavily chlorinated, let it sit out overnight. I use filtered water because my tap water is pretty hard.
Place the cutting so only the bottom inch is submerged. You can use a piece of plastic wrap over the jar with a hole poked in it to hold the cutting upright. Or just lean it against the rim if the leaves are big enough.
Step 3: Find the Right Spot
Warmth matters. I keep my jars in a room that stays between 70–80°F. Below 65°F and rooting slows to a crawl. Above 85°F and you risk rot.
Indirect light, no direct sun. A spot near a bright window with a sheer curtain works great. If you're using grow lights, keep them 12–18 inches away and run them 12 hours a day.
Step 4: Wait and Watch
This is the hard part. For the first week, nothing visible happens. I check the water every two days and change it if it looks cloudy. Around day 10 to 14, you'll see small white bumps forming at the node.
That's the magic moment. By week three or four, those bumps turn into actual roots. I wait until roots are at least an inch long before potting up.
What I Observed Over Two Weeks
Day 1: Cutting looks healthy, leaves are firm. Day 3: No change. Water still clear. Day 5: I change the water. Slight brown tint — normal. Day 7: Still nothing visible. I resist the urge to poke at it. Day 10: Tiny white nubs appear at the node. Finally! Day 12: Nubs are slightly bigger. Maybe 2mm. Day 14: Clear root initials forming. I can see them without squinting.
That two-week mark is when things get exciting. Patience is everything here. I've learned that messing with the cutting — pulling it out to check, touching the node — only delays rooting.
Potting Up After Roots Form
Once roots hit one to two inches, it's time to pot. I use a mix of long-fiber sphagnum moss and perlite. Roughly 70/30. It holds moisture but drains well.
I keep the new plant in a clear plastic bag for the first week to maintain humidity. Then I slowly open the bag over another week to acclimate it to room humidity. This step prevents transplant shock. I skipped it once and lost a beautifully rooted cutting in two days.
Common Questions Beginners Ask
Can I propagate Nepenthes in water year-round?
Yes, but rooting is slower in winter. I stick to spring and early summer when the plant is actively growing. Warmth and longer days speed things up.
Do I need a rooting hormone?
Not for water propagation. I've tried it both ways and saw no real difference. Clean water and patience work just fine.
What if the water turns cloudy or smells bad?
Change it immediately. Cloudy water means bacteria. Rinse the stem gently under room-temperature water and put it in a fresh jar. If the stem feels mushy, cut above the mushy part and start over.
Final Thoughts
Water-based Nepenthes propagation is genuinely beginner-friendly. The supplies are cheap, the process is visible, and you learn a ton just by watching. Just remember: less stem in water, indirect light, and a wide-mouth jar. Avoid my three mistakes and you'll have rooted cuttings in about a month. I wish someone had told me all this before I sacrificed three perfectly good stems. Now you know.





