 bluename
How to Complete Nepenthes Cutting Work Before US Summer Growth Surges
If you want your Nepenthes cuttings rooted and actively growing before the summer heat kicks in, the single most important thing is timing. I take cuttings in late winter or very early spring, while the parent plant is still in a slow-growth phase but the days are already lengthening. That window gives cuttings six to ten weeks to root before the summer surge pushes everything into overdrive. Miss it, and you are fighting high temperatures, faster water loss, and rot. I learned this the hard way after losing an entire batch of N. ventricosa cuttings one June.
Why Nepenthes Cuttings Fail for Most Home Growers
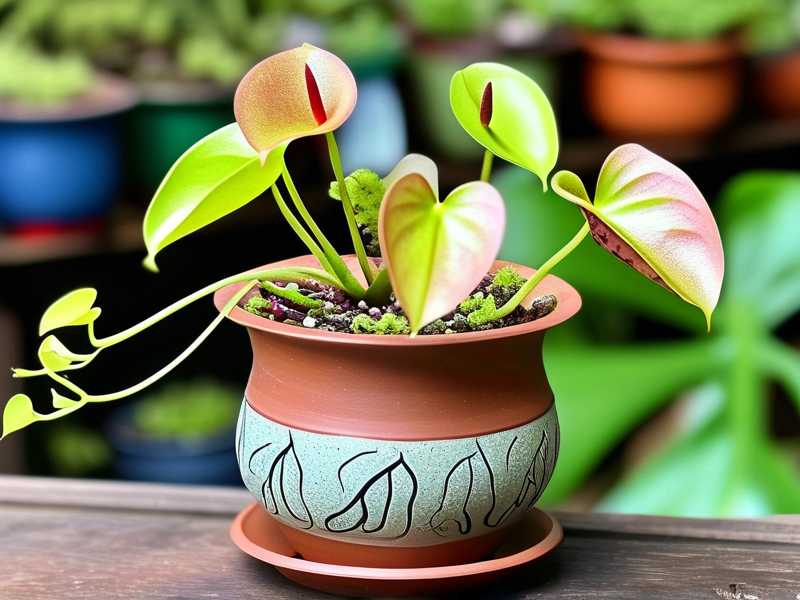
Let me be blunt. Nepenthes cuttings are not hard, but they are unforgiving of a few specific mistakes. Most failures I see in my own greenhouse and in messages from readers come down to water, light, and container choice. Those three things kill more cuttings than anything else. And honestly, the same three errors wipe out houseplants across the board. It is no exaggeration to say that 90% of indoor plants die from overwatering, and Nepenthes cuttings are no exception. If the medium stays soggy, the cut end turns to mush within days.
The Best Time to Take Nepenthes Cuttings in the US
I aim for February through early April, depending on your USDA zone. In colder states like Minnesota or Maine, March is ideal because your indoor light is increasing but your grow space is not yet baking. In warmer zones like Florida or Southern California, I would start in late January or February. The RHS recommends taking stem cuttings from actively growing but not flowering shoots for most tropical plants, and Nepenthes follows that rule well. The goal is simple. Roots form best when temperatures sit between 70°F and 80°F, not when they spike past 90°F in a July heat wave.
How I Actually Take the Cutting
I use clean bypass pruners, wiped with alcohol. I cut just below a node, leaving about one inch of stem below it. Each cutting should have at least two nodes, ideally three. I remove the lower leaves and any tendrils, then trim the top leaves in half with scissors to reduce moisture loss. This step matters more than people think. A full leaf on a cutting with no roots just pumps water out of the stem into dry air.
Some growers swear by rooting hormone. I have tried both ways. With Nepenthes, I find a light dusting of rooting powder on the cut end helps maybe 10 to 15 percent more cuttings take, but it is not mandatory. What is mandatory is letting the cut callus over for a few hours before sticking it into medium. I put mine on a paper towel in a shaded spot for two to four hours. If you skip this, you are basically inviting fungal rot.
The Medium and Container That Actually Work
I used to root cuttings in straight peat. Big mistake. It held too much water and I lost half of them. Now I mix long-fiber sphagnum moss with perlite at about 70/30. The moss stays airy but retains just enough moisture. For containers, I use clear plastic cups with holes punched in the bottom. The clear cup lets me see root development without pulling the cutting out. I have also tried terracotta, and it dries out too fast for Nepenthes cuttings. Plastic is better here. I place the cups in a shallow tray and water from the bottom only when the moss feels barely damp.
The Humidity Dome Trick That Saved My Success Rate
Nepenthes cuttings need high humidity. I use a clear plastic storage bin as a humidity dome, with the lid cracked open for a few minutes each day. If you seal it completely, you get mold. If you leave it open, the cuttings dry out. I learned this after a nasty case of gray mold wiped out a batch of N. alata cuttings in week two. Now I open the bin for ten minutes every morning and wipe condensation off the lid. That small habit made a huge difference. I also keep a small hygrometer inside the bin. I aim for 80 to 90 percent relative humidity. Once roots form, usually around week four to six, I start opening the lid wider for longer periods to harden them off.
Light and Temperature During Rooting
Nepenthes cuttings do not want direct sun. I keep mine under a two-tube T5 fluorescent fixture, about twelve inches above the bin, for fourteen hours a day. That is enough light to encourage root growth without cooking the leaves. If you use LED grow lights, start at 50 percent intensity and watch for leaf bleaching. I once put a batch too close to a high-output LED and the leaves turned pale yellow in three days. I moved the light up and they recovered, but it set them back two weeks.
Temperature is just as important. I keep my rooting area between 72°F and 78°F. If it drops below 65°F at night, rooting slows to a crawl. If it goes above 85°F, rot becomes a real risk. A simple heat mat with a thermostat can help in cool rooms, but do not let the medium get warmer than 80°F.
My Two-Week Observation Log
I want to share what I actually see in the first two weeks, because this is where most people panic and start messing with things. When I took six cuttings of N. sanguinea on March 1st this year, here is what happened.
Day 1 to 3: The cuttings look limp. The leaves may droop slightly. This is normal. Do not water more. I repeat, do not water more.
Day 4 to 7: The cut end starts to swell slightly at the node. That is the callus forming. No roots yet. The moss should feel like a wrung-out sponge, not wet.
Day 8 to 10: Some cuttings show a tiny green bump at the node. That is the start of a root primordium. I get excited every time, even after years of doing this.
Day 11 to 14: The first true roots may appear, usually one or two thin white roots. They are fragile. Do not tug on the cutting to check. Just look through the clear cup.
By the end of week two, I have a good idea which cuttings will make it. If the stem is still firm and green, it is on track. If it turns brown or mushy, pull it out and toss it. Leaving a rotting cutting in the bin can spread to the healthy ones.
The Three Deadly Mistakes I See Over and Over
First, overwatering. I cannot say this enough. Nepenthes cuttings rot in wet medium. I water only when the moss is barely moist, and I never let the cups sit in standing water. If you take one thing from this article, make it this: 90% of indoor plants die from overwatering, and cuttings are even more sensitive.
Second, wrong light. Too much light bleaches leaves and dries the cutting. Too little light and roots never form. I use bright, indirect light and keep the fixture at a fixed height. I check leaf color every few days. Dark green is good. Yellow or brown means adjust the light.
Third, wrong container. Terracotta dries too fast. Glass jars with no drainage hold too much water. I use clear plastic cups with drainage holes. That is it. Simple and effective.
Hardening Off and Potting Up
Once roots are two to three inches long, usually around week six to eight, I move the cutting into a small pot with my standard Nepenthes mix. That is equal parts long-fiber sphagnum, perlite, and orchid bark. I keep the new plant in the humidity bin for another week, opening the lid a bit more each day. Then I move it to a shaded spot in my regular growing area. The first month after potting is still delicate. I do not fertilize until I see new pitcher growth, which can take another four to six weeks.
The AHS notes that tropical pitcher plants benefit from gradual transitions rather than sudden environmental shifts, and that matches my experience exactly. Slow and steady wins here.
Frequently Asked Questions
Can I root Nepenthes cuttings in water? I have tried it, and it works maybe 30 percent of the time. Roots that form in water are weaker and often break when you pot them up. Sphagnum moss gives you stronger roots and a better survival rate. If you must use water, change it every two days and pot up as soon as roots are half an inch long.
How long until I see new pitchers on a rooted cutting? Realistically, three to six months. The cutting needs to establish a root system, then produce new leaves, and only then will it start making pitchers. I have had some fast growers like N. ventricosa pitcher in three months, and slower species take eight months or more. Be patient.
Do I need a greenhouse to root Nepenthes cuttings? No. A clear plastic bin with a cracked lid works fine for a few cuttings. I rooted my first Nepenthes on a bathroom windowsill using a zip-top bag as a humidity dome. It is not glamorous, but it works. Just watch for mold and open the bag daily.
Final Thoughts from My Own Growing Bench
Nothing beats the feeling of pulling a rooted Nepenthes cutting out of its cup and seeing a healthy tangle of white roots. It took me several failed batches to get here. I killed my first three attempts by overwatering, using the wrong medium, and leaving them in direct sun. You do not have to make those same mistakes. Start your cuttings before the summer surge, keep the medium barely moist, give them bright indirect light, and use a container you can see through. That is really all there is to it. The plants do the rest.





