 bluename
How to Keep Nepenthes from Dropping Pitchers in US Dry Air: My 2-Week Rescue Mission
If you’re like me, a plant lover in the drier parts of the United States, you’ve probably felt that heart-sinking moment. You bring home a stunning Nepenthes, its pitchers dangling like intricate jewels, only to watch them shrivel, brown, and drop one by one. The new growth seems promising, but the pitchers abort before they ever inflate. The culprit? Our indoor air, especially during winter or in arid climates, is a silent pitcher killer. I faced this exact struggle. My Nepenthes was surviving, but not thriving, and certainly not pitchering. So, I embarked on a focused, two-week experiment to keep Nepenthes from dropping pitchers in my home’s dry air. Here’s exactly what I did, the mistakes I made along the way, and the results that finally brought my plant back to its carnivorous glory.
Understanding the "Why": It’s All About Humidity and Stress
Before diving into solutions, it’s crucial to understand why dry air causes Nepenthes pitchers to drop. Pitcher formation is an energy-intensive process for the plant. It requires consistently high humidity around the developing tendril tip to form the perfect seal for the future pitcher. When the air is too dry, this delicate tissue desiccates during the critical inflation stage. The plant, sensing the conditions are unsuitable for a functional trap that would waste precious resources, aborts the process. The tendril may continue growing, but the pitcher bud turns black and falls off. According to experts from the Carnivorous Plant Society and resources like The Savage Garden, while many mature Nepenthes are adaptable, sustained humidity below 50% during pitcher development is often the primary trigger for this frustrating drop.
My 3-Pronged Strategy to Boost Localized Humidity
I knew I couldn’t humidify my entire apartment to 80% humidity. Instead, I focused on creating a perfect microclimate right around my plant. I targeted three key areas: ambient humidity, root zone moisture, and light synergy.
Creating a Humidity Dome Without a Dome
The most common advice is to use a humidifier. I did that, but I learned placement is everything. Placing it three feet away on a bookshelf did almost nothing for the Nepenthes. My fix? I moved the humidifier to within 18 inches of the plant, ensuring the gentle mist drifted through its leaves. I used a simple hygrometer to monitor. The room air stayed at a dry 35%, but the zone around my Nepenthes now hovered between 65-75%.
But I didn’t stop there. I implemented the classic pebble tray technique, but with a critical upgrade. A shallow tray with pebbles and water, with the pot sitting above the waterline, provides evaporation. To amplify this, I placed the entire pot and tray inside a wider, decorative ceramic bowl. This contained the evaporating moisture much more effectively than an open tray, creating a more sustained local humidity pocket. This combination was my first major win.
Watering for Humidity, Not Just Hydration
I was watering on a schedule, which was my second mistake. For Nepenthes pitcher retention in low humidity, the substrate’s moisture level and the watering method are vital. I switched to watering based on feel—the top layer of my long-fiber sphagnum moss mix should be slightly damp, never soggy and never bone dry. More importantly, I started using the tray method briefly. I would water thoroughly from the top with distilled water until it ran through, let the plant sit in that water for no more than 30 minutes to drink, and then empty the outer saucer completely. This prevented root rot but gave the plant a solid drink. I also began misting the developing pitcher buds and surrounding leaves lightly twice a day with a fine spray bottle, using only distilled water to avoid mineral spots. This direct moisture on the growth points was a game-changer.
The Light and Humidity Partnership
A common pitfall is increasing humidity while neglecting light. A Nepenthes in lower light has less energy to produce pitchers, making it even more likely to abort them in suboptimal humidity. I realized my east-facing window wasn’t enough, especially in winter. I supplemented with a full-spectrum LED grow light positioned about 12 inches above the plant, set on a 14-hour timer. The increased light energy gave the plant the photosynthetic "funds" it needed to invest in pitcher construction, making it more resilient to minor humidity fluctuations.
My 2-Week Observation Log and The Turning Point
Here’s how my experiment unfolded:
- Days 1-3: Setup. Moved humidifier closer, created the double-bowl pebble tray system, adjusted lighting, and began targeted misting. No visible change on two stalled, browning pitcher buds.
- Days 4-7: I noticed the browning on the small buds had halted. They weren’t growing, but they weren’t getting worse. The plant’s overall foliage looked perkier. A new tendril was emerging from the crown.
- Days 8-10: Breakthrough! The new tendril was growing rapidly, and the tip began to swell—the first sign of pitcher initiation. The old, stalled buds remained in suspended animation.
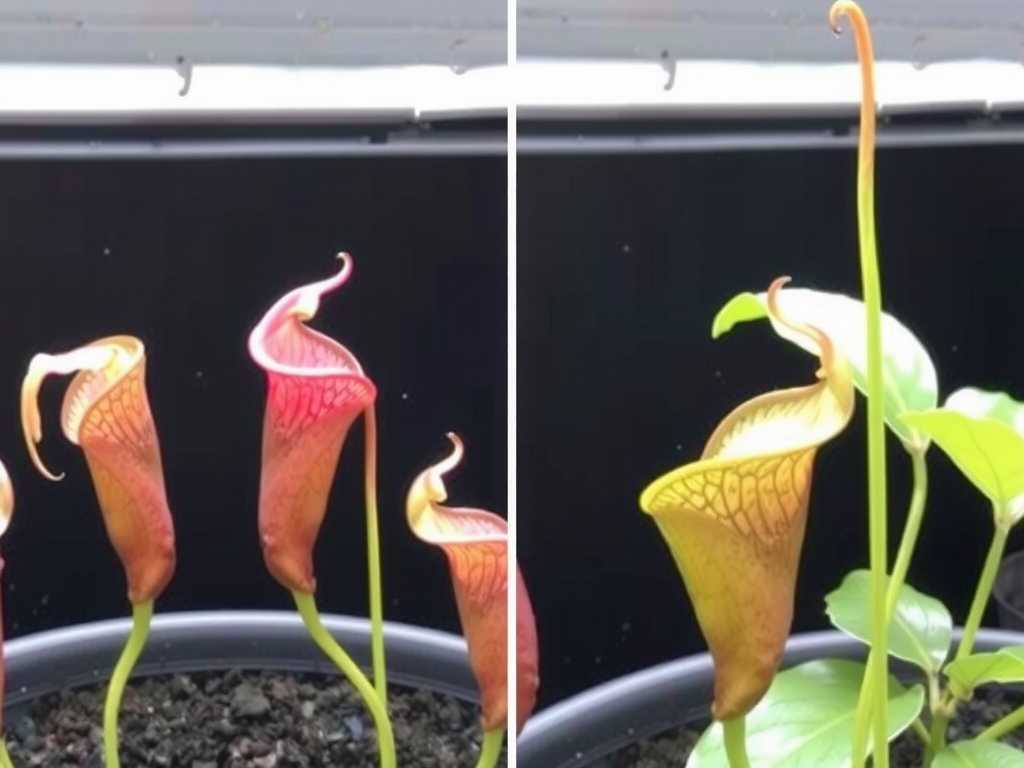
- Days 11-14: The new pitcher inflated beautifully over four days. It started as a tiny, green bulb and gradually elongated, with the lid forming perfectly. By day 14, it was a fully formed, albeit small, functional pitcher with no signs of dessication. The old buds eventually fell off when gently touched, but the plant had clearly redirected its energy to the new, successful growth under the improved conditions.
The Pitfalls I Encountered and How I Solved Them
- Misting with Tap Water: I initially used tap water for misting, which left ugly white mineral deposits on the leaves. Solution: Switched exclusively to distilled or rainwater for all contact.
- Overwatering in Panic: Early on, thinking more water equaled more humidity, I kept the saucer full. The moss stayed too wet, and I saw the first signs of moss fungus. Solution: Adopted the "soak and drain" method, ensuring the pot had periods of air reaching the roots.
- Neglecting Airflow: High humidity without airflow invites mold and fungal issues. My setup started to feel stagnant. Solution: I ran a small, oscillating fan on low in the room (not directly on the plant) for a few hours each day to promote gentle air circulation, which is also recommended by experienced growers to strengthen plants.
Sustaining Pitcher Production for the Long Term
My two-week mission proved that preventing pitcher drop on Nepenthes is about consistent care, not quick fixes. I’ve maintained the routine, and my plant has since produced three more pitchers in succession. The key is stability. Once the plant adapts to a reliable microclimate, it will confidently invest in new traps.
Common Questions from Fellow Growers
Can I use a terrarium instead? Absolutely, a terrarium or a cloche is an excellent way to create a high-humidity environment. For larger plants, a large glass cabinet ("ikea greenhouse" or IKEA greenhouse hack) is a popular solution. Just ensure it has adequate ventilation or fans to prevent stale, fungal-prone air.
My humidity is high, but pitchers still drop. Why? Check other stressors. The most common culprits are insufficient light, using mineral-rich water (like tap water) which poisons the roots, or a recent change in location (shock). Low humidity is the prime suspect, but it’s not the only one. Ensure you’re using pure water, providing strong light, and avoiding repotting during active growth.
How long does it take to see improvement after adjusting conditions? As in my case, you can halt further die-off within a week. However, for the plant to initiate and fully develop a new pitcher, expect a 2 to 4-week timeline from when you implement stable corrections. Patience is essential. The plant needs to grow a new tendril from a leaf node under the improved conditions.
Watching a Nepenthes consistently produce its bizarre and beautiful pitchers is one of the most rewarding experiences in indoor gardening. It’s a clear sign of a happy, healthy plant. By focusing on localized humidity, syncing it with proper watering and strong light, and avoiding the common pitfalls, you can turn the tide against dry air. The journey from dropping pitchers to a vine full of traps is entirely achievable. Start with the microclimate, be patient, and your Nepenthes will thank you with a spectacular display.





