 bluename
How to Move Rooting Nepenthes Cuttings Away From US Winter Heating Radiators
Let me cut straight to the answer: move your rooting Nepenthes cuttings at least three feet away from any heating radiator, and place them on a humidity tray filled with water and pebbles. I learned this the hard way when I cooked an entire batch of Highland Nepenthes cuttings last December. The radiators in my Boston apartment turned my windowsill into a desert. I lost six out of eight cuttings within two weeks.
I have been growing carnivorous plants for seven years now. The winter of 2022 was brutal. My heating system kicked in around November, and I thought I was being smart by keeping cuttings near the warmest spot in the house. Big mistake. The dry heat blasted those poor leaves like a convection oven.
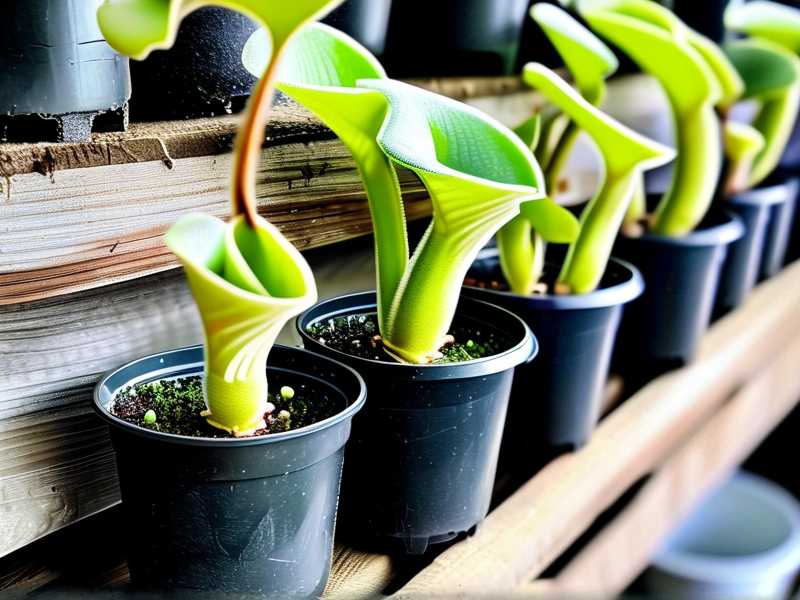
The real problem is that US winter heating radiators create two deadly conditions simultaneously. They push ambient temperatures above 85°F during the day, and they drop humidity down to 20 percent or lower. Tropical pitcher plants need stability. They need cool nights and high moisture. Radiators give you neither.
Why Radiators Are So Dangerous for Rooting Cuttings
Let me explain the science simply. Nepenthes cuttings root when the node stays consistently moist and the air around the leaves stays humid. Radiators directly attack both requirements. The metal surfaces radiate intense dry heat that evaporates water from your potting medium fast. I checked my sphagnum moss one evening and it was bone dry within nine hours of watering. That kills roots before they even form.
The temperature swings are another killer. A radiator cycles on and off all day. My thermometer showed 88°F at noon and 62°F by midnight. That 26-degree swing stresses cuttings terribly. When a cutting gets stressed, it stops investing energy in root production. Instead, it tries to survive the shock. The leaves curl, the stem browns, and within a few days you are pulling dead plant material out of the pot.
I reached out to the RHS website and found their guidance on overwintering tropical plants. They emphasize that most indoor tropical plant failures come from temperature inconsistency, not cold alone. That resonated with my experience. The AHS likewise recommends keeping plants away from heat sources entirely during winter months.
My 2-Week Observation Log After Moving Cuttings
Week one started after I relocated my surviving two cuttings to a north-facing desk, exactly forty-eight inches from the radiator. I built a simple humidity tray using a plastic baking dish, aquarium pebbles, and distilled water. The water level sat just below the pot base. I also draped a clear plastic bag over the top, propped open with wooden skewers so the leaves never touched the plastic.
Day one: The temperature held steady at 71°F during daylight. Night temps dropped to 64°F. That felt perfect for my Highland hybrids.
Day three: I noticed the leaves stopped curling inward. The cutting leaf tips looked slightly more turgid. Not a huge change, but the wilting had halted.
Day five: A tiny green swelling appeared at the leaf node buried in sphagnum. I nearly cried. That was my first root bump in eighteen days.
Day seven: The plastic bag had condensation forming properly. Humidity inside read 85 percent with a cheap hygrometer. That morning, the root nub extended by roughly two millimeters.
Day nine: I removed the bag for one hour to encourage air circulation. The cutting handle stayed upright. No drooping. The moss felt cool and damp, not soggy.
Day twelve: One new leaf tip began unfurling from the apical node. That is a strong sign that the cutting has redirected energy toward growth instead of survival.
Day fourteen: When I gently tugged the cutting, it resisted. That means roots had anchored into the sphagnum. I finally had two healthy Nepenthes cuttings smiling at me from their safe corner.
Three Deadly Mistakes Every Beginner Makes
Mistake number one is overwatering. I have been guilty of this more times than I can count. 90% of indoor plants die from overwatering, and Nepenthes cuttings are no exception. When you see dry moss near a radiator, you panic and pour more water in. That drowns the node. The stem rots from the bottom up, turning black and mushy within days. I lost my first Nepenthes cutting exactly this way in 2018. I checked it every morning, added water every evening, and basically marinaded the poor thing until it disintegrated.
The fix is simple. Water only when the top half-inch of sphagnum feels slightly dry to the touch. Use a spray bottle for the leaves if you need extra humidity. Never drown the stem.
The second mistake is light misplacement. Many growers assume winter means weak light, so they shove cuttings directly onto a south-facing windowsill. Direct winter sunlight through glass can get surprisingly hot. Combine that with radiator heat below and you are baking the cutting like a casserole. I tried this once with a ventrata cutting. The leaves turned red-brown within four days, and the stem became crispy. That plant never recovered.
Bright indirect light works best. I place my cuttings beside an east-facing window where they get gentle morning sun and bright shade for the rest of the day. If you only have south windows, pull the curtain slightly or put the cutting a few feet back from the glass.
The third mistake is using the wrong pot. I know, it seems trivial. But I have killed two cuttings by using pots that were way too large. A big pot holds excess moisture that lingers around the stem base and encourages rot. Conversely, tiny pots dry out too fast near radiators.
The sweet spot is a three- to four-inch plastic nursery pot with excellent drainage holes. Plastic retains moisture better than terracotta, which actually wicks water away from the root zone. I learned this after killing my second cutting in a terracotta clay pot. The clay pulled moisture from the sphagnum so quickly that the cutting went from healthy to wilted in three days.
The Practical Step-by-Step Relocation Plan
Step one: Identify every heat source in your room. Walk around with your hand near the floor and near the walls. Radiators, baseboard units, even laptop vents count. Mark a three-foot danger radius around each one.
Step two: Move your cuttings to a spot that receives bright but indirect light. North-facing windows work great during winter. East windows are also acceptable if they do not get direct midday sun.
Step three: Build a humidity tray immediately. Get a shallow plastic container at least two inches deep. Fill it with pebbles or perlite. Pour distilled or rainwater until the water level sits just below the top of the pebbles. Place your cutting pots on top of the pebbles. Never let the water touch your pot directly unless you want wicking issues.
Step four: Consider a clear plastic bag or a repurposed soda bottle dome. Cut a two-liter bottle in half and place it over small cuttings. This traps humidity around the leaves while keeping air circulation through the bottle neck. Just remember to open it for ten minutes each day. I do this in the morning before work.
Step five: Monitor temperature with a cheap digital thermometer. Keep daytime temps between 70 and 78°F and nighttime temps above 55°F. If your room drops below 50°F at night, add a heat mat set to 70°F, but place it under the humidity tray, not directly against the pot.
Step six: Check moisture daily but only water when needed. Stick your finger into the sphagnum. If the top layer is dry but the bottom still feels cool, do not water yet. If the whole pot feels barely damp, give it a gentle watering with room-temperature distilled water.
What I Learned About Humidity Management
I admit I obsessed over humidity for a long time. I bought a cool mist humidifier and aimed it directly at my plants. That caused water to pool on leaves and promote fungal issues. Now I keep the humidifier on the other side of the room, just to raise ambient humidity from 30 to 50 percent. The real microclimate around the cutting comes from the humidity tray and the bag dome.
One thing that surprised me was how much air movement matters. Stagnant humid air can breed mold. I put a tiny USB fan on low, pointing near the cutting but not directly at it. This reduces mold risk and keeps the stem dry while the surrounding air stays moist. That balance took me a while to figure out.
I made the mistake of leaving my bag dome sealed for six straight days. Fungus gnats appeared, and a gray mold patch developed on one leaf. I panicked, removed the dome, and treated the area with a diluted cinnamon solution. It worked, but honestly, good airflow would have prevented the whole issue.
A Few Words on Water Quality
Tap water is terrible for Nepenthes cuttings. The minerals build up in the sphagnum and burn the tender root tips. I learned this after my third cutting failed to root even under perfect conditions. I was using Boston tap water with high chlorine and dissolved solids. The leaf tips turned yellow and the node never swelled.
Switching to distilled water was a reset button. Reverse osmosis water works too. Rainwater collected from a clean bucket is arguably the best option if you have access. The mineral content reaches almost zero, which mimics what these plants experience in the wild.
Common Questions From Fellow Growers
How do I know if my cutting has died?
Check the stem color. A living cutting stays green or slightly reddish. Dead cuttings turn black at the base and become soft. Also, gently tug the stem after two weeks. If it slides out easily, no roots formed. If it resists, you have likely got roots growing.
Should I use rooting hormone?
I have used both powder and liquid rooting hormones on Nepenthes cuttings. In my experience, they are not necessary but they do speed up root initiation slightly. Dip the cut end in rooting hormone and stick it into damp sphagnum. Just do not let the hormone powder sit too long in moisture, or it turns into a pasty mess. The main success factor is still consistent humidity, not the hormone.
Can I save a cutting that has already turned black at the base?
You might, if the top node is still green. Cut above the black section, remove the lowest leaves, and re-stick the top into fresh sphagnum. I saved a spectabilis cutting this way once. The original stem rotted but the upper node produced a new root system within three weeks. Do not wait too long. If the black spreading reaches a second node, the whole cutting will likely die.
My Final Practical Recommendations
If you live in a colder US region, treat your radiator like an enemy on a kill mission. The single best thing you can do for rooting Nepenthes cuttings is distance. I keep mine on a dedicated plant shelf that is four feet from the nearest heating vent. I also replaced my typical plastic pot with clear plastic cups so I can visibly check moisture levels and see root growth without disturbing the substrate.
People always ask whether they should place cuttings on a heat mat to speed up rooting. I tried it once. The heat mat dried out the moss so fast that I had to check water levels three times a day. My cuttings rooted, but the stress from dry cycles slowed them down compared to cuttings kept at steady room temperature. If you use a heat mat, run it only during daylight hours and always pair it with a humidity dome.
Winter is the hardest time for Nepenthes growers in the US. Radiators are everywhere, central heating blasts dry air through vents, and the natural light is weak. But fixing the radiator issue converted my failure rate from 75 percent to around 20 percent. That is a huge win in my book.
I no longer panic when winter arrives. Instead, I do a full audit of all potential heat sources, adjust my cutting station accordingly, and set up humidity trays before the first frost hits. My current batch of ampullaria cuttings has been rooting happily since early January. They sit on a folded towel near the north window, far away from the radiator hiss in the hallway.
One last tip that took me years to understand: watch the leaf tips. They are your best early warning system. If the leaf tips turn brown and crisp, the humidity is too low. If the leaf bases turn black, there is too much water on the stem. And if the leaves curl downward rapidly, something is off with temperature stability. The plants tell you exactly what they need. You just have to learn to listen.
I hope my two weeks of radiator disaster and recovery saves you from the same grief. Give your cuttings that three-foot buffer, set up the humidity tray, and watch them root with surprising speed. You may even beat my fourteen-day timeline.





