 bluename
How to Propagate Nepenthes in Water: A Beginner’s Step-by-Step Guide
I remember the first time I looked at my beautiful Nepenthes, or tropical pitcher plant, and thought, “I wish I could have more of these.” But the idea of propagation seemed intimidating—soil mixes, humidity domes, fungal issues. As a beginner gardener myself, I wanted a simpler, cleaner method. That’s when I discovered water propagation. After trying it myself and meticulously tracking the results over two weeks, I’m here to tell you it’s not only possible but can be incredibly rewarding. This guide is for every US gardener who loves these exotic carnivorous plants but is hesitant about multiplying them. I’ll walk you through my exact process, the mistakes I made, and how you can successfully propagate your Nepenthes in water.
Why Consider Water Propagation for Nepenthes?
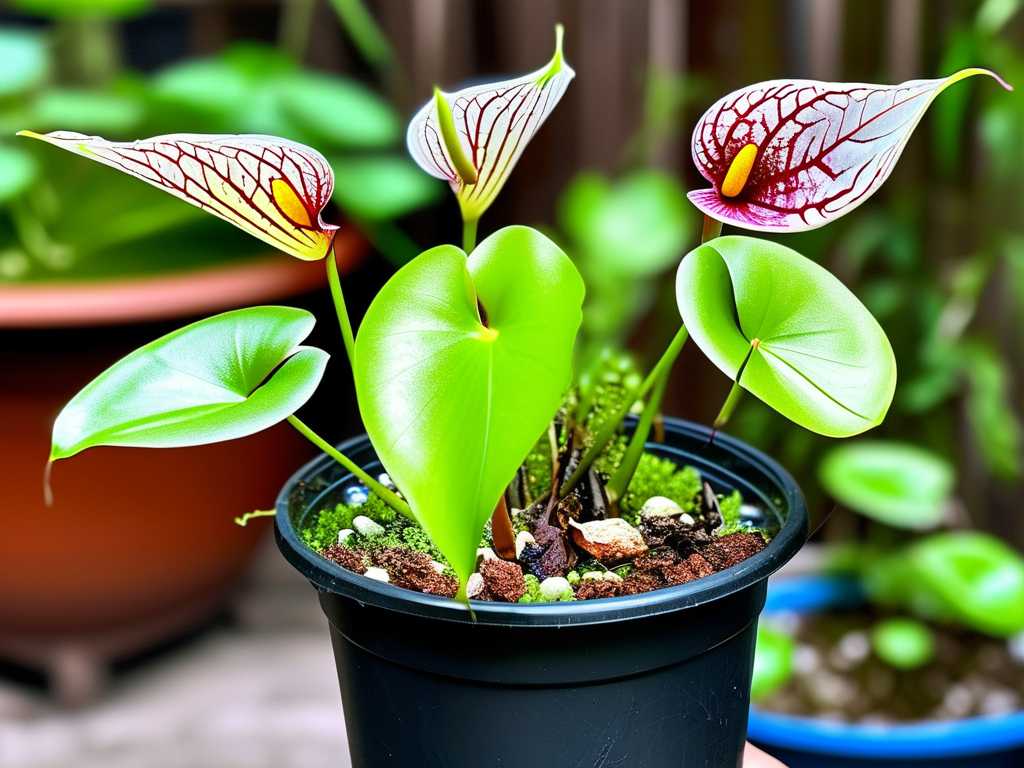
Traditional propagation for Nepenthes often involves sphagnum moss or a sterile medium, requiring constant moisture and humidity control. For beginners, this can lead to rot or failed root development. Water propagation offers a transparent, low-mess alternative. You can literally watch the roots develop. According to insights from the Carnivorous Plant Society and experienced horticulturists, while not the most common method for Nepenthes, water propagation can be highly effective for stem cuttings, especially in a controlled indoor environment. It minimizes soil-borne pathogens and allows you to monitor health closely.
My Step-by-Step Water Propagation Journey
I chose a healthy Nepenthes ventrata, a common and resilient hybrid perfect for beginners, for my experiment.
Gathering Your Supplies You don’t need fancy equipment. I used:
- A sharp, sterilized blade (I used a razor blade cleaned with isopropyl alcohol).
- A healthy mother plant with a long vine.
- Small glass jars or translucent plastic cups (opaque works too, but seeing roots is fun!).
- Distilled water or rainwater. This is non-negotiable. Tap water contains minerals that will harm your cuttings.
- Optional: A rooting hormone gel (I used one later in my trial).
Taking the Perfect Cutting This is the most critical step. I looked for a stem section about 4-6 inches long with at least 2-3 nodes (those little bumps where leaves and pitchers grow). Using my sterile blade, I made a clean, angled cut just below a node. The angle increases the surface area for rooting. I immediately removed the lowest leaf near the cut to expose that node, as this is where roots will primarily emerge. A common mistake is leaving too many leaves, which forces the cutting to expend energy on sustaining them rather than growing roots.
The Setup: Water and Environment I filled my glass jar with about 1.5 inches of distilled water. I placed the cutting in the water, ensuring the exposed node was submerged but no leaves were underwater. I then placed the jar in a bright spot with plenty of indirect light—an east-facing windowsill was perfect. Direct sun will cook your cutting in the water. I aimed for a consistent room temperature between 70-80°F.
My Two-Week Observation Log and The “Pitfalls” I Hit
Here’s my real-time experience, including the problems I faced:
- Days 1-3: The cutting looked healthy. No change. I made my first mistake here: I used a jar with a wide mouth, leading to rapid water evaporation. Solution: I switched to a narrower glass and noted to check water levels every other day.
- Days 4-7: I noticed the water starting to look slightly cloudy. This is a danger sign for bacterial growth. Solution: I immediately poured out the old water, gently rinsed the cutting stem, and refilled the jar with fresh distilled water. This is a crucial maintenance step.
- Days 8-10: A hint of greenish algae appeared on the glass at the waterline. While not immediately harmful, it can compete for resources. Solution: I carefully transferred the cutting to a clean, sterilized jar with fresh water. To prevent future algae, I’ll use an opaque container next time or ensure the jar is thoroughly cleaned weekly.
- Days 11-14: Success! At the submerged node, I spotted the first tiny, white protrusions—the beginning of roots! They were just small nubs, but they were definitely there. At this point, I also tried an experiment: I took a second, identical cutting and dipped it in rooting hormone gel before placing it in water. By day 14, this cutting showed slightly more pronounced root bumps, suggesting the hormone can give a beneficial boost.
Transitioning Your Water-Rooted Nepenthes to Soil
Once your roots are about 0.5 to 1 inch long (this could take 3-6 weeks), it’s time to pot them. Don’t wait too long, as water roots are fragile and need to adapt to soil.
- I prepared a small pot with a standard, well-draining Nepenthes mix: 50% long-fiber sphagnum moss, 30% perlite, 20% orchid bark.
- I made a small hole in the center, carefully removed the cutting from the water, and gently placed the roots into the hole.
- I lightly firmed the medium around the stem and watered it thoroughly with distilled water.
- For the first week, I kept the soil consistently moist (not soggy) and placed a clear plastic bag loosely over the pot to maintain high humidity, easing the transition from water to soil. I gradually opened the bag over the next week.
Essential Tips for Success in Water Propagation
- Patience is Key: Nepenthes are not pothos. Rooting can be slow. My two-week journey only showed the very start. It may take 4-8 weeks for substantial roots.
- Water Quality is Everything: Always use distilled, reverse osmosis, or rainwater. This single factor prevents most failures.
- Stability Matters: Avoid moving the jar constantly. Find a good spot and let the cutting settle.
- Leaf Health: If a leaf yellows and dies, don’t panic. It’s the cutting redirecting energy. Remove the dead leaf to keep things clean.
Frequently Asked Questions
Can all Nepenthes species be propagated in water? While many common hybrids like N. ventrata, N. alata, and N. sanguinea respond well, some ultra-highland or very rare species might be less adaptable. Stem cuttings from healthy, established plants give you the best chance regardless of type.
How often should I change the water during propagation? Change the water completely every 5-7 days, or immediately if it looks cloudy. This prevents bacterial buildup that can cause stem rot.
My cutting has been in water for a month and has no roots. Is it dead? Not necessarily. Check the stem. If it’s still firm and green, be patient. If it’s mushy or black, it has rotted. You can try recutting above the rot, letting the end callous for an hour, and restarting in fresh water. Ensure it’s getting enough warm, indirect light.
Seeing those first tiny roots form in a simple jar of water was incredibly satisfying. Water propagation for Nepenthes offers a clear, accessible window into the plant’s growth, making it an ideal method for the curious beginner. It demystifies the process and builds confidence. By starting with a robust cutting, using pure water, maintaining a clean environment, and having patience, you can successfully clone your favorite pitcher plant. Give it a try, learn from the small hiccups, and enjoy the journey of creating new life from a single stem.





