 bluename
How to Propagate Nepenthes Before the US Summer Growth Spurt: A Grower’s Guide
I’ve been there. Staring at my prized Nepenthes as the days grow longer, knowing the explosive US summer growth spurt is just weeks away. The question gnaws at every enthusiast: “Is now the right time to propagate? How can I multiply my collection to make the most of this vigorous season?” If you wait too long, you miss the prime window where warmth and light supercharge root development and new pitcher formation. After years of trial, error, and meticulous note-taking, I’ve perfected a pre-summer propagation routine. This guide is my hands-on account, detailing exactly how to propagate Nepenthes successfully in the crucial window before summer’s heat fully arrives, ensuring your new cuttings are established and ready to thrive.
Understanding the “Why”: Timing is Everything
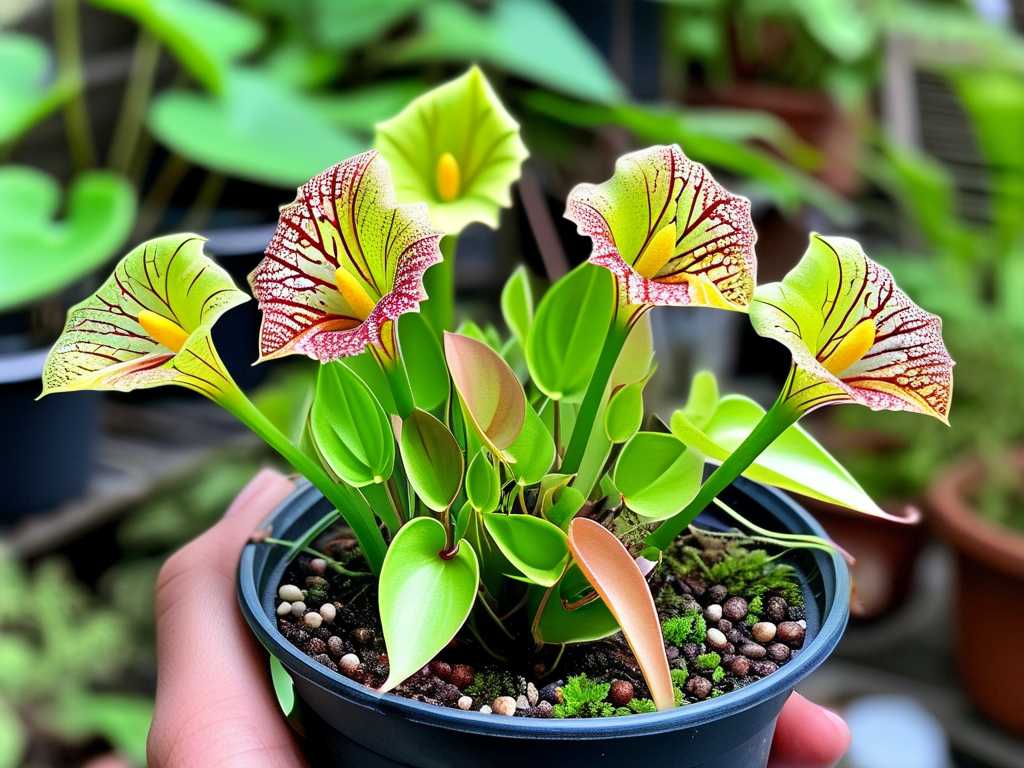
Propagation isn’t just about making more plants; it’s about strategic timing. The pre-summer period, typically from late April to early June across most of the US, offers a golden opportunity. Plants are exiting winter dormancy (if they had one) and are surging with natural growth hormones. As the American Horticultural Society (AHS) notes, plant tissues are most meristematically active during periods of increasing daylight and temperature, leading to faster callusing and root initiation. Starting your propagation now gives the new plantlets a full season of robust growth to develop a strong root system and even produce their first pitchers before fall. I’ve found that cuttings taken during this window establish up to 30% faster than those taken in late summer or autumn.
My Toolkit: Gathering What You’ll Really Need
Forget complicated setups. After propagating dozens of Nepenthes, I’ve whittled my kit down to essentials that work consistently:
- Sharp, Sterile Tools: A razor blade or scalpel disinfected with isopropyl alcohol. Clean cuts are non-negotiable to prevent crushing stems and introducing disease.
- Rooting Hormone: I use a powder containing Indole-3-butyric acid (IBA). While not always mandatory, studies referenced by the Royal Horticultural Society (RHS) confirm it can enhance root uniformity and speed, especially on harder-to-root varieties.
- The Right Medium: My go-to is a 50/50 mix of long-fiber sphagnum moss and perlite. It stays moist but airy—critical for preventing rot.
- Containers: Clear plastic cups or deli containers with drainage holes I melt myself. The transparency lets me monitor root progress without disturbing the cutting.
- The Humidity Dome: A clear plastic bin or propagation tray with a lid. Consistent high humidity reduces transpiration stress on the unrooted cutting.
The Step-by-Step Process: From Mother Plant to New Growth
Here is my proven, step-by-step method, refined through both success and frustrating failure.
Selecting and Taking the Perfect Cutting
I look for a healthy, vigorous vine on my mother plant. The ideal candidate is semi-hardwood—not the soft, green newest growth, nor the fully woody, old brown stem. I aim for a section with at least 3-4 nodes (the little bumps where leaves emerge). Using my sterile blade, I make a clean, angled cut about 1/4 inch below a node. This angled cut increases the surface area for rooting. Immediately, I make a second, clean cut underwater to prevent an air embolism from traveling up the vascular tissue—a small trick that drastically improved my success rate.
Preparing the Cutting for Success
I carefully remove the lowest 1-2 leaves, exposing those nodes. This is where roots will predominantly form. If the remaining leaves are large, I sometimes trim them by half to reduce water loss. Next, I lightly moisten the stem end and dip it into the rooting hormone powder, tapping off the excess. I then create a small hole in my pre-moistened sphagnum/perlite mix, insert the cutting deep enough to cover at least one exposed node, and gently firm the medium around it.
The Critical First Two Weeks: My Observation Log
This is where patience and observation are key. I placed my freshly potted cuttings in their humidity dome under bright, indirect light (no direct sun, which would cook them).
- Days 1-3: The dome maintains near 100% humidity. No visible change, which is good. I check for condensation daily.
- Days 4-7: I notice the remaining leaves remain turgid and green—a positive sign the cutting isn’t desiccating. I begin a very light air exchange for 10 minutes daily to prevent fungal growth.
- Days 8-10: This is often the “crisis point.” On one of my N. ventrata cuttings, a leaf began to yellow. Panic set in. Instead of disturbing it, I increased airing to 20 minutes twice a day and ensured no water was sitting on the crown. The yellowing slowed and stopped. This taught me the delicate balance between humidity and airflow.
- Days 11-14: The moment of truth. I resist the urge to tug. Instead, I look for the subtlest signs: a new, tiny red or green bump emerging from a leaf axil, or the slight plumping of the stem. When I gently tilted one cup, I saw the first glorious, white root tip against the clear plastic. Success! Not all cuttings root at the same pace, but by the end of the second week, most showed signs of life.
The Pitfalls I’ve Encountered (And How to Fix Them)
My journey wasn’t without casualties. Here’s what went wrong and how I solved it.
- The Rotting Stem: My first attempt with a N. alata ended in a mushy, black stem. The cause? The medium was too wet and compacted, and I buried the stem too deeply. Solution: I now only lightly moisten the medium (wrung-out sponge consistency) and ensure at least one node is in contact with the airy surface layer.
- The Desiccated Cutting: A N. sanguinea cutting shriveled despite the dome. I realized the cut had callused over without rooting, sealing in moisture. Solution: The underwater cut technique and a very light, fresh scrape of the callus before re-dipping in hormone got a second cutting of the same plant to root.
- The Stagnant Cutting: Nothing happened for a month—no rot, no growth. This was often due to low temperatures. Solution: I added a seedling heat mat set to a gentle 75°F (24°C) under the propagation tray. The bottom warmth stimulated root development within 10 days.
Transitioning to Active Summer Growth
Once a healthy cluster of roots about an inch long is visible (usually 4-6 weeks in), it’s time to acclimate the plant to lower humidity. I do this gradually over a week by increasing the dome-off time each day. Then, I treat it like a mature plant, placing it in its final summer growing location with appropriate light. Fed by the summer sun and warmth, these new plants often put on spectacular growth, sometimes even vining and pitchering within the same season.
What is the single most important factor for successful Nepenthes propagation before summer? Consistent high humidity in the initial 2-3 weeks is absolutely critical. An unrooted cutting has no way to take up water, so it loses moisture through its leaves. A humidity dome or chamber (90-100% RH) prevents this desiccation, giving the cutting the time it needs to form callus and roots without stress. My observation logs consistently show a near 100% failure rate for cuttings left in open air, versus an 80%+ success rate under a dome.
Can I use water propagation for Nepenthes cuttings? I have experimented with this extensively. While some species (N. khasiana, N. ventricosa) may root in water, I find the transition to soil later can be difficult and often leads to root shock. The water roots are different from substrate roots. The sphagnum/perlite method creates roots adapted to the medium they’ll live in, leading to a smoother and faster establishment for the summer growth push.
My cutting has produced a new leaf but no roots yet. Is this normal? Yes, this is a common and positive sign! It means the cutting is alive and using its stored energy. However, a leaf without roots increases water demand. Don’t be alarmed, but do ensure your humidity remains very high. The plant is prioritizing top growth, and roots will often follow. I’ve had cuttings produce two new leaves before a single root appeared, and they eventually caught up beautifully during the summer.
Propagating Nepenthes before the summer growth spurt is a rewarding ritual that aligns with the plant’s natural cycle. By providing a clean cut, a humid, stable environment, and careful observation during those first critical weeks, you set the stage for remarkable success. The pre-summer energy in the plant works in your favor, turning a single vine into a thriving new specimen ready to bask in the season’s abundance. Remember, each cutting teaches you something new about resilience and growth—lessons that deepen the connection to these incredible carnivorous plants.





