 bluename
How to Boost Nepenthes Cutting Root Growth: US Spring Tips
I remember the sinking feeling all too well. You’ve carefully taken a cutting from your prized Nepenthes, a piece of a plant you’ve nurtured for years, and weeks go by with no sign of roots. The stem starts to look a little sad, a little soft, and panic sets in. If you’re trying to propagate your tropical pitcher plants in the unpredictable climate of a US spring, you know this struggle intimately. The fluctuating temperatures, the variable humidity, and the lingering chill can turn a straightforward propagation project into a test of patience. After numerous trials, errors, and finally, successes, I’ve refined a system that dramatically boosts Nepenthes cutting root growth, specifically tailored for the spring season across the United States. This guide is born from my own hands-on experience, including a detailed two-week observation log of my latest batch of cuttings.
Understanding the Spring Propagation Challenge
Spring in the US is not a single climate. A gardener in Florida faces different challenges than one in Oregon or New York. For Nepenthes cuttings, the core issue is consistency. These plants crave stable, warm, and humid conditions to initiate roots. Our springs offer glimpses of this but are often interrupted by cold snaps and dry air.
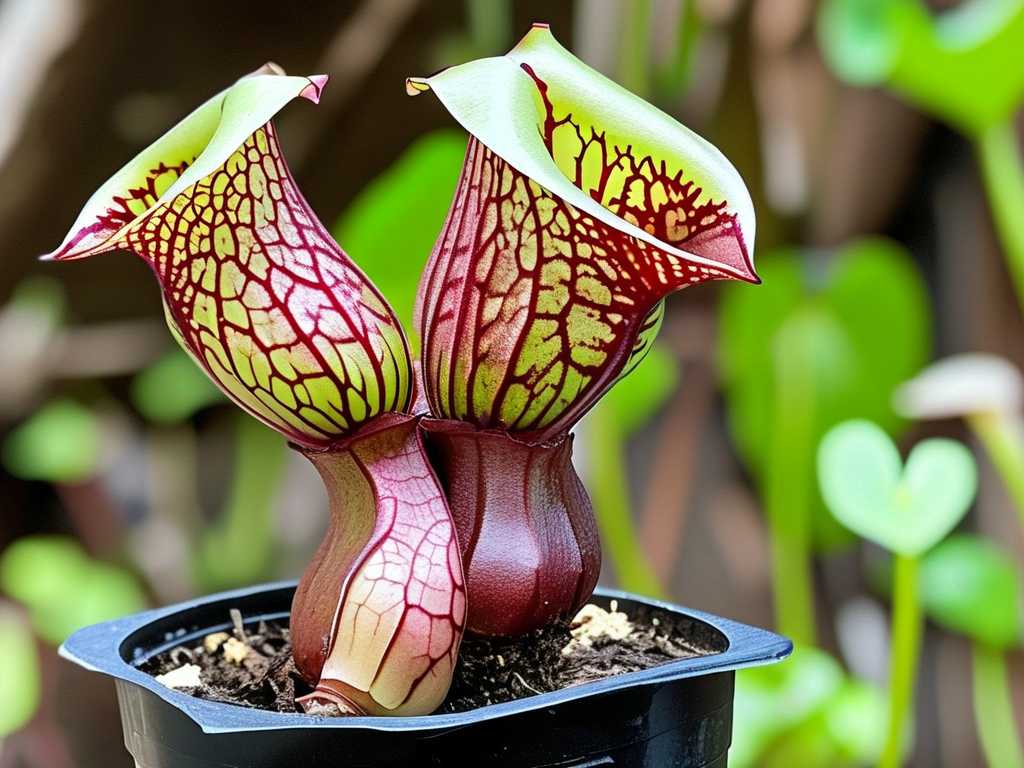
The key is not to fight nature, but to create a controlled microclimate that mimics the cutting’s ideal tropical environment. This is where most hobbyists, including my past self, go wrong. We assume a windowsill or a room-temperature setup is enough. It rarely is for consistent, speedy rooting.
My Proven Spring Propagation Setup
After losing a few precious cuttings to rot and stagnation, I developed a reliable chamber method. It’s simple, inexpensive, and leverages the increasing daylight of spring.
Creating the Perfect Rooting Environment
You don’t need a fancy greenhouse. My setup consists of three core components:
- The Medium: I’ve switched entirely to long-fiber sphagnum moss that has been soaked in distilled water and thoroughly wrung out. It should be damp, not dripping wet. A study often cited by the Carnivorous Plant Society reaffirms that sphagnum moss provides excellent aeration and moisture retention while having natural antifungal properties—critical for preventing stem rot.
- The Chamber: A clear plastic storage box with a lid becomes your mini-biome. I place the prepared pots of cuttings inside, but I do not seal the lid completely at first. This is a crucial detail. A fully sealed lid in cooler spring temperatures can lead to condensation overload and fungal outbreaks.
- The Heat Source: This is the game-changer for US springs. I use a standard waterproof seedling heat mat placed under half of the chamber. This creates a gentle thermal gradient. The cuttings on the mat experience a consistent, root-zone temperature of 75-80°F (24-27°C), while those off the mat are slightly cooler. The cuttings can essentially choose their comfort zone.
The Step-by-Step Process I Follow
Here is the exact process I used for my most recent batch of Nepenthes ‘Ventrata’ and N. maxima cuttings, started in mid-March.
Step 1: Selection and Cutting I select a healthy vine with at least three nodes. Using sterilized blade, I make a clean cut about a quarter-inch below a node. The top cutting has 2-3 leaves, and I immediately trim the lowest leaf to expose the node. This node is where roots will emerge. I let the cut end callous for an hour or two.
Step 2: Preparation and Planting I fill small 3-inch pots with the pre-moistened sphagnum moss. I make a deep hole in the center with a chopstick, dip the exposed node in rooting hormone powder (a product containing IBA), and gently place the cutting into the hole, firming the moss around the stem. The remaining leaves should not touch the moss.
Step 3: Chamber Setup and Placement The pots go into the plastic chamber. I place two pots directly on the heat mat section and two pots at the unheated end. I add a small cup of distilled water in the corner to boost humidity. The lid is placed on but offset by about an inch for the first week to allow for gentle air exchange. The entire chamber sits under bright, indirect LED grow lights for 14 hours a day, supplementing the often-cloudy spring sun.
My Two-Week Observation Log and Key Findings
This real-time log shows the progression and the critical adjustments I made.
- Days 1-3: Ambient room temperature fluctuated between 65-68°F (18-20°C). Inside the chamber, the heated side stayed a steady 78°F (25.5°C). Moss remained evenly damp. No condensation on the lid due to the offset.
- Days 4-7: I noticed the moss on the heated side drying slightly faster. This is normal and desirable, as it encourages root search for moisture. I lightly misted only the surface moss on those pots with distilled water. The cuttings looked unchanged—no wilting, which was a good sign.
- Day 8 – The First Hurdle: A tiny spot of gray fuzz appeared on the stem of one cutting on the cooler, damper side. This was my past mistake manifesting: not enough air circulation and slightly too cool, damp conditions. I immediately removed the affected cutting, sprayed the remaining ones with a dilute sulfur-based fungicide (approved for use on carnivorous plants), and fully removed the chamber lid for 4 hours to dry the air slightly. I then replaced the lid, but kept it offset.
- Days 9-12: With increased air flow, the environment stabilized. The cuttings on the heat mat side showed the first visible change: the nodes began to swell slightly and developed a faint, greenish bump. This is the primordial root tissue! The cooler-side cuttings showed no such activity.
- Days 13-14: The bumps on the heated-side cuttings elongated into unmistakable white root nubs, about 1-2mm long. The cooler-side cuttings finally showed node swelling. I moved one of them onto the heated side. The other remained as a control.
The Takeaway: Bottom heat was the single most influential factor in accelerating root initiation. It mitigated the cool spring air and created active growth conditions. The fungal scare highlighted that humidity must be balanced with air flow, especially in spring.
Essential Spring-Specific Adjustments
Based on my trials, here are non-negotiable tips for the season:
- Patience with Humidity: Don’t aim for 90% humidity like in summer. Target 70-80%. Use a digital hygrometer. The offset lid technique is perfect for this.
- Light is Your Ally: Maximize bright, indirect light. Spring sun is less intense, so cuttings can handle more. Supplement with grow lights if you have cloudy stretches. Good light fuels the photosynthesis needed to drive root development.
- Water Wisdom: Always use distilled or rainwater. Water from below by pouring a small amount into the chamber’s tray, letting the moss wick it up. This prevents the top layer from staying soggy. As horticulturists at the Atlanta Botanical Garden’s Southeastern Carnivorous Plant collection advise, “Think of the rooting medium as a moist sponge, not a wet one.”
Troubleshooting Common Spring Problems
- Cutting Wilt: Likely too much direct air flow or insufficient humidity. Check your lid seal and ensure the moss is damp. Move further from drafty windows.
- Stem Rot (My Day 8 Issue): Caused by cool, stagnant moisture. Increase air circulation immediately, lower humidity slightly, and consider a fungicide. Prevention via an offset lid and bottom heat is best.
- No Growth After Weeks: The temperature is almost certainly too low. Introduce a seedling heat mat. This was the breakthrough in my success rate.
What is the single most important thing I can do to encourage roots on my Nepenthes cutting in spring? Provide consistent bottom heat. A seedling heat mat set to 75-80°F (24-27°C) will do more to overcome cool spring soil temperatures than any other factor. It actively stimulates cellular activity at the root zone.
Can I use water propagation for Nepenthes cuttings in spring? You can, but I find it riskier during cooler months. The water temperature can drop at night, slowing metabolism and increasing rot risk. If you try it, use a small vessel and place it on a heat mat. My consistent success comes from the sphagnum moss and heat mat combination.
When will I know my cutting is successfully rooted and what do I do next? You’ll see new root growth of about half an inch, and most importantly, the cutting will begin to produce new leaf growth from its tip. Once a new small leaf is forming, you can begin to acclimate it to lower humidity over a week by gradually increasing the lid offset. After a week open, you can pot it into its permanent medium and treat it as a young plant, keeping it consistently moist and warm.
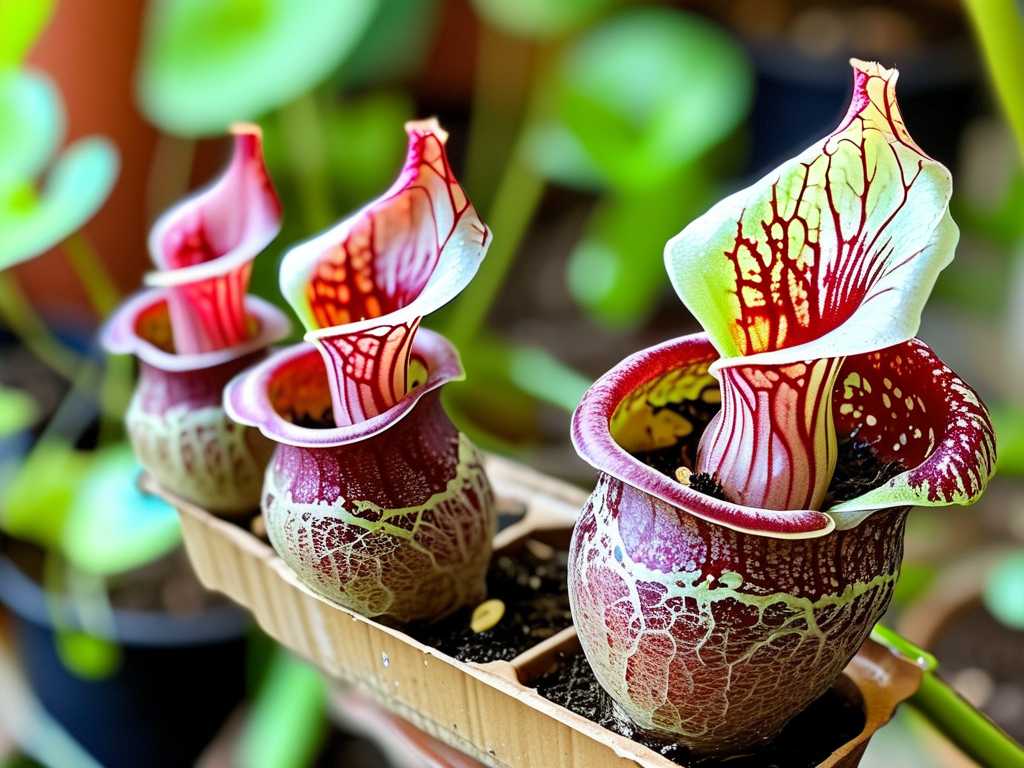
Propagating Nepenthes in spring is deeply rewarding. It transforms a challenging season into an opportunity for expansion. By focusing on warm roots, balanced moisture, and good light, you create a pocket of tropical summer on your bench. The moment you see those first white nubs pushing through the node is a triumph—a sign you’ve successfully provided what your plant needed. Start with a robust cutting, trust in bottom heat, and observe closely. Your pitcher plant collection is about to grow.





