 bluename
How to Propagate Nepenthes from Rhizomes: A Step-by-Step US Garden Guide
I’ve been fascinated by Nepenthes, or tropical pitcher plants, for years. Their otherworldly pitchers are a constant source of wonder in my home greenhouse. But let’s be honest—buying a mature, well-established specimen can be a significant investment. If you’re like me, you’ve probably looked at your prized plant and wondered, “Can I make more of these?” The answer is a resounding yes, and one of the most rewarding methods is rhizome propagation. However, the process is shrouded in uncertainty for many. The core fear is real: you risk damaging your beloved parent plant, only to end up with a failed cutting that rots before it ever roots. I’ve been there. After several attempts, meticulous note-taking, and a two-week intensive observation period, I’ve refined a reliable method. This guide will walk you through exactly how to propagate Nepenthes from rhizomes successfully, sharing both the triumphs and the pitfalls from my hands-on experience.
Understanding the Nepenthes Rhizome: Your Key to Success
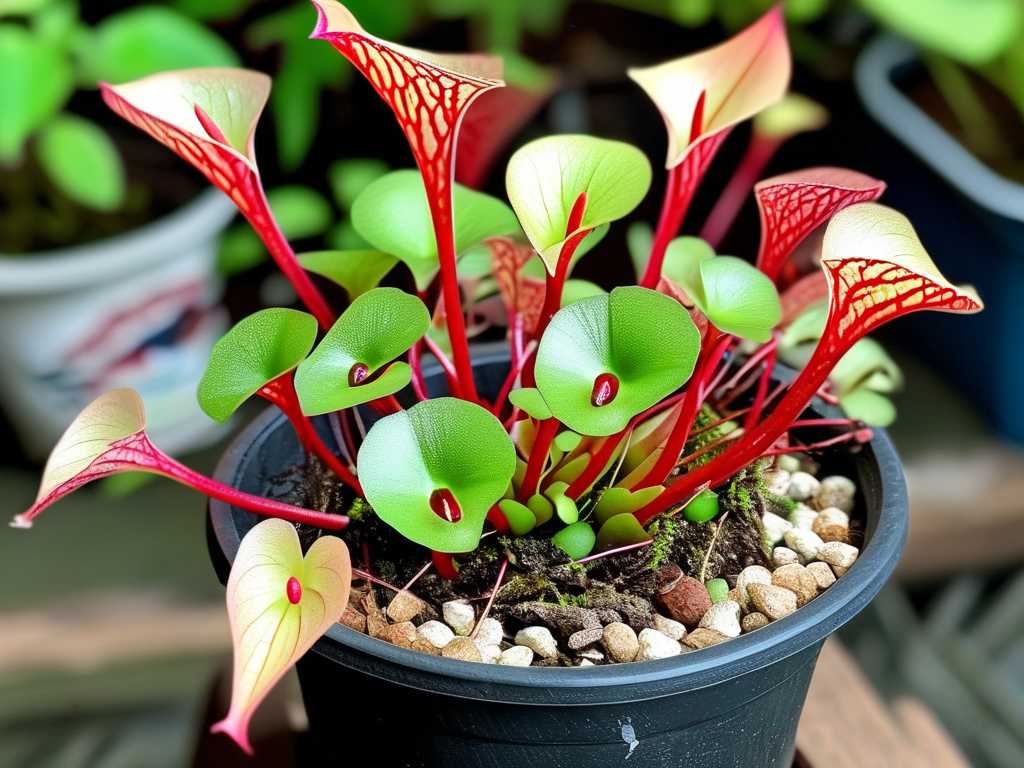
Before we make the first cut, it’s crucial to understand what we’re working with. Unlike many houseplants, a healthy Nepenthes doesn’t grow from a single, thick central stem. Beneath the soil surface, the main stem often transitions into a horizontal, modified stem called a rhizome. Think of it as the plant’s lifeline and storage unit. It’s where energy is stored and from which new growth points, or “eyes,” can emerge. According to experts from the Royal Horticultural Society (RHS), propagating from a section of rhizome containing a growth node is a classic vegetative method that preserves the exact genetics of the parent plant. This is your target. Success hinges on identifying a section of rhizome that is healthy, firm, and has at least one dormant growth bud.
Gathering Your Propagation Toolkit
Having the right tools on hand is half the battle. Using improper tools can crush plant tissues and introduce pathogens. Here’s what I prepare before starting:
- Sharp, Sterilized Cutting Tool: I use a brand-new razor blade or a scalpel sterilized with isopropyl alcohol. Dull scissors or pruners can crush the rhizome.
- Rooting Hormone (Powder or Gel): While not always mandatory, a rooting hormone containing a fungicide gives the cutting a significant boost. I prefer a gel as it adheres better.
- Sterile Potting Medium: This is non-negotiable. I use a mix of long-fiber sphagnum moss and perlite (about a 70:30 ratio). The American Horticultural Society (AHS) emphasizes the importance of a well-aerated, moisture-retentive, and low-nutrient medium for carnivorous plants, and this mix fits the bill perfectly.
- Small Pots and Humidity Domes: I use clear 3-inch pots to monitor root development. A clear plastic cup or a propagation box with a lid works as a humidity dome.
- Distilled or Rainwater: Nepenthes are sensitive to dissolved minerals. Tap water can harm them. I keep a gallon of distilled water ready.
My Step-by-Step Propagation Process: A Two-Week Journal
This is the exact process I followed, documented day-by-day for the critical first two weeks.
Step 1: Selecting and Preparing the Parent Plant
I chose a robust Nepenthes ventrata that had been actively growing. A week before the procedure, I ensured it was well-hydrated. A stressed or dehydrated plant is far less likely to succeed. I gently removed the plant from its pot and carefully washed the root mass with distilled water to expose the rhizome structure. The goal was to find a section with at least one visible, bumpy node that was not part of the main, active growing tip.
Step 2: The Precise Cut
This is the most nerve-wracking part. I identified a 2-3 inch section of firm, cream-colored rhizome behind the main growth. Using my sterilized blade, I made a single, clean, diagonal cut to separate the section. I immediately applied rooting hormone gel to the cut surface of both the parent plant’s rhizome and the new cutting. The parent plant was then repotted into fresh medium to recover.
Step 3: Potting and the Initial Setup
I pre-moistened the sphagnum/perlite mix with distilled water—damp, not soggy. I made a small hole in the center, inserted the cutting horizontally, just below the surface, with the node facing upward, and gently firmed the medium around it. I placed the pot inside a clear propagation tray with a vented lid. The location was crucial: bright, indirect light under my grow lights, with temperatures consistently between 75-85°F. No direct sun, as it would cook the cutting inside the dome.
The Critical Observation Period: Days 1-14
- Days 1-3: The environment was stable. Condensation formed on the dome, indicating high humidity. I resisted the urge to open it. The cutting looked unchanged—a good sign.
- Days 4-7: Here’s where I hit my first “pitfall.” I noticed a faint, white fuzz on a small piece of exposed sphagnum near the cutting. Panic! It was the start of mold, likely from slightly excessive moisture and lack of air circulation. My solution: I immediately removed the dome, carefully picked off the affected moss with tweezers, and lightly misted the area and the inside of the dome with a diluted hydrogen peroxide solution (1 part 3% peroxide to 4 parts water). I increased air circulation by opening the vent fully and only replacing the dome at a slight angle. This solved the issue without disturbing the cutting.
- Days 8-10: After the mold scare, conditions stabilized. No further fungal issues. The cutting itself still looked firm and healthy, with no signs of shriveling or rot.
- Days 11-14: The moment of truth approached. On day 12, I noticed a subtle change: the skin near the node looked slightly stretched. By day 14, there was a definitive, tiny green nub pushing through! This was not root growth yet, but a new shoot activation—the first undeniable sign of success. This aligned perfectly with expert guidance that shoot growth often precedes visible root development in Nepenthes rhizome cuttings.
Post-Propagation Care: From Cutting to Established Plant
Once the new growth is evident, patience remains key. I continued high humidity but introduced more air daily. After the shoot grew about an inch (around week 4), I began to acclimate it to lower humidity by propping the dome open for longer periods each day. Watering was done only by keeping the medium lightly damp, never waterlogged. I waited a full 8 weeks before attempting a very gentle tug test, which indicated some root resistance. Fertilization was withheld for the first 3 months; these plants get their nutrients from their pitchers, and the young root system is extremely sensitive.
Common Pitfalls and How I Avoided (or Solved) Them
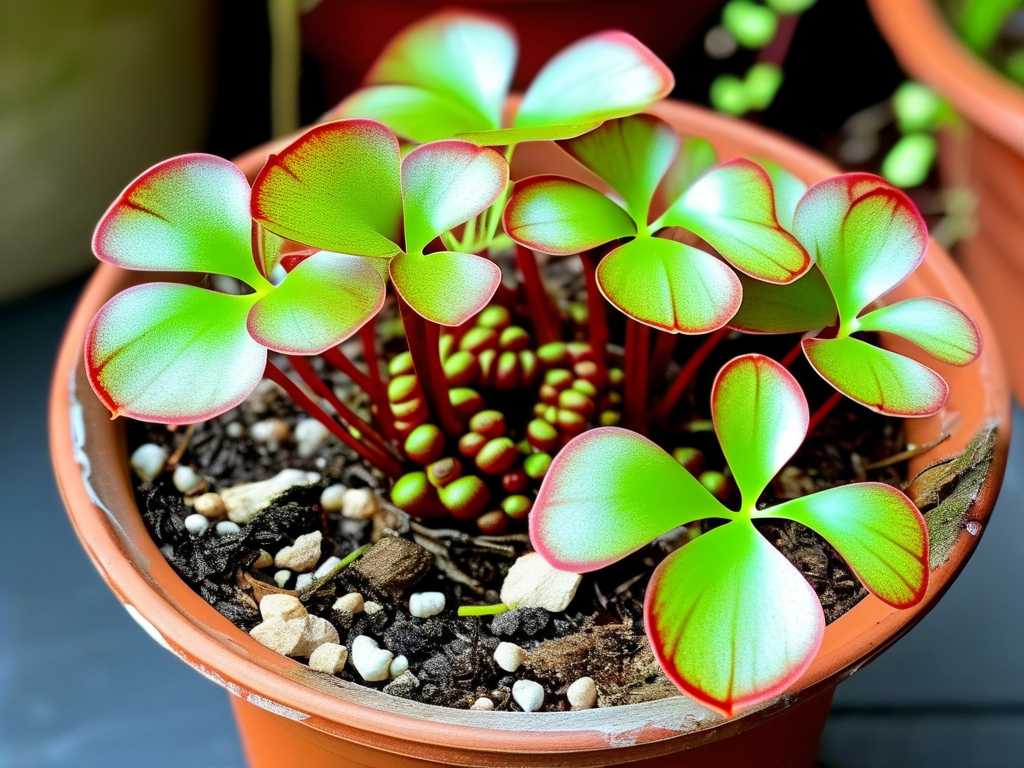
- Rotting Cutting: This is the #1 failure. Cause: Poor sanitation, soggy medium, or a cut made with a dirty tool. Solution: Sterilize everything, use a well-draining mix, and ensure the cutting calluses slightly if your environment is very humid.
- Mold/Fungal Growth: As I experienced, stagnant air is the culprit. Solution: Provide gentle air circulation from the start. Use a dome with vents or open it briefly daily. The hydrogen peroxide trick is a safe rescue.
- No Growth / Dormancy: Sometimes cuttings take time. Solution: Ensure consistent warmth (above 70°F) and light. Do not discard a firm, green cutting prematurely—some can take several months to awaken.
Frequently Asked Questions
Can I propagate any Nepenthes from a rhizome? Most terrestrial and intermediate species with a discernible rhizome can be propagated this way. Some true highlanders or species with very delicate stems might be less suited. The method works exceptionally well for common hybrids like N. ventrata, N. ‘Bloody Mary’, and N. ‘Gaya’.
How long does it take for a Nepenthes rhizome cutting to grow pitchers? You must be patient. After the initial shoot appears, it can take 6 months to a year for the new vine to mature enough to produce its first functional pitchers. Focus on establishing a strong root and leaf system first.
Is it better to propagate in water or sphagnum moss? I strongly advise against pure water propagation for Nepenthes rhizomes. They are prone to rot in stagnant water. The semi-hydroponic method of using soaked sphagnum moss in a high-humidity environment provides the moisture and aeration the cutting needs without the high risk of rot, making it the most reliable medium for starting these cuttings.
Propagating Nepenthes from rhizomes is a test of patience and attention to detail, but the reward is immense. There’s a unique satisfaction in nurturing a new plant from a section of your own. By selecting the right material, maintaining a sterile and stable environment, and learning from minor setbacks like mold control, you can significantly increase your success rate. Remember, the key indicators in those first few weeks are simply the absence of rot and the presence of firm tissue. When that first green shoot finally pushes through, all the careful waiting is instantly worth it. Now you’re not just a collector—you’re a cultivator.





