 bluename
How to Root Nepenthes Cuttings in US Water No Rot Hacks
I’ve been there. You’ve carefully taken a cutting from your prized Nepenthes, filled a glass with water, and waited with hope, only to watch the stem turn into a mushy, black mess within days. It’s frustrating, and it feels like a waste of a perfectly good propagation attempt. For years, I struggled with this exact issue. The common advice to “just stick it in water” seemed to work for pothos and philodendrons but was a death sentence for my tropical pitcher plants. I was determined to crack the code. After numerous trials, errors, and a lot of observation, I developed a reliable, no-rot method for rooting Nepenthes cuttings in water that finally gave me consistent success. This guide is the result of my hands-on experience, detailing every step, the pitfalls I navigated, and the simple hacks that made all the difference.
Why Water Propagation Often Fails for Nepenthes
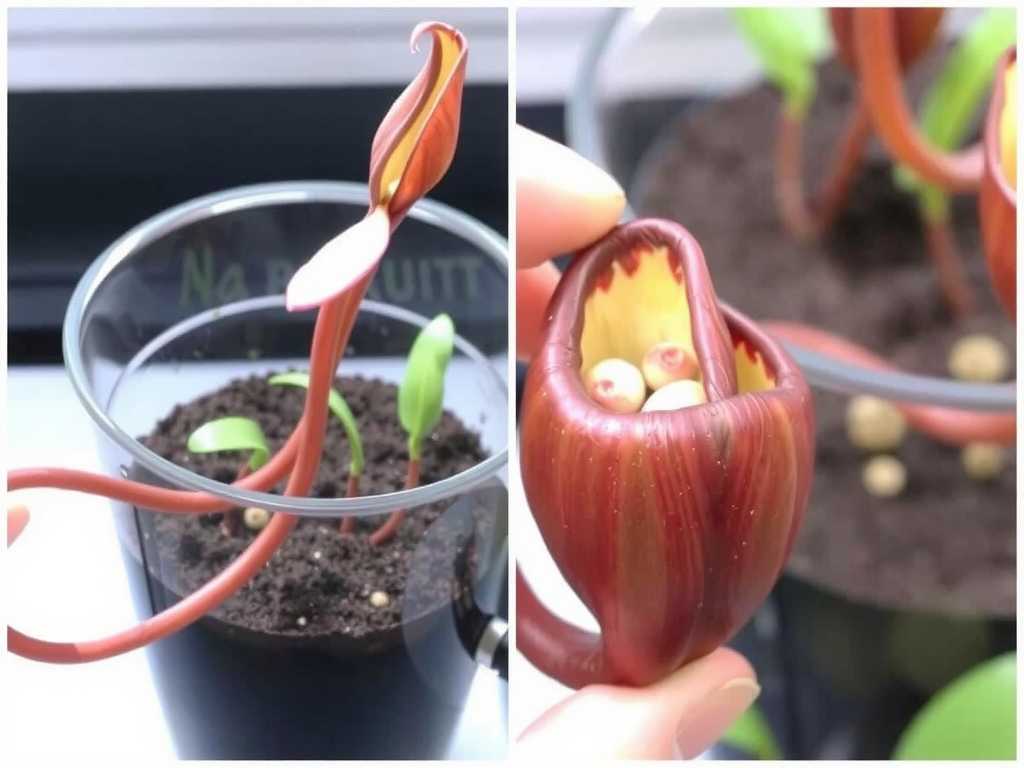
Most rot starts at the cut end. When you place a fresh cutting directly into water, the exposed tissue is vulnerable to a host of waterborne bacteria and fungi. Tap water in the US often contains chlorine, chloramines, and minerals that can further irritate the wound. Without proper preparation, the cutting essentially drowns and decays before it can even think about producing roots. My goal was to create an environment that prioritizes wound healing and oxygenation over simply submerging the stem.
My No-Rot Protocol: A Step-by-Step Guide
This process is built on prevention and patience. I followed this exact method with a cutting from my Nepenthes ‘Ventrata’ and monitored it daily for over two weeks.
Selecting and Preparing the Perfect Cutting
First, always use a sterile, razor-sharp blade. I use a single-edge razor blade disinfected with isopropyl alcohol. A clean cut crushes fewer cells, leaving a smaller wound. I choose a vine section with at least 3-4 nodes, making the cut just below a node. The node is where root growth will emerge.
Here’s the first critical hack: Immediate Callusing. Instead of putting the cutting straight into water, I let the cut end dry and form a callus. I placed the cutting on a paper towel in bright, indirect light for about 1-2 hours. This allows the wound to seal naturally, creating a physical barrier against rot-causing pathogens. This one step, which I learned the hard way after losing several cuttings to immediate water placement, drastically reduced my failure rate.
Choosing and Treating Your Water
The water itself is crucial. I never use plain tap water. My US water no rot hacks start with the water source. I use either distilled water or reverse osmosis (RO) water to eliminate minerals and chemicals. According to the American Horticultural Society (AHS), using pure water for sensitive propagation reduces stress on plant tissues and prevents chemical burn at the cut site.
The second hack involves oxygenation. Stagnant water becomes depleted of oxygen, encouraging anaerobic bacteria that cause rot. My solution is to use a small, narrow vessel—like a test tube or a shot glass—so the cutting doesn’t submerge too deeply. I only submerge the bottom 1/2 inch, just enough to cover the callused node. Then, I change the water every 48 hours without fail. Each water change reintroduces fresh oxygen. Sometimes, I’ll even gently swish the water in the glass before adding the cutting back in to increase oxygen dissolution.
The Ideal Environment for Root Initiation
I place my setup in a location with very bright, indirect light. No direct sun, as it can overheat the water and the cutting. Consistent warmth is key; I aim for an ambient temperature between 75-80°F (24-27°C). I avoid using rooting hormones in water, as I found they can sometimes promote rot in this environment. The goal is clean, stable, and oxygenated.
My Two-Week Observation Diary
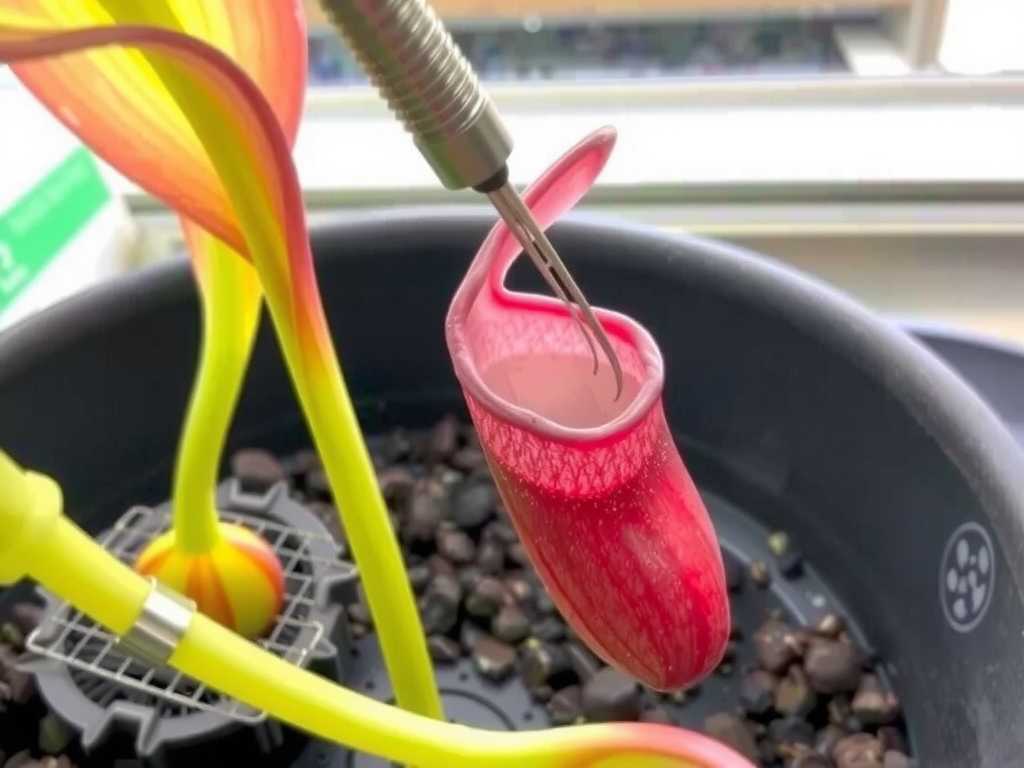
- Days 1-3: The cutting looked healthy, no stem discoloration. The callus was visibly formed. Water remained clear.
- Days 4-7: I noticed a slight swelling at the submerged node. This was the first exciting sign! The water still looked clean after my changes.
- Days 8-10: Tiny, white nubs became clearly visible at the node. These were the primordial roots. The stem remained firm and green.
- Days 11-14: The nubs elongated into definite, white roots reaching about 1/4 inch long. There was zero evidence of stem softening or water cloudiness, which had always been my previous rot indicators.
Troubleshooting: The Pitfalls I Encountered and Fixed
Even with this method, I faced challenges. In one early attempt, I used a jar that was too wide, and the cutting slumped over, submerging a leaf petiole. That petiole rotted and threatened the stem. The fix was simple: use a vessel that supports the stem upright. I now use floral tubes or secure cuttings with a piece of foam over a small cup.
Another issue was impatience. I once tried to pot a cutting the moment I saw a root nub. It stalled. I learned that for healthy Nepenthes water propagation, you must wait until the roots are at least 1-2 inches long and have begun developing secondary root hairs. This usually takes 3-5 weeks, not just two. Potting too early shocks the fragile root system.
When to Transition to Potting Mix
Once the roots are robust, the transition is critical. I don’t move the cutting directly from water to a standard potting mix. The water roots are delicate. I prepare a permanently moist, airy medium of long-fiber sphagnum moss. I gently place the rooted cutting in a small pot of damp moss, keep the humidity high (under a cloche or in a terrarium), and gradually acclimate it to lower humidity over the next few weeks. This careful transition ensures the roots adapt to soil life.
Expert Insights for Success
My method aligns with the principle of avoiding pathogen introduction, a cornerstone of sterile plant propagation. While the Royal Horticultural Society (RHS) often recommends a well-draining medium for Nepenthes cuttings, they note that any method must prioritize sanitation and constant monitoring to prevent disease. My water method, with its focus on callusing and frequent water changes, is essentially a highly controlled, observable form of hydroponic propagation that meets these sanitary standards.
Common Questions from Fellow Growers
Can I use rainwater instead of distilled water? Yes, rainwater is an excellent choice if you can collect it cleanly. However, ensure your collection container is clean to avoid introducing contaminants. For reliability and consistency, especially in urban areas, I still prefer distilled or RO water.
My cutting is producing a pitcher but not roots. Is this bad? It’s not necessarily bad, but it can be a drain on the cutting’s energy. I often pinch off developing pitchers to redirect all the plant’s resources toward root formation. Once the plant is established in a pot, it will produce new pitchers readily.
What if I see a slight film on the stem above the water? This is likely a harmless biofilm or algae. Don’t panic. Simply remove the cutting during your next water change, gently wipe the stem with a soft paper towel moistened with your clean water, rinse the vessel thoroughly, and refill with fresh water. This is a normal part of the process and not a sign of rot if the stem beneath remains firm.
Mastering the technique of rooting Nepenthes cuttings in water without rot is entirely achievable. It requires shifting from a passive to an active process—prioritizing wound care, water purity, and oxygenation over simple immersion. By callusing the cut, using pure water, changing it frequently, and providing a stable environment, you transform a risky endeavor into a predictable and rewarding one. The joy of seeing those first white roots emerge from a healthy, rot-free stem is worth every bit of the careful attention. Give this method a try on your next cutting; it might just become your go-to Nepenthes propagation hack.





