 bluename
How to Propagate Nepenthes in US Dry Climates Successfully: A Grower’s Log
I’ve always been captivated by the otherworldly beauty of pitcher plants, those Nepenthes with their elegant, insect-trapping vessels. But for years, I held back. Living in Arizona, the persistent question in my mind was: can these humidity-loving jungle dwellers possibly thrive here? My dream of propagating my own, of creating new plants from a single prized vine, felt doomed by my dry, desert air. I know I’m not alone. Many enthusiasts across the Southwestern US and similar arid regions share this frustration. We see these spectacular plants online, but the conventional wisdom screams that propagation, especially for beginners, requires a steamy, controlled environment we simply don’t have. This guide is the result of my successful journey to propagate Nepenthes in dry climates. I’ll walk you through the exact, adapted methods that worked for me, including the mistakes I made and how I corrected them over a critical two-week observation period.
Understanding the Core Challenge: Humidity vs. Aridity
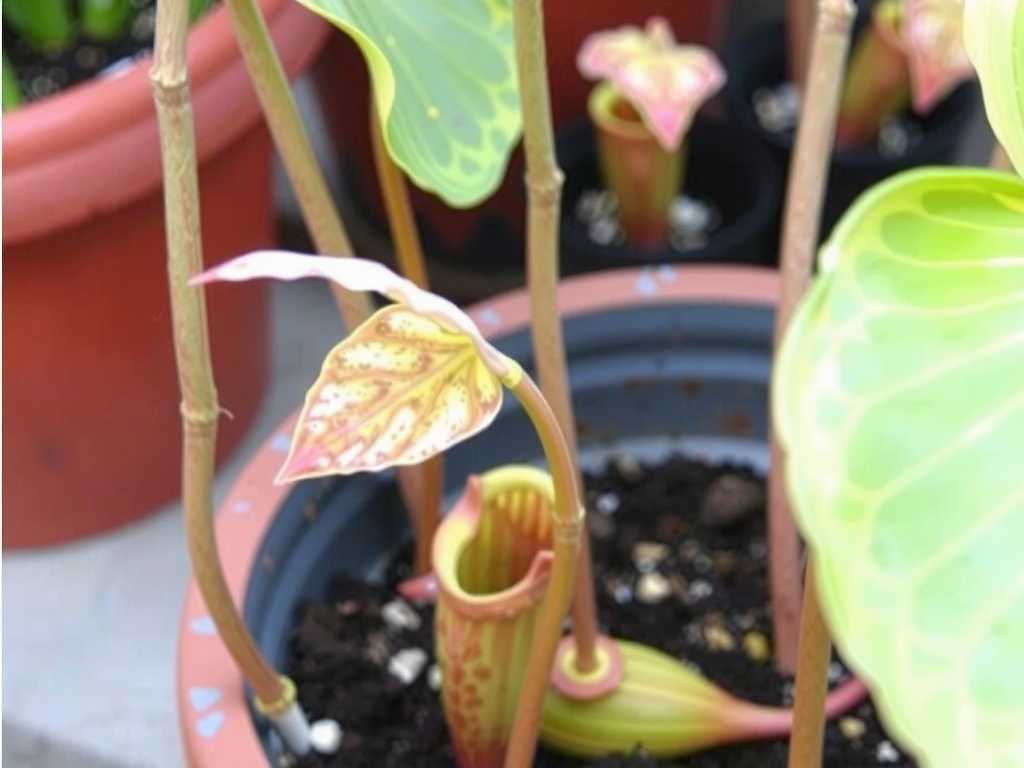
The single biggest hurdle in successful Nepenthes propagation in dry climates isn’t the cutting itself—it’s managing the water loss. A freshly cut stem has no roots to take up water, yet its leaves continue to transpire. In low humidity, this process accelerates, desiccating the cutting before it can even think about forming roots. The Royal Horticultural Society (RHS) consistently notes that maintaining high atmospheric humidity is paramount for propagating many tropical plants, including Nepenthes. In our context, we can’t change the climate of our home, but we can create a perfect, miniature climate around the cutting.
My Toolkit: Adapting Standard Supplies for Dry Air
You won’t need a fancy greenhouse. Instead, we focus on micro-climate creation.
- The Propagation Chamber: This is non-negotiable. I used a clear plastic storage bin with a lid. This became my “humidity dome.” For smaller operations, a large, clear zip-top bag placed over a pot works perfectly.
- Cutting Tool: A razor blade or scalpel sterilized with isopropyl alcohol. Clean cuts crush less tissue, reducing the risk of infection.
- Growing Medium: After testing a few, I found long-fiber sphagnum moss, pre-moistened with distilled or rainwater, to be the best. It’s airy, retains moisture well, and has natural antifungal properties. The American Pitcher Plant Society (APPS) often recommends it for its consistency and suitability for root development.
- Rooting Hormone: A powder containing Indole-3-butyric acid (IBA). While not always required, in stressful dry-climate conditions, it gives the cutting a significant biochemical boost to initiate roots.
- Light & Heat: Bright, indirect light is key. I used a standard LED grow light about 12 inches away. Avoid direct sun under the dome, as it will cook the cutting. Bottom heat, using a seedling heat mat, can dramatically speed up root initiation.
The Step-by-Step Process: My Two-Week Observation Log
Here is the exact process I followed, documented day-by-day for the first, most critical fortnight.
Selecting and Taking the Cutting
I chose a healthy, semi-hardwood stem section from my Nepenthes ventricosa—a species known for being somewhat forgiving. The stem was about 6 inches long with 3-4 leaves. Using my sterilized blade, I made a clean, 45-degree angle cut just below a node (the bump on the stem where leaves grow). Immediately, I made a second, vertical cut up the center of the stem base, about half an inch deep. This “wounding” increases the surface area for rooting hormone and root formation.
Preparing and Planting
I gently dipped the wounded, moistened stem end into the rooting hormone powder, tapping off the excess. I then made a small hole in my pre-moistened sphagnum moss (squeezed out so it was damp, not dripping) and inserted the cutting. I firmed the moss around it for stability. The pot went directly into my clear bin, which already had a shallow layer of water and pebbles at the bottom to keep humidity up without waterlogging the pot.
Creating the Micro-Climate and Initial Setup
This was the most critical step for my dry climate. I misted the inside of the bin lid and the cutting lightly, then sealed it. The bin was placed under my LED light on a heat mat set to a constant 75°F. Instantly, the inside of the lid fogged up—a sign of perfect humidity. My hygrometer confirmed it: 95% humidity inside the chamber, while my room humidity was a mere 25%.
The First 48 Hours: The Anxiety Phase
Days 1-2 were about resisting the urge to open the bin. I observed condensation cycling beautifully. The cutting looked perfectly plump. No signs of wilting. The sealed environment was doing its job, perfectly offsetting Arizona’s aridity.
Days 3-7: The First Challenge Appears
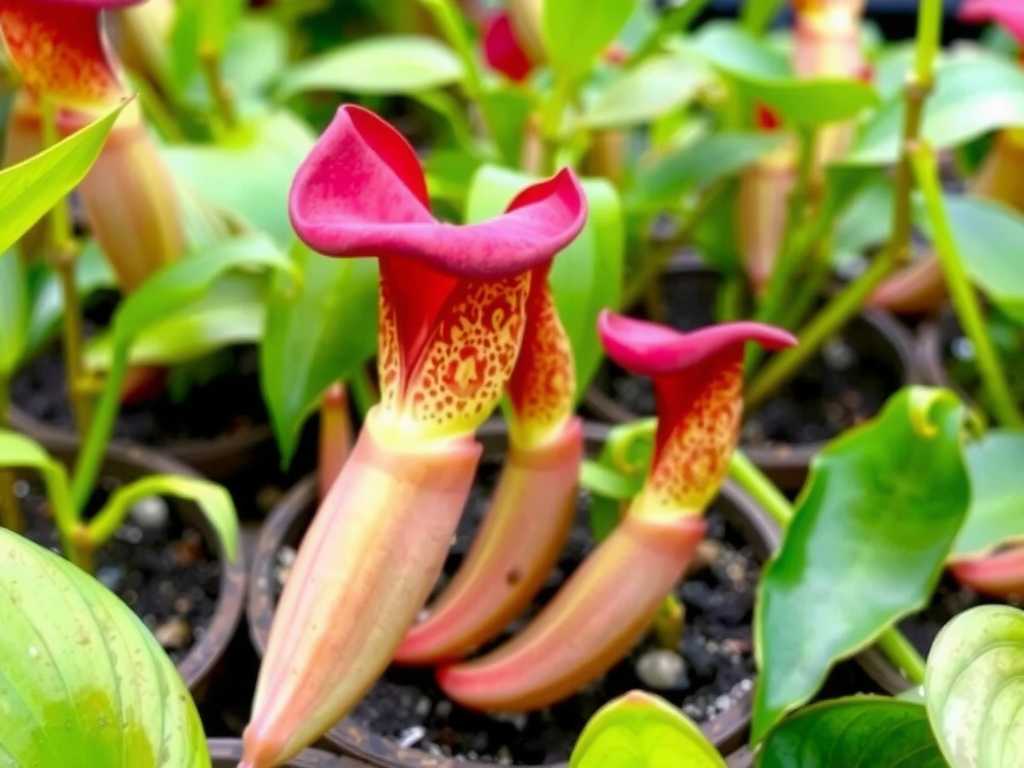
On Day 4, I noticed tiny water droplets consistently forming on the tips of the leaves (guttation), a normal sign of water pressure. However, by Day 6, a small, dark spot appeared on one leaf edge inside the bin. My heart sank—was it rot? This is a common pitfall: too much moisture with no air movement can invite fungal issues. I had made my first mistake: creating a stagnant atmosphere.
The Fix: Introducing Airflow
Following advice from experienced growers on forums aligned with APHS principles, I didn’t panic. I simply opened the bin for 15 minutes, allowing the old, stagnant air to exchange with fresh air. I wiped off the condensation from the lid to allow maximum light penetration. I repeated this every other day. The dark spot did not spread, and the cutting remained healthy. This balance—high humidity with periodic air exchange—is the secret sauce for dry climate Nepenthes propagation.
Days 8-14: Signs of Hope and Stabilization
The daily air exchanges became routine. The cutting not only held firm but on Day 12, I noticed the tiniest hint of swelling at the wounded node base. No roots were visible yet, but this “callousing” is the essential precursor to root growth. The original leaves remained green and firm. The environment was stable: consistent 80-90% humidity after airing, steady warmth from the mat, and bright light. The crisis was averted, and the process was demonstrably working.
Transitioning: The Road to Acclimation
After the two-week mark, with the cutting calloused and stable, I began to acclimate it to lower humidity. I increased the airing time daily and eventually propped the lid open slightly. This gradual process, over another two weeks, taught the new plant to tolerate the drier air of my home. When I finally saw the first white root tips peeking through the moss around Day 28, I knew the propagation in arid conditions was a true success.
Essential Maintenance for Ongoing Success
- Water: Always use distilled, reverse osmosis, or rainwater. Tap water minerals will accumulate and kill your sensitive new roots.
- Light: Once acclimated, provide very bright, filtered light. An east-facing window or a grow light for 12-14 hours is ideal.
- Feeding: Do not fertilize the soil. Once the pitcher has formed its first small pitcher, you can add a single, tiny insect (like a dried bloodworm) to the pitcher or use a highly diluted foliar fertilizer.
Why Did This Method Work? The Science of Adaptation
This approach works because it directly addresses the vapor pressure deficit (VPD)—the difference between moisture inside the plant and in the air. In dry air, the deficit is high, pulling water out. The humidity dome creates a low-VPD environment, halting excessive transpiration so the cutting’s energy can go into rooting. The bottom heat stimulates metabolic activity, further encouraging root growth. By combining these tools, we mimic the plant’s ideal conditions on a small, manageable scale.
Frequently Asked Questions
Can I propagate Nepenthes without a humidity dome in a dry climate? It is highly unlikely to succeed. The dome or bag is the most crucial tool for a dry climate grower. Without it, the cutting will almost certainly desiccate before roots form, no matter how carefully you water the medium.
How often should I water the moss during propagation? Before sealing the chamber, moisten the moss thoroughly. During the initial sealed period (first 1-2 weeks), you should rarely need to add water. Condensation will recycle the moisture. Only re-moisten if the moss appears to be drying out and condensation has stopped. Overwatering is a far greater risk.
My cutting is turning black from the top down. What happened? This is likely stem rot, often caused by a fungal infection that entered through an unclean cut or was present in stagnant, overly wet conditions. This is why sterilized tools and periodic air exchange are vital. If the rot is at the base, you can sometimes re-cut above the rot with a sterile tool and restart the process, ensuring better airflow this time.
Propagating Nepenthes in dry climates is not just possible; it’s incredibly rewarding. It requires shifting your focus from the entire room to the tiny environment surrounding a single cutting. By prioritizing a stable, humid micro-climate with careful air management, and supporting the process with gentle bottom heat, you can overcome the inherent challenges of your location. My two-week log shows that problems will arise—like my fungal scare—but they are solvable with simple adjustments. The moment you see those first new roots and leaves, you’ll know your adapted process has truly worked.





