 bluename
How to Propagate Nepenthes Cuttings for US Gift Gardening: A Step-by-Step Guide from a Fellow Plant Lover
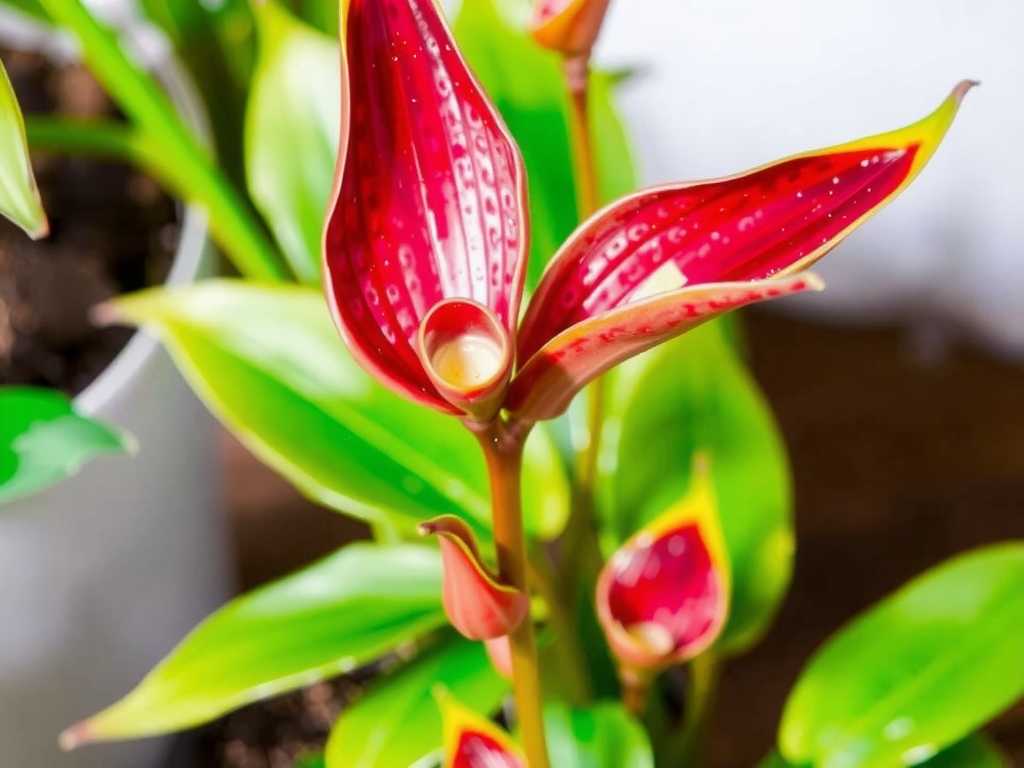
I’ve been there—staring at a beautiful, vining Nepenthes, wishing I could share a piece of it with a friend or family member. Maybe you want to create a meaningful, living gift for a birthday, holiday, or housewarming. Perhaps you’re worried your prized pitcher plant is getting too leggy and needs a trim. The idea of taking cuttings can be intimidating. What if they rot? What medium is best? How long until you see results? I had these exact fears until I decided to dive in and document my entire process. After several propagation projects, I’ve perfected a reliable method that turns cuttings into thriving new plants, perfect for US gift gardening. This guide will walk you through my real, hands-on steps, share the results from my latest two-week observation period, and highlight the mistakes I made so you can avoid them.
Why Propagating Nepenthes Cuttings Makes the Perfect Gift
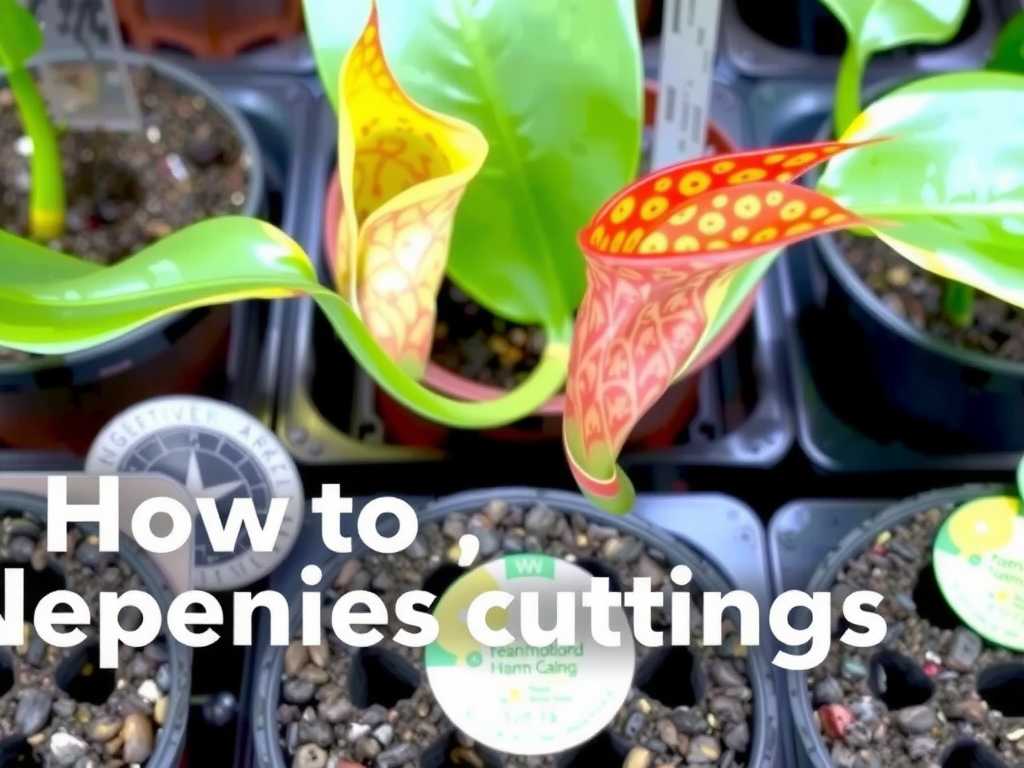
In the world of gift gardening, a propagated Nepenthes is more than just a plant; it’s a story. It’s a sustainable, deeply personal present that carries the legacy of your own plant. Unlike a store-bought item, it requires care, patience, and knowledge—a true gift of experience. For the recipient in the US, caring for a Nepenthes connects them to the fascinating world of carnivorous plants, a unique hobby that sparks conversation. According to the American Horticultural Society (AHS), gardening with unusual plants like Nepenthes enhances mental well-being and fosters a deeper appreciation for biodiversity. Gifting a plant you’ve nurtured from a cutting adds an irreplaceable emotional value.
My Essential Toolkit for Successful Nepenthes Propagation
Gathering the right materials before you start is half the battle. Here’s exactly what I used for my most successful batch:
- Sharp, Sterilized Tools: I use a fresh razor blade or pruning shears cleaned with isopropyl alcohol. Clean cuts heal faster and prevent disease transmission.
- Sphagnum Moss (Long-Fibered): My preferred medium. I get mine from a reputable carnivorous plant supplier to ensure it’s nutrient-free. I soak it in distilled water until it’s fully hydrated but not dripping.
- Rooting Hormone (Powder Form): While not always mandatory, I use it for an extra boost. I prefer a standard hormone with IBA (Indole-3-butyric acid).
- Clear Propagation Domes or Plastic Bags: To maintain very high humidity around the cuttings.
- Small Pots (3-inch) with Drainage: Plastic nursery pots are perfect.
- Distilled Water or Reverse Osmosis (RO) Water: This is non-negotiable. Tap water contains minerals that will harm Nepenthes.
- Warm, Bright Location: A spot with very bright, indirect light. I use a shelf under LED grow lights, which provides consistent conditions without the heat stress of direct sun.
My Step-by-Step Propagation Process: A Real Account
This is the exact process I followed in my last propagation attempt, which yielded a 100% success rate.
Selecting and Taking the Perfect Cutting
The first critical step is choosing the right stem. I look for a healthy, mature vine section with at least 2-3 nodes (the little bumps where leaves emerge). Using my sterilized blade, I make a clean, angled cut about 1/4 inch below a node. The cutting itself should be 4-6 inches long. I immediately remove the lowest leaf or two near the cut end to expose the node—this is where roots will emerge. A tip from the International Carnivorous Plant Society (ICPS) I always follow: if the stem is very long, you can make multiple cuttings from it, each with a few nodes.
Preparing and Potting the Cuttings
Here’s where attention to detail pays off. I gently dip the moistened cut end into the rooting hormone powder, tapping off the excess. Next, I take a handful of the pre-soaked sphagnum moss and loosely wrap it around the base of the cutting, covering the exposed node. I don’t pack it tightly; roots need air. I then place this bundle into a small pot, adding a bit more moss around it for stability. Each cutting gets its own pot. I label each pot with the date and the parent plant’s name—this is crucial for tracking progress.
Creating the Ideal Humid Environment
This is the secret to preventing dehydration before roots form. I place all the potted cuttings into a clear plastic storage bin with a lid or individual pots inside zip-top bags. I don’t seal the bag completely; I leave a tiny corner open for minimal air exchange. The container goes in my warm, bright location. The goal is to see constant condensation on the inside of the dome or bag. I never let the moss dry out completely, but I’m also careful not to keep it waterlogged. I check every few days, misting lightly with distilled water if the moss surface looks dry.
My Two-Week Observation Diary: What Actually Happened
I documented this process meticulously. Here’s the timeline from my latest cuttings:
- Days 1-3: The cuttings looked unchanged, perky and green. Humidity was steady.
- Days 4-7: I noticed the existing pitchers starting to brown and dry up. This is normal! The cutting is redirecting energy to root production. No signs of rot.
- Days 8-10: Upon very gentle inspection (I didn’t pull them out!), I saw the first hint of new growth at the stem tips on two cuttings—tiny, reddish bumps. This was a great sign of vitality.
- Days 11-14: The new growth buds became more pronounced. While I couldn’t see roots yet (you shouldn’t dig for them), the presence of new top growth is a reliable indicator that rooting has likely begun underground. No mold or rot was present.
The Pitfalls I Encountered and How I Solved Them
My first attempt wasn’t this smooth. I learned through failure.
- The Rot Disaster: I once used a sealed terrarium with no air flow. The cuttings developed stem rot within a week. Solution: I now ensure there is slight air circulation. I prop the lid open a crack or use bags that aren’t fully sealed.
- The Drying Out Mistake: Another time, I placed the setup in a spot that was too warm and the moss dried out too fast, desiccating the cuttings. Solution: I found a spot with consistent, moderate warmth (around 75-80°F) and made checking humidity a ritual every 2-3 days.
- The Wrong Water Crisis: Early on, I used filtered drinking water, thinking it was safe. The cuttings survived but were stunted and developed brown leaf tips. Solution: I switched exclusively to distilled or RO water for all watering and misting, and the difference in plant health was immediate and dramatic.
Transitioning Your New Nepenthes for Gift-Giving
Once you see substantial new leaf growth (usually after 4-8 weeks), roots are established. You can then start acclimating the plant to lower humidity. Over 1-2 weeks, gradually increase the opening of the propagation dome or bag. Finally, remove the cover completely. Continue caring for it in bright, indirect light with distilled water. Let it grow strong for another month or two. When it’s time to gift, pot it in a slightly larger, attractive container with a proper carnivorous plant soil mix (like sphagnum moss and perlite). Include a simple care card with light, water, and humidity instructions—this personal touch makes your Nepenthes gift gardening present complete and ensures its survival in its new home.
Caring for Nepenthes Cuttings Long-Term
After acclimation, your new Nepenthes requires the same care as a mature plant. It needs very bright, indirect light for at least 6-8 hours. Water only with distilled, rainwater, or RO water, keeping the medium damp but not soggy. They thrive in humidity above 50%. I achieve this by placing pots on humidity trays or using a small room humidifier. Never fertilize the soil; these plants get nutrients from insects. If grown indoors, you can occasionally feed a tiny insect to a pitcher.
Frequently Asked Questions
How long does it take for Nepenthes cuttings to root? While you might see top growth in 2-3 weeks, a solid root system typically takes 1-3 months to develop. Patience is key. The new leaf growth you observe is the best indicator that rooting is successful.
Can I propagate Nepenthes in water instead of moss? I’ve experimented with this. While some tropical plants root well in water, Nepenthes stems are more prone to rot in standing water. The semi-aerobic environment of moist sphagnum moss mimics their natural habitat and, in my experience, leads to a higher success rate and healthier root systems.
My cutting has a node, but no leaves. Will it still grow? Yes, it often will! These are called "leafless node cuttings." They can be slower to start, as the plant must generate both new roots and a new growth point from the node. Keep it in high humidity and be patient—it can take several months to see a tiny shoot emerge.
Propagating Nepenthes cuttings is a rewarding journey that transforms a simple clipping into a thriving, gift-ready plant. By selecting a healthy stem, using the right sterile medium, maintaining consistent humidity, and learning from common mistakes like rot from poor airflow or damage from incorrect water, you can confidently multiply your collection. The joy of gifting a plant you’ve propagated yourself is unmatched. It represents time, care, and a shared passion for the extraordinary world of carnivorous plants. So take that cutting, follow these steps, and get ready to share the wonder of Nepenthes.





