 bluename
How to Propagate Nepenthes in US Humid South: Fast Tips from a Passionate Grower
I remember staring at my prized Nepenthes, its vibrant pitcher finally beginning to fade, and feeling that familiar pang of anxiety. I wanted more of these incredible carnivorous plants, but the thought of propagation seemed shrouded in mystery and warnings of high failure rates, especially here in the humid South. The sticky, heavy air felt like it should be an advantage, yet my early attempts ended in moldy cuttings and frustration. If you’ve ever wondered how to successfully multiply your tropical pitcher plants in this unique climate, you’re not alone. After years of trial, error, and meticulous note-taking, I’ve refined a method that leverages our southern humidity for rapid, reliable success. This guide is born from my hands-on experience, including a detailed two-week observation log of my latest propagation batch, and I’m here to share every step and stumble with you.
Understanding Your Climate Advantage
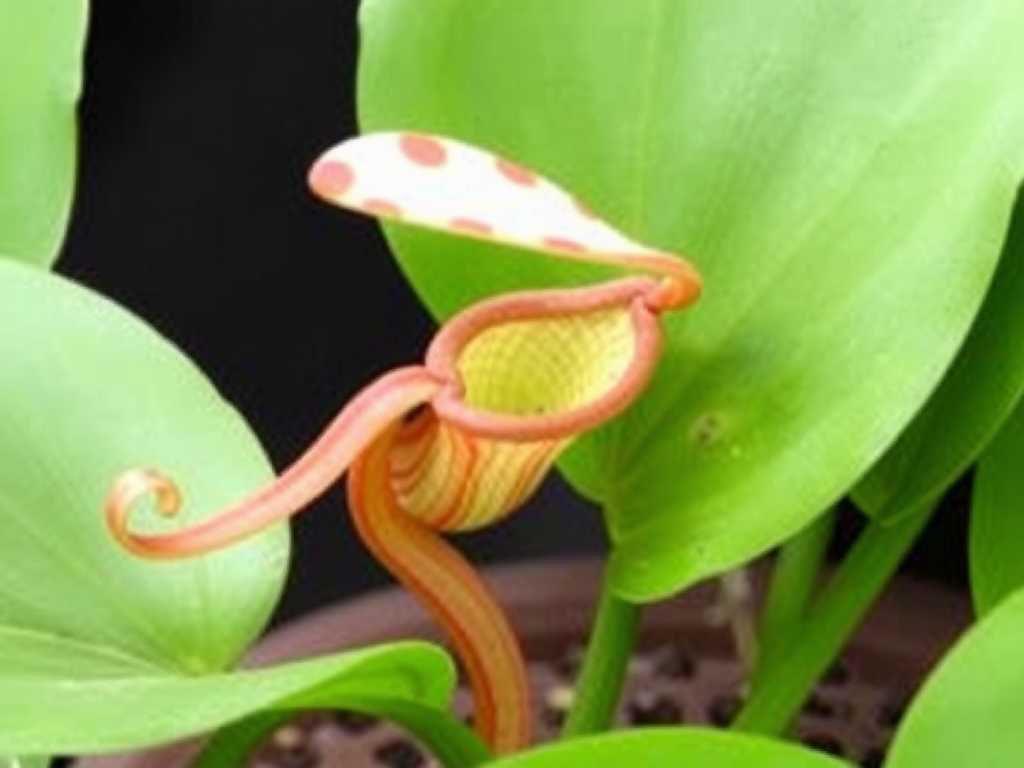
Living in the humid southern United States, from Florida to Georgia and across the Gulf Coast, we have a secret weapon for Nepenthes propagation. While many guides warn about maintaining high humidity, our ambient air often does half the work. However, this blessing is a double-edged sword. The same moisture that encourages root growth also invites fungal pathogens and rot. The key isn’t to fight the humidity but to manage it intelligently with superior air circulation. According to principles often cited by the Carnivorous Plant Society and expert horticulturalists, the goal is to create a microenvironment of clean, moving humid air—not a stagnant, soggy one.
My Go-To Method: Stem Cuttings for Fast Results
After experimenting with various techniques, I’ve found stem cuttings to be the most straightforward and fastest way to propagate Nepenthes quickly in our region. Seed propagation is a years-long journey, and tissue culture requires a lab. Cuttings, when done correctly, can show roots in weeks.
Selecting and Preparing the Perfect Cutting
Your journey begins with choosing the right mother plant and stem section. I always look for healthy, vigorous vines. The ideal cutting is a piece of stem, about 4-6 inches long, with at least two or three nodes (those little bumps where leaves and pitchers emerge). Using a sterile razor blade, I make a clean, angled cut just below a node. Here’s my first major learned lesson: immediately treat the cut end on the mother plant with cinnamon powder or melted wax. This seals the wound and prevents bacterial infection from creeping up your prized vine—a mistake I made once that cost me a beautiful plant.
Next, I prepare the cutting itself. I remove the lowest leaf or two to expose the nodes, which is where roots will emerge. A critical step I now never skip is applying a rooting hormone. I use a gel containing Indole-3-butyric acid (IBA). While not always mandatory, in the humid South it significantly speeds up root initiation, giving the cutting a fighting chance against rot. I apply a thin coat to the exposed node area.
The Rooting Medium: It’s All About Drainage
This is where I’ve seen the most failures. Regular potting soil is a death sentence. Our humidity requires a medium that is airy and drains impeccably. My proven mix is 50% long-fiber sphagnum moss and 50% perlite. I soak the sphagnum moss in distilled water (never tap water, as minerals harm Nepenthes) and then wring it out until it’s moist but not dripping—think like a damp sponge. I combine it with the perlite and fill a small, clean pot with drainage holes.
Creating the Propagation Chamber
This step harnesses our natural humidity while controlling it. I place the potted cutting inside a clear plastic container or a zip-top bag that is left partially open. The old method of sealing it shut, which I followed religiously at first, led to catastrophic mold outbreaks. Now, I ensure there’s at least a one-inch gap for air exchange. I place this setup under bright, indirect light. Direct southern sun will cook the cutting inside the chamber. A grow light set on a 12-hour timer works perfectly.
The Critical Two-Week Observation Log
Here is the real, unfiltered account of my latest propagation attempt, documenting exactly what to expect.
- Day 1-3: Cutting planted in moist sphagnum/perlite mix. Chamber lid propped open. No visible changes. The cutting looks slightly wilted, which is normal.
- Day 4-7: I notice the remaining leaf on the cutting is perking up, a good sign it’s hydrating through the stem. No roots visible yet. I check for mold daily—none seen, thanks to the air gap.
- Day 8-10: The first sign of hope! At the base of the lowest node, I see a tiny, white nub pushing through. This is the first root primordium. The humidity is doing its job.
- Day 11-14: By day 14, that single nub has developed into two distinct, fuzzy white roots about 1/4 inch long. The leaf is fully turgid and shows a hint of new, green growth at the very tip. Success is confirmed.
Common Pitfalls and How I Solved Them
- The Rot Set-In: My first cuttings turned black and mushy from the bottom up. The cause was twofold: a non-sterile cutting tool and a sealed, stagnant environment. The fix was switching to a sterile blade for each cut and implementing the partially open chamber for constant air flow.
- The Mold Takeover: A white, fuzzy mold appeared on the sphagnum moss surface. This happened when I over-misted. The solution was to stop misting altogether. The initial moisture in the medium, combined with ambient humidity in the chamber, is entirely sufficient. If mold appears, I gently remove it and increase air circulation further.
- The Stalled Cutting: A cutting that just sits for weeks without dying or rooting is often in a spot that’s too cold or too dark. I moved my setup to a warmer location (consistently above 75°F) under a grow light, and activity resumed within a week.
Transitioning to Permanent Growth
Once you see a few healthy roots about an inch long, it’s time to acclimate the plant to lower humidity—a crucial step often rushed. Over 3-4 days, I gradually open the chamber lid wider each day until it’s completely removed. I then pot the new Nepenthes into its permanent medium, typically a chunky mix of orchid bark, perlite, and sphagnum moss. I keep it in a sheltered, bright spot for another week before moving it to its final growing location.
Expert Insights for Best Practices
To bolster this methodology, I align my practices with expert consensus. Renowned horticulturists like those contributing to the International Carnivorous Plant Society’s resources emphasize the non-negotiable need for pure water (rain, distilled, or reverse osmosis) and bright, filtered light. Furthermore, the concept of “high humidity with air movement” is a cornerstone of professional greenhouse management, preventing the foliar diseases that our southern climate can encourage.
Frequently Asked Questions
How long does it take for a Nepenthes cutting to root in high humidity? With the method described above, you can often see the first root initials within 10-14 days, as my log shows. A robust root system suitable for potting typically develops in 4-6 weeks. The high ambient humidity of the South accelerates the initial response compared to drier climates.
Can I propagate Nepenthes directly in water in a humid climate? I strongly advise against it. While some plants root well in water, Nepenthes stems are highly susceptible to rot when submerged. The water method eliminates the essential air circulation around the stem base. The moist, airy sphagnum moss method provides both hydration and oxygen, which is critical for healthy root formation and preventing rot.
My cutting produced a new pitcher but no roots. Is this normal? This is a fascinating and sometimes frustrating occurrence. The cutting is using stored energy to grow vegetatively. While it shows the plant is alive, it can divert resources from root development. Don’t be alarmed. Ensure it has consistent conditions and patience. The roots will usually follow. I’ve had cuttings pitcher first, and they still rooted successfully a few weeks later.
Successfully propagating Nepenthes in the humid South is about partnership, not combat. By using our natural atmospheric moisture as a foundation and then layering in strict protocols for cleanliness, air circulation, and proper medium, you turn a potential challenge into your greatest advantage. The process requires attention to detail—sterilizing tools, managing airflow, resisting the urge to overwater—but the reward of seeing those first white roots emerge from a cutting you prepared yourself is unparalleled. Start with a healthy plant, follow these steps, and you’ll soon be sharing your own tropical pitcher plants with fellow enthusiasts, mastering the art of multiplication in our unique corner of the country.





