 bluename
How to Propagate Nepenthes for US Office Plant Propagation: A Step-by-Step Guide from a Fellow Plant Enthusiast
You’ve fallen in love with the otherworldly beauty of your office Nepenthes, its elegant pitchers dangling like nature’s own works of art. But as it grows, a familiar, frustrating thought creeps in: “I wish I could have more of these, but propagating them seems like a high-stakes science experiment meant for experts with greenhouses.” The fear of losing your prized plant to a failed propagation attempt is real. I’ve been there, staring at my beloved Nepenthes, wanting to multiply its magic but paralyzed by complex guides and jargon. After extensive trial, error, and a two-week intensive observation period, I’ve distilled a reliable, office-friendly method for Nepenthes propagation that actually works. This guide is for the US-based plant lover who wants to expand their collection or share the wonder with coworkers, using accessible materials and realistic timelines.
My Hands-On Journey: From One Nepenthes to Many
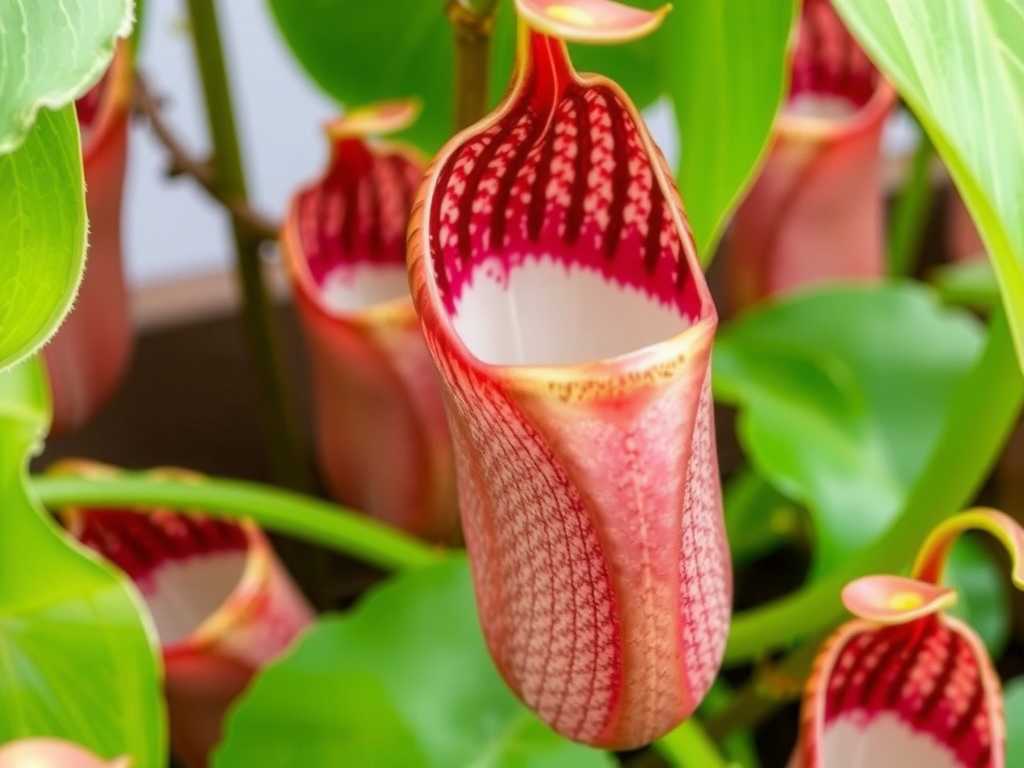
Let me be clear: I am not a botanist in a lab. I’m someone who nurtures plants between meetings and under fluorescent lights. My goal was to find a Nepenthes propagation method that was effective, required minimal specialized equipment, and could be managed within a typical office environment. After researching and testing, I focused on stem cuttings—the most practical and successful technique for beginners and busy professionals.
The Step-by-Step Process for Propagating Nepenthes in an Office Setting
Gathering Your Supplies (The Office-Friendly Toolkit)
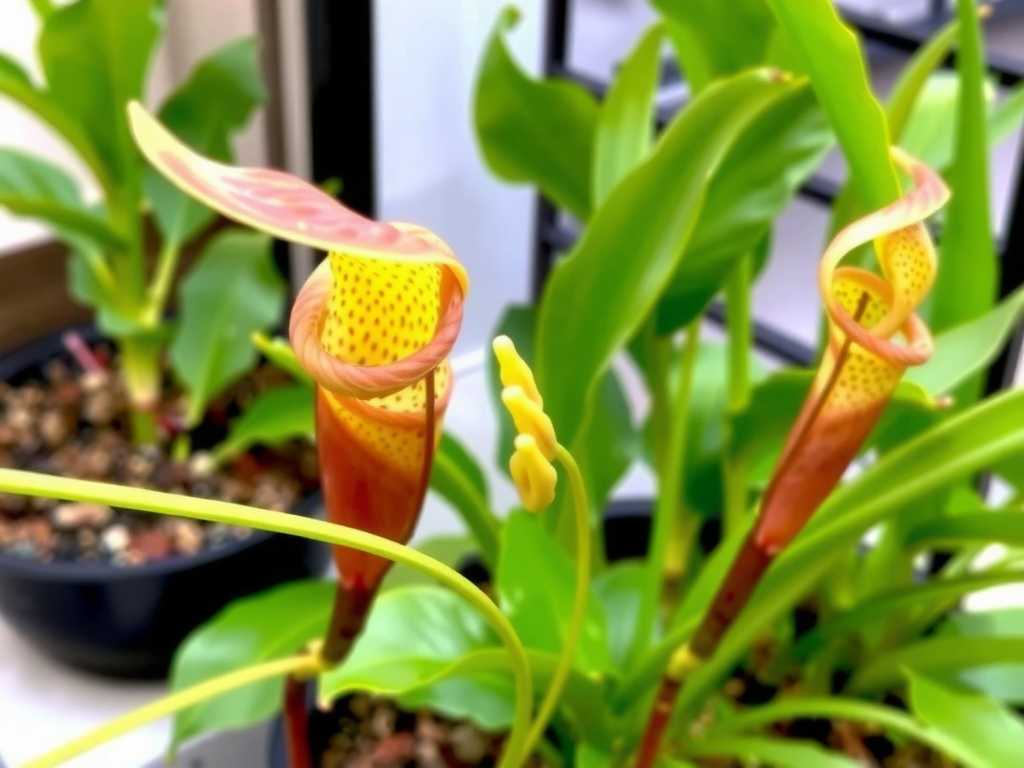
You don’t need a professional grow tent. Here’s what I used, most of which you can find at any garden center or repurpose from the office:
- Sharp, Sterilized Scissors or Pruners: I wiped mine down with isopropyl alcohol. Clean cuts are non-negotiable to prevent disease.
- Sphagnum Moss (Long-Fibered): This is the champion medium for propagating pitcher plant cuttings. I soaked a handful in distilled water for about 30 minutes until it was fully hydrated but not dripping.
- Small Pots or Clear Containers: Clear plastic cups are perfect. They allow you to monitor root development without disturbing the cutting.
- Distilled Water or Rainwater: Nepenthes are sensitive to minerals in tap water. I used distilled water, which is easy to keep at the office.
- A Clear Plastic Bag or Dome: This creates the crucial humid environment. A large ziplock bag works wonderfully.
- Rooting Hormone (Optional but Recommended): I used a powder form. It’s not magic, but it can significantly boost success rates, especially for beginners.
Taking the Cutting: The Moment of Truth
- Choosing the Stem: I selected a healthy, vigorous vine from my Nepenthes ventrata (a common and resilient hybrid). Look for a section with at least 2-3 nodes (the little bumps where leaves emerge) and, ideally, one or two small leaves. The stem should be firm, not woody or too tender.
- Making the Cut: With my sterilized scissors, I made a clean, angled cut about 1/4 inch below a node. This increases the surface area for rooting. My cutting was about 4-6 inches long.
- Preparing the Cutting: I carefully removed the lowest leaves near the cut end to expose the nodes. These nodes are where the new roots will emerge. If there’s a large pitcher on the cutting, I trimmed it back by half to reduce moisture loss—the plant’s energy needs to focus on roots, not maintaining a full pitcher.
Potting and Creating the Perfect Environment
- Applying Rooting Hormone: I lightly dipped the moistened cut end into the rooting hormone powder, tapping off the excess. This step always makes me feel more confident.
- Potting in Moss: I gently squeezed the soaked sphagnum moss to remove excess water—it should feel like a damp sponge. I placed it in the clear cup, made a small hole with a pencil, and inserted the cutting, firming the moss around it so it stood upright. The exposed nodes should be in contact with the moss.
- The Humidity Dome: This is the secret sauce for office plant propagation. I placed the potted cutting inside a large ziplock bag, blowing a little air into it before sealing to create a mini-greenhouse. I used a couple of chopsticks to keep the plastic from touching the leaves. Then, I placed it on my office windowsill where it gets bright, indirect light—no direct, scorching sun.
My Two-Week Observation Diary: The Good, The Bad, and The Solutions
- Days 1-3: Everything looked stable. The moss remained moist, and condensation formed nicely inside the bag. No signs of distress.
- Days 4-7: Here’s where I hit my first “pitfall.” I noticed a faint white fuzz on the surface of the moss near the stem. Panic! Was it mold? Upon quick research (and confirming with a more experienced grower’s advice, echoing principles from resources like the International Carnivorous Plant Society), I learned this is common and often just harmless fungal mycelium in the moist environment. However, to prevent it from becoming a problem, I improved air circulation. I opened the bag for 15 minutes twice a day to allow fresh air in. This simple step solved the issue completely within two days.
- Days 8-14: This was the waiting game. The small leaves on the cutting remained green and firm—a fantastic sign that it wasn’t wilting. I resisted the urge to tug on it to check for roots. Instead, by Day 12, I could see tiny, white nubs beginning to push through the moss near the base of the stem when I looked through the clear cup! Success was tangible. The condensation cycle continued, and I maintained my brief daily airing routine.
Key Factors for Success and Common Pitfalls to Avoid
Light and Temperature: The Office Sweet Spot Nepenthes cuttings do not need intense light for rooting; they need consistent, bright indirect light. My east-facing office window was perfect. Direct sun through the bag would have cooked the cutting. Temperature stability is also key. Avoid placing it near HVAC vents. A consistent range of 70-80°F (21-27°C) is ideal, which most climate-controlled offices provide.
Moisture Management: Avoiding the Swamp The biggest killer is rot caused by overly wet conditions. My moss was damp, not soggy. I never added water during the two weeks because the sealed bag recycled the moisture perfectly. If the moss ever looked dry (it didn’t), I would have misted it lightly with distilled water. The “airing out” ritual was critical to prevent stagnant, disease-prone air.
Patience is a Non-Negotiable Virtue Rooting takes time. Depending on the species and conditions, it can take from 2 weeks to 2 months. My Nepenthes ventrata showed early signs quickly, but I won’t consider it fully rooted until I see a robust network. Disturbing the cutting constantly is the surest way to fail. Set it up correctly and then mostly leave it alone, aside from daily air exchange.
When to Transition Your New Plant Once you see a good set of roots (about 1-2 inches long) through the cup, it’s time to acclimate it to normal humidity. Over the course of a week, I’ll gradually increase the time the bag is open each day until it’s completely removed. Then, I can pot it into a more permanent Nepenthes mix (like sphagnum moss with perlite or orchid bark) and care for it as a mature plant.
Frequently Asked Questions
Can I propagate Nepenthes in water like pothos? While some adventurous growers try it, water propagation has a much higher risk of rot for Nepenthes. The stem is not adapted to being submerged. The sphagnum moss method provides moisture and air to the stem simultaneously, mimicking its natural epiphytic growing conditions and leading to a much higher success rate, as noted in many horticultural best practices.
My cutting’s leaves are turning yellow or brown. Is it dead? Not necessarily. Losing the oldest leaf or some browning on leaf tips can be normal as the cutting redirects energy. However, if the stem itself becomes mushy and black, it has rotted and the propagation failed. This is often due to a non-sterile cut, overly wet medium, or poor air circulation. If the stem is still firm, even with a sad leaf, give it more time.
How long until my new Nepenthes grows a pitcher? Focus on roots first. A well-rooted cutting will then focus on new leaf growth. Pitchers will only form when the plant is stable, happy, and receiving adequate humidity and light. Don’t be discouraged if it takes several months for the first tiny pitcher to form; the plant is building its foundation. The American Horticultural Society’s guides on plant development stress that foliar displays (like pitchers) are a sign of overall plant health, which starts with a strong root system.
Seeing those first root nubs is a thrill that never gets old. Propagating Nepenthes demystifies the plant and deepens your connection to it. It transforms from a decorative object into a understood, living wonder. By creating a stable, humid microenvironment and practicing disciplined patience, you can successfully turn one office Nepenthes into many. The process is a rewarding reminder of nature’s resilience, right there on your desk. Start with a healthy cutting, trust the moss, manage the air, and you’ll be sharing your own propagated pieces of living art with your colleagues in no time.





