 bluename
How to Propagate Nepenthes Cuttings for Summer US Growth: A Step-by-Step Guide
I’ve been fascinated by pitcher plants for years, but I always hesitated to propagate my prized Nepenthes. The fear was real—what if I ruined a beautiful vine just to end up with a rotting stem? If you’re a fellow grower in the US, you know summer is our golden window for growth. The longer days and warmer temperatures create the perfect environment for cuttings to root and thrive. This guide is born from my own successful, and sometimes messy, experiments in propagating Nepenthes cuttings specifically for the US summer season. I’ll walk you through the exact process I used, share my two-week observation log, and highlight the pitfalls I encountered so you can avoid them.
Why Summer is Prime Time for Nepenthes Propagation in the US
Before we make the first cut, let’s talk timing. For most of the US, the period from late spring through summer offers consistent warmth and high humidity, which are critical for encouraging root development. Dormancy is over, and the plants are in active growth mode, meaning the stem tissue is full of the energy needed to produce new roots. I timed my propagation project to start in early June, aiming to leverage the entire summer for establishing strong roots before the light levels dropped in fall.
Gathering Your Propagation Toolkit: What You Really Need
You don’t need a fancy lab. My setup was simple, affordable, and effective. Here’s what I gathered:
- Sharp, Sterile Tools: I used a brand-new razor blade, but disinfected pruning shears work. Sterilize with isopropyl alcohol. A dull tool crushes the stem, inviting rot.
- Rooting Medium: After testing several, I found long-fiber sphagnum moss (LFSM) to be the most forgiving and successful. I pre-moistened it with distilled water until it was damp like a wrung-out sponge.
- Containers: Clear plastic cups or small pots. Clear sides let you monitor root growth without disturbing the cutting.
- Hormone (Optional but Helpful): I used a rooting gel containing Indole-3-butyric acid (IBA). Powders can clump on a wet stem, so I prefer gel.
- High-Humidity Environment: A clear plastic storage bin with a lid became my propagation chamber. A heat mat with a thermostat is a game-changer for maintaining consistent bottom warmth, especially if your summer nights are cool.
The Step-by-Step Cutting Process: A Real-World Walkthrough
This isn’t just theory; this is exactly what I did on a Saturday morning.
Selecting and Taking the Cutting I chose a healthy, vigorous vine from my Nepenthes ‘Ventrata’—a great beginner species. The stem was firm and green, with at least 3-4 nodes (those little bumps where leaves and tendrils emerge). Using my sterilized blade, I made a clean, angled cut about 1/4 inch below a node. My cutting was about 6 inches long, with 3-4 leaves. Immediately, I trimmed off the lowest leaf to expose that node, as this is where roots will emerge.
Preparing and Planting I dipped the cut end and the exposed node into the rooting gel for just a second. Then, I made a small hole in the pre-moistened sphagnum moss in my cup, gently inserted the cutting, and firmed the moss around it. The goal is support, not compaction. I gave it a light mist with distilled water.
Creating the Ideal Environment The cup went into my clear bin, placed on the heat mat set to a steady 78°F. I positioned the bin in a spot with very bright, indirect light—no direct sun, which would cook the cutting inside the chamber. The lid went on, creating a mini-greenhouse. I opened it once a day for 30 seconds to allow fresh air exchange and prevent stagnation.
My Two-Week Observation Diary: The Good, The Bad, and The Mushy
This is where reality sets in. Here’s my day-by-day log.
- Days 1-3: Everything looks unchanged. The cutting is green, and the leaves are firm. Condensation forms nicely on the bin lid. No signs of rot.
- Day 5: First panic moment. The stem base where I made the cut looks dark. Is it rot? Upon closer inspection with a magnifier, I realized it was just the callus tissue forming—a normal part of the healing process before roots initiate. Lesson learned: Don’t mistake callusing for rot.
- Day 7: The original leaves still look good. I notice the very tip of the cutting, the newest tiny leaf, has wilted. This is normal; the cutting focuses energy on roots, not new growth. I resist the urge to tug on it to check for roots.
- Day 10: The real problem appears. On one cutting (I did three), a lower leaf turned yellow and mushy at the base—a clear sign of stem rot starting. This was my fault. I had buried a leaf petiole under the moss. Solution: I carefully removed the cutting, rinsed it, and used my sterile blade to cut away all soft, brown tissue until I saw only clean, white stem. I re-dipped it in hormone and re-planted it, ensuring no leaf material touched the moss.
- Day 14: Victory! For my two unaffected cuttings, I gently tilted the cup and saw tiny, white, fuzzy nubs emerging from the buried node. Not full roots yet, but definite root initials. The one I rescued from rot was still green and firm, but showed no nubs yet—it was recovering.
Critical Pitfalls and How to Navigate Them
My day-10 rot issue wasn’t my only stumble. Here are the key pitfalls in growing Nepenthes from cuttings during summer:
- Overwatering the Medium: Soggy moss suffocates and rots stems. “Damp, not wet” is the mantra. If you can squeeze water out of it, it’s too wet.
- Insufficient Airflow: A sealed, stagnant chamber breeds fungi. Daily burping is non-negotiable. Some experts, like those at the Carnivorous Plant Society, recommend a loosely covered pot over a fully sealed chamber for this reason, promoting better air circulation from the start.
- Impatience: Constantly unpotting to check for roots sets you back weeks. Trust the process. Look for new leaf growth from the top as an above-ground sign of success.
Transitioning Rooted Cuttings to Normal Growth
Once you see a network of roots about an inch long (usually around week 6-8), it’s time to acclimate them. I started by propping the lid of my bin open slightly for a few hours each day, increasing the gap over a week. This slowly lowers the humidity to match my room’s conditions. After a week, I removed the lid entirely but kept the cups on the heat mat for another week before moving them to their permanent growing spot.
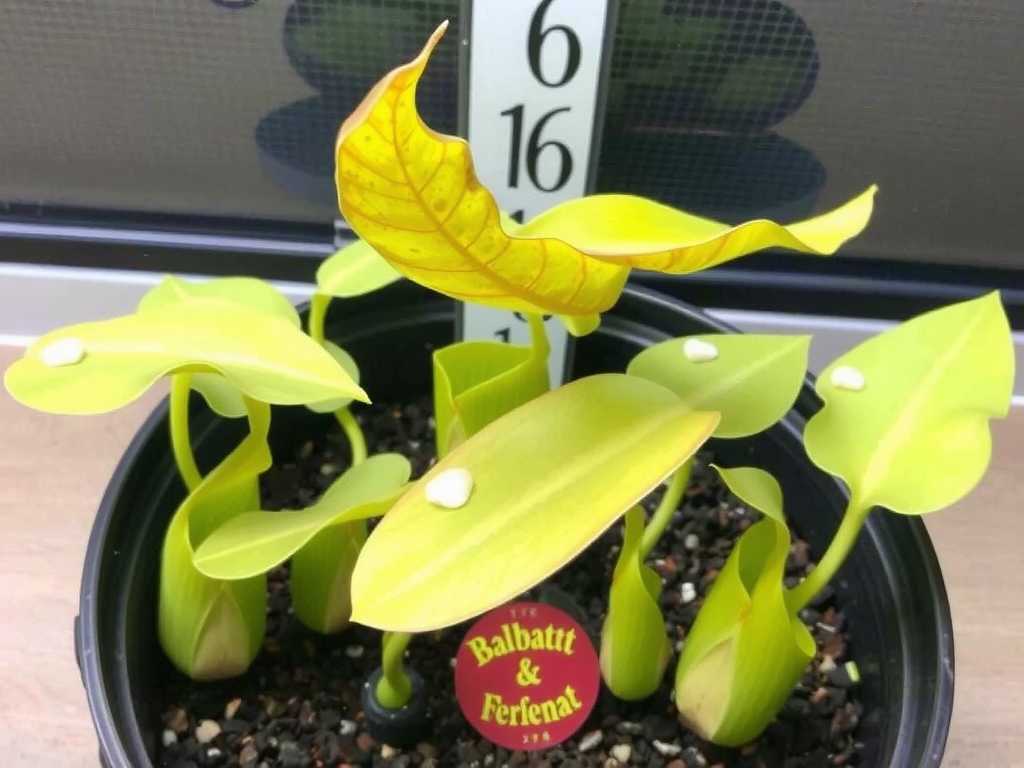
What are the signs my Nepenthes cutting is failing? Look for progressive yellowing or blackening of leaves from the base up, a stem that becomes soft and mushy, or a foul smell. If caught early, you can re-cut above the rot, as I did.
Can I use water propagation for Nepenthes cuttings? You can, but I find it riskier for long-term success. While some stems may root in water, the transition to soil (or moss) can be shocking, and the water must be changed frequently to prevent bacterial growth. The sphagnum moss method more closely mimics their natural substrate.
How long until a new cutting produces pitchers? Don’t expect pitchers soon. The plant’s priority is building a root system and new leaves. Once established, it needs vigorous growth and very high light levels to trigger pitcher production. It may take several months to a year before you see its first new pitcher, a rewarding milestone in your Nepenthes cutting propagation journey.
Propagating Nepenthes is a deeply rewarding skill that transforms one plant into many. Summer in the US provides the ideal backdrop for this project, offering the warmth and light these cuttings crave. By selecting a healthy stem, using a sterile and airy setup, and practicing disciplined patience—while vigilantly watching for early signs of trouble—you can dramatically increase your success rate. Remember my two-week saga: the callus that looked like rot, the buried leaf that caused decay, and the final joy of spotting those first root nubs. Each step is a learning process. Start with a robust, easy-to-grow hybrid, follow these hands-on steps, and you’ll be well on your way to expanding your collection just in time for the peak growing season.





