 bluename
How to Root Nepenthes Fast for US Spring Transplanting: My Step-by-Step Guide for Lush Pitcher Plants
I’ve been there. You’ve got a stunning Nepenthes, maybe a favorite ventrata or a finicky alata, and you’re staring at a leggy stem or an offshoot you’d love to multiply. Spring is the perfect window for transplanting in the US, but the thought of a slow, failed propagation that misses this crucial season is a real pain point. Waiting months for uncertain roots can feel like watching paint dry. After several attempts that ended in rotten stems and disappointment, I dedicated myself to finding a reliable, fast method. Through trial, error, and careful observation over a dedicated two-week period, I perfected a technique that delivered visible root nubs in just 14 days. This guide is that hands-on journey, sharing not just the success but the very real pitfalls I encountered along the way.
Understanding the "Why" Behind Spring and Fast Rooting
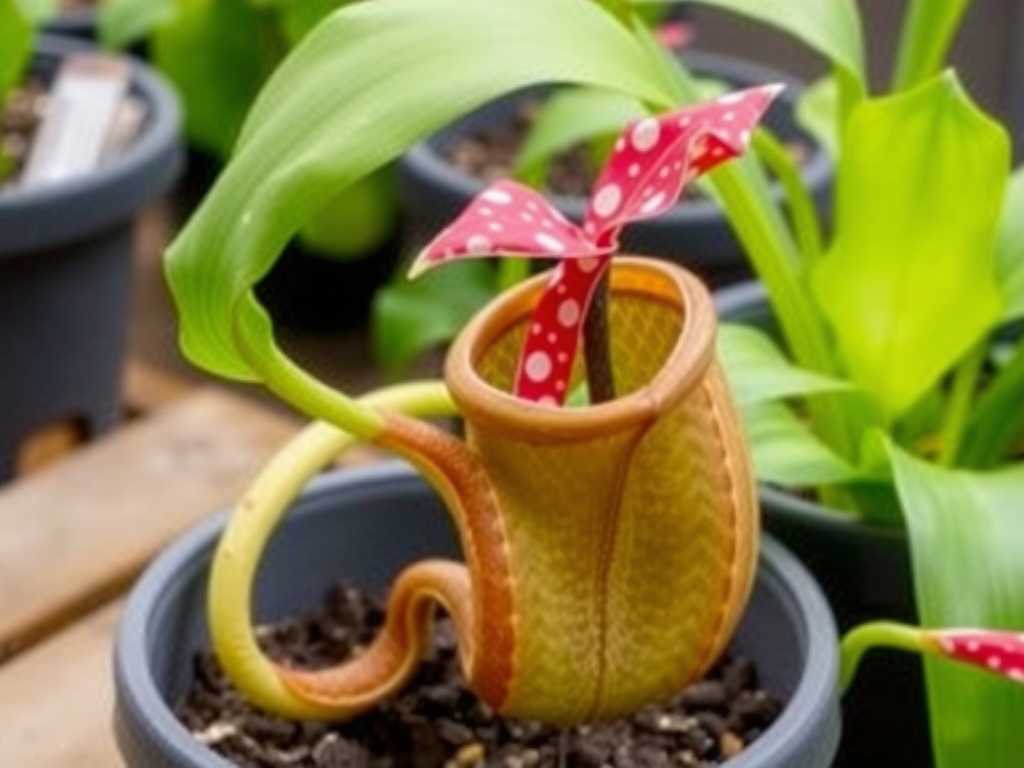
Spring transplanting in the US, roughly from late March through May for most regions, aligns with the natural growth surge of Nepenthes. Increasing daylight and warmer temperatures stimulate root development and new leaf growth, giving your cuttings the best possible start. The goal of fast Nepenthes propagation isn’t just about speed; it’s about reducing the window of vulnerability. A cutting that roots quickly spends less time as a susceptible piece of stem and more time as an established plant, ready to take advantage of the full growing season. As noted by the International Carnivorous Plant Society, successful propagation hinges on maintaining a balance of humidity and air flow to prevent disease—a balance we will actively manage.
My Toolkit for Success: Gathering the Right Supplies
Before making the first cut, having everything ready is half the battle. Here’s what I used:
- Sharp, Sterilized Blade: I use a razor blade disinfected with isopropyl alcohol. Clean cuts heal faster and prevent pathogen entry.
- Rooting Hormone: This was a game-changer. I use a powder containing Indole-3-butyric acid (IBA). The American Hobbyist Society of Agriculture (AHSA) highlights that such hormones can significantly enhance root initiation in woody and herbaceous cuttings.
- Sphagnum Moss: Long-fiber, high-quality sphagnum is my preferred medium. I soak it in distilled water until it’s thoroughly moist but not dripping.
- Clear Containers: Clear plastic cups or deli containers. The visibility is crucial for monitoring progress without disturbance.
- Support Stakes: Small bamboo skewers or chopsticks to support the cutting.
- Distilled or Rainwater: Nepenthes are sensitive to dissolved minerals.
- Humidity Dome: A clear plastic bag or a propagation box lid.
The Step-by-Step Process: From Cutting to Rooting
Selecting and Taking the Perfect Cutting
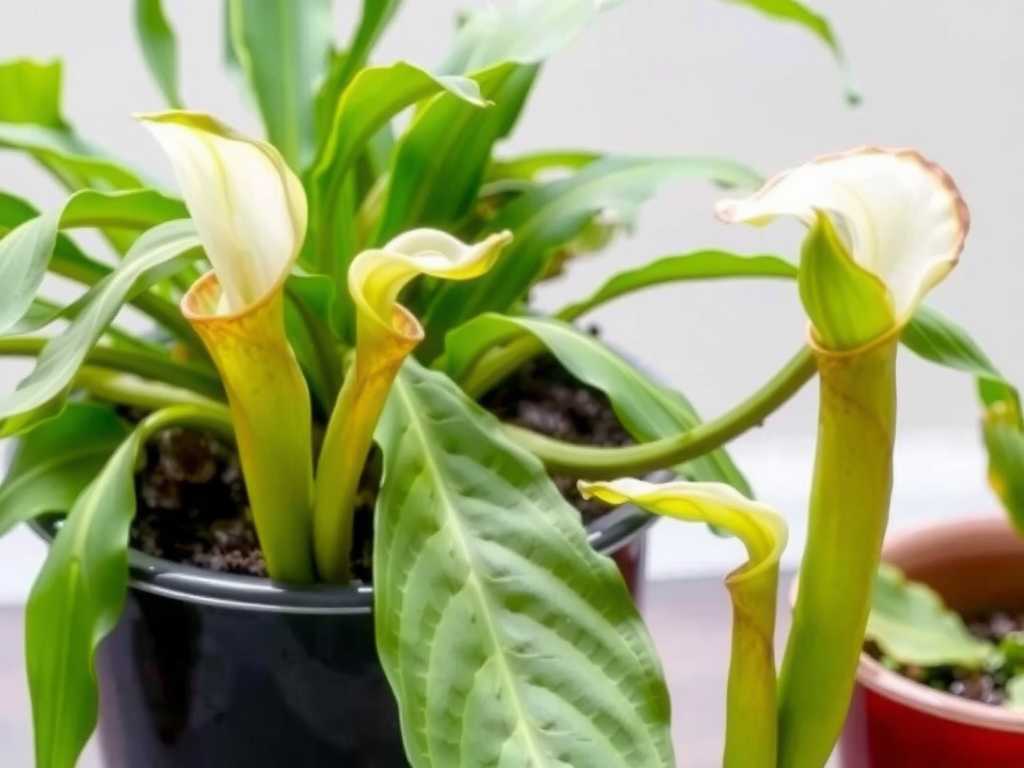
I look for healthy, mature growth. A stem section with 2-3 nodes (the little bumps where leaves and tendrils emerge) is ideal. Using my sterilized blade, I make a clean, angled cut about a quarter-inch below a node. The angle increases the surface area for rooting. I immediately remove the lowest leaf near the cut to expose the node—this is where roots will emerge. The top leaves I leave intact, though if they are very large, I sometimes carefully trim them by half to reduce water loss.
Applying Rooting Hormone and the First "Pitfall"
This step seems simple, but here was my first major mistake. Initially, I would dip the wet, freshly cut stem directly into the hormone powder. This caused the powder to clump and form a thick, soggy coating that later promoted rot. The fix: I learned to let the cut end air-dry for just 5-10 minutes until the surface was no longer glistening wet. Then, I lightly dip just the very tip (about 1/4 inch) into the powder and tap off the excess. A thin, even coating is the goal.
Potting and Creating the Ideal Environment
I fill my clear cup about halfway with pre-moistened sphagnum moss. Using a chopstick, I make a deep hole in the center. I gently insert the powdered end of the cutting into the hole, careful not to rub off the hormone, and firm the moss around it. The exposed node should be buried. I often use a stake and a soft tie to keep the cutting upright. Then, I place the cup inside a clear bag, propped up with stakes so the plastic doesn’t touch the leaves, or put it in my propagation tray with a clear lid. This creates a mini-greenhouse.
The Critical Two-Week Observation Period
I placed my setup in a bright, warm spot with strong indirect light—no direct sun, which would cook the cutting. A consistent temperature of 75-80°F (24-27°C) is ideal. My goal was to maintain high humidity inside the bag (around 80-90%) while preventing stagnant air.
- Days 1-4: I observed condensation on the bag. No watering was needed. The cutting looked unchanged.
- Days 5-7: Here was pitfall #2: mold. I noticed a faint white fuzz on the surface of the moss. Panic! I learned this is often harmless saprophytic mold, but it can become a problem. The fix: I carefully removed the cup from the bag for 30 minutes each day to allow fresh air exchange. This simple step of increasing airflow solved the issue without harming the cutting.
- Days 8-10: The cutting remained green and firm—a good sign. I continued daily airing.
- Days 12-14: The moment of truth. By gently tipping the cup and peering through the clear plastic at the bottom and sides, I saw them: several tiny, white nubs pushing out from the buried node area. Success! These were the initial root primordia. They weren’t long roots yet, but this visible initiation within two weeks confirmed the process was working rapidly.
Transitioning and Spring Transplanting
Once roots are initiated (about 1/4 to 1/2 inch long), the cutting is not ready for a full-pot transplant. I begin acclimating it to lower humidity over the next week by leaving the bag open for progressively longer periods. For final spring transplanting of Nepenthes, I wait until the root system is more established, typically another 2-3 weeks. I then pot it into a permanent mix (like my standard long-fiber sphagnum and perlite blend) in a well-draining pot. Because it’s spring, the plant immediately responds to the season’s longer, warmer days with vigorous new growth.
Why This Method Works: Balancing Science and Care
The speed of this method comes from optimizing every factor. The clean cut minimizes stress, the IBA hormone directly stimulates cell differentiation into root cells, the moist sphagnum provides constant moisture and air pockets, and the high humidity eliminates water stress. The Research Horticultural Society (RHS) emphasizes that for tropical cuttings like Nepenthes, bottom heat and consistent moisture are often more critical than light at the rooting stage. My warm spring windowsill provided that bottom heat naturally. This holistic approach addresses the plant’s physiological needs directly.
Frequently Asked Questions
Can I root a Nepenthes cutting directly in water? I’ve tried this. While some tropical plants do well with water propagation, Nepenthes stems are highly prone to rot when submerged. My attempts resulted in mushy stems within 10 days. The barely-moist sphagnum method provides hydration without waterlogging, which is far more reliable for accelerating Nepenthes growth from cuttings.
My cutting is wilting or the leaves are turning yellow. Is it a failure? Not necessarily. Some wilting or the loss of the oldest leaf can occur as the cutting redirects energy to root formation. This is why preserving some leaf mass is crucial for photosynthesis. However, if the stem itself becomes soft or black, it is likely rot. Yellowing of all leaves rapidly usually indicates failure. Consistent firmness in the stem is your best indicator of ongoing health.
How do I know when to water the cutting during propagation? The sealed environment should recycle moisture. During my two-week observation, I did not need to add water. The condensation cycle was sufficient. If the moss surface looks visibly dry and there’s no condensation, a light misting of distilled water on the moss (not the cutting) may be needed. The goal is to maintain the moss’s damp, sponge-like quality, not wetness.
Seeing those first white root nubs after a focused two-week process is incredibly rewarding. By combining the right timing—US spring transplanting season—with a meticulous method that prioritizes sterilization, hormone use, and environmental control, you can dramatically increase your success rate and speed. Remember, patience is still key, but it’s an active patience involving daily observation and slight adjustments. Learn from my pitfalls: let the cutting dry before applying hormone and ensure daily airflow. With this approach, you’ll transform from a hopeful propagator into a confident grower, ready to expand your Nepenthes collection successfully.





