 bluename
How to Repot Nepenthes Before the US Spring Growing Season: A Step-by-Step Guide for Healthier Pitchers
I’ve been growing Nepenthes, or tropical pitcher plants, for over a decade. Every year, as winter loosens its grip, I feel that familiar mix of excitement and anxiety. The US spring growing season is the most crucial time for these carnivorous wonders. It’s their signal to surge with new growth and produce those spectacular, intricate pitchers we all love. But here’s the painful truth I learned the hard way: if your plant is struggling in old, broken-down media or a cramped pot, spring won’t bring a bounty. It will amplify stress, leading to stalled growth, pitcher failure, and a season of disappointment. The single most impactful action you can take to set your Nepenthes up for success is a timely repot. Done right, it’s like hitting the reset button for vigorous spring growth. Done wrong, it can set your plant back months.
I recently repotted my entire collection, including a prized Nepenthes ventricosa and a fast-growing N. x ‘Miranda’, in preparation for this spring. Over the following two weeks, I meticulously observed their responses, navigated unexpected hurdles, and documented the results. This guide is born from that hands-on experience, designed to walk you through the entire process confidently.
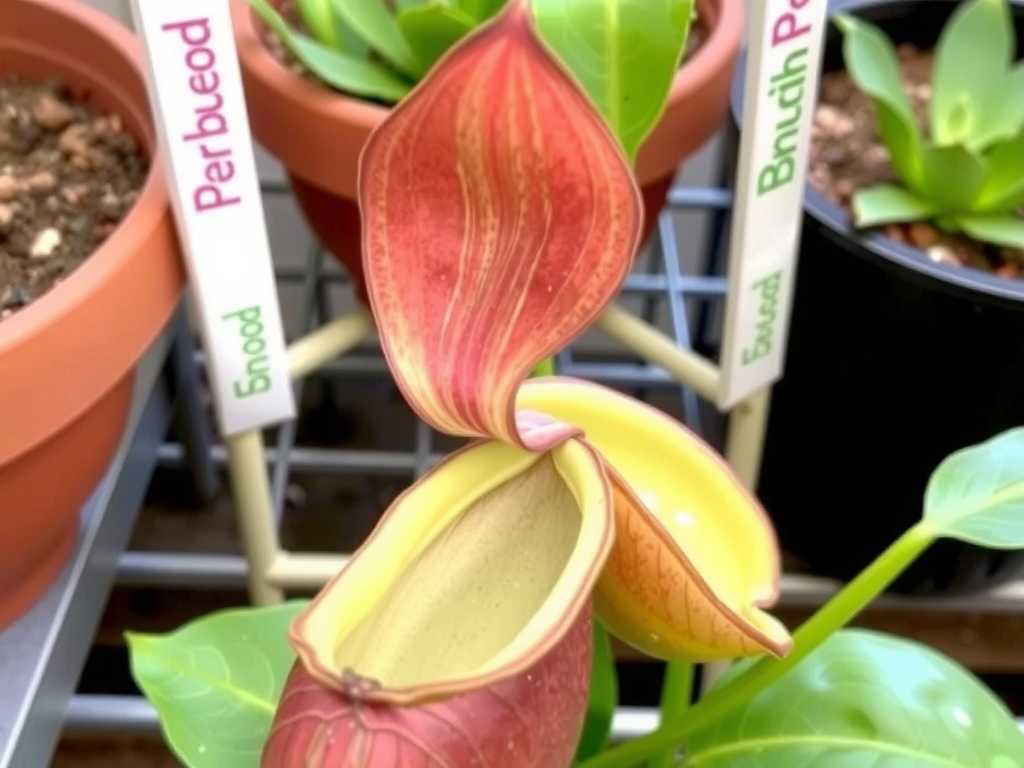
Why Repotting Nepenthes Before Spring is Non-Negotiable
Spring isn’t just about warmer air; it’s about root activity. As daylight increases and temperatures rise, Nepenthes roots awaken and seek new growth. Placing them into fresh media at this cusp allows them to immediately explore and establish, perfectly syncing with the above-ground growth spurt. The American Horticultural Society (AHS) emphasizes that repotting before active growth minimizes transplant shock, as plants recover more quickly when they are not simultaneously battling environmental stress. For Nepenthes, this is paramount.
The goal of repotting is threefold: to replace decomposed or compacted soil, to provide fresh nutrients (indirectly, via the media’s structure), and to offer slightly more room for root expansion. I cannot stress this enough: Nepenthes despise “wet feet.” Old sphagnum moss breaks down into a soggy, acidic mush that suffocates roots. A fresh, airy mix is the foundation of health.
Gathering Your Supplies: The Right Tools for the Job
Preparation is 90% of success. Having everything within arm’s reach makes the process smooth and less stressful for both you and the plant. Here’s what I laid out on my workbench:
- New Pot: Select one only 1-2 inches larger in diameter than the current pot. Nepenthes prefer being slightly root-bound, and an oversized pot holds too much moisture. I use plastic orchid pots with extensive side slits or net pots. Terracotta dries out too quickly for most growers.
- Fresh Growing Media: This is the heart of the operation. After years of experimentation, my preferred mix is a long-fiber sphagnum moss base, amended with horticultural charcoal and perlite or pumice (roughly a 2:1:1 ratio by volume). The moss retains moisture and acidity, the charcoal keeps the mix “sweet” and filters impurities, and the perlite ensures critical aeration. The Royal Horticultural Society (RHS) notes that a free-draining, low-nutrient, acidic medium is essential for carnivorous plant health, validating this approach.
- Tools: Sharp, sterilized scissors or pruning shears (I wipe blades with isopropyl alcohol), a chopstick or small trowel, a large bowl for soaking moss, and a spray bottle with distilled or rainwater.
- Support & Label: Bamboo stakes and soft ties if your plant is a vine, and a permanent plant label.
My Step-by-Step Repotting Process: A Live Demonstration
I’ll use my N. ventricosa as the example. It had been in the same pot for nearly two years, and the surface moss was visibly degraded.
Step 1: The Gentle Extraction I watered the plant thoroughly the night before to make the root ball more pliable. The next day, I turned the pot sideways, gently cradled the base of the plant between my fingers, and wiggled it out. If stuck, I ran a knife around the inside edge—never pull by the vines! The root ball was a dense mat of old, brownish moss with healthy white root tips visible at the edges.
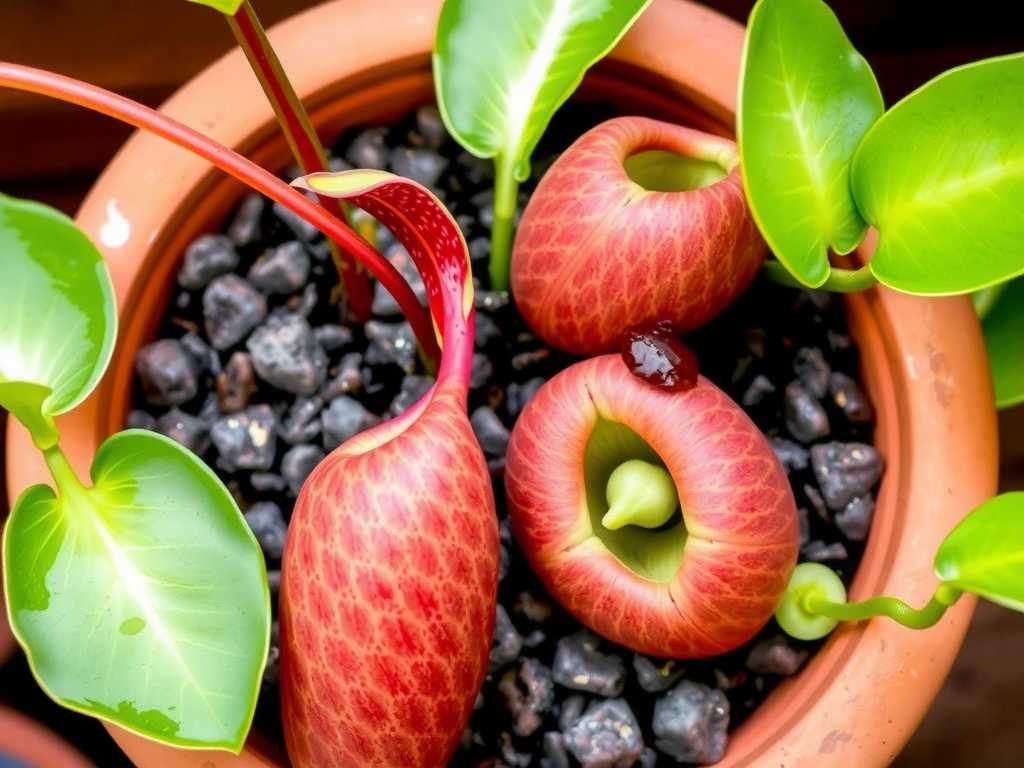
Step 2: The Delicate Tease-Out This is the most critical step. I placed the root ball in a bowl of tepid distilled water to soak for about 20 minutes. This loosened the old media dramatically. Using my fingers and the chopstick, I patiently teased away the old moss from the roots, starting from the bottom and working upwards. I was not aggressive; if a chunk of old moss clung tightly to a root mass, I left it rather than risk tearing. The goal is to remove the majority of the old media, not to achieve 100% bare roots.
Step 3: Inspection and Pruning With the roots exposed, I conducted a health check. I found several brown, mushy root sections—classic signs of rot from the old, soggy media. Using my sterilized scissors, I cleanly snipped these away back to firm, white tissue. I also trimmed any dead or yellowing lower leaves. This directs the plant’s energy to new growth.
Step 4: Potting Up with Care I pre-moistened my new media by soaking the sphagnum moss and then squeezing it to a “damp sponge” consistency before mixing. I placed a small mound of media in the bottom of the new pot. Holding the Nepenthes at its desired height (the same crown level as before), I gently splayed its roots over the mound. With my other hand, I filled in around the roots with fresh mix, using the chopstick to gently poke and settle the media, ensuring contact with roots without aggressive compaction. The final stability should come from the media, not from being packed like concrete.
Step 5: The Initial Settling-In I gave the newly potted plant a generous bottom-watering by placing the pot in a tray of distilled water for 15 minutes, allowing moisture to wick up. I then placed it in my greenhouse cabinet under slightly shadier conditions than usual for about 5-7 days to reduce stress. High humidity (70%+) is crucial during this recovery to prevent leaf desiccation.
The Two-Week Observation Diary: Triumphs and Troubleshooting
- Days 1-3: The N. ventricosa and ‘Miranda’ looked slightly wilted—normal transplant shock. I maintained high humidity and kept the media consistently damp (not soggy).
- Days 4-7: The wilt persisted on the ventricosa, and one older leaf yellowed rapidly. Panic set in. I re-checked the pot and realized my mistake: I had over-compacted the media around this one, reducing aeration. The Fix: I carefully used the chopstick to create a few gentle air channels down into the root zone without disturbing the roots. For the ‘Miranda’, growth appeared stalled but stable.
- Days 8-14: After my aeration fix, the ventricosa stabilized. The yellowing leaf was shed, but no others followed. By day 10, I noticed something thrilling: a tiny, bright red new growth point at the base of the ventricosa (a new basal shoot) and a plump new leaf bud emerging from the vine tip of the ‘Miranda’. This was the clear signal: the roots had settled and were now fueling new growth. Both plants were moved back to their prime growing spots.
Common Pitfalls and How to Avoid Them
- Using Garden Soil or Fertilized Potting Mix: This is fatal. These contain minerals and nutrients that will burn Nepenthes roots and alter soil pH. Stick to the recommended inert, acidic mixes.
- Overpotting: A huge pot leads to waterlogging in the center where roots can’t reach, creating a rot zone. Upsize minimally.
- Rough Handling: Roots are fragile. Soak and tease; don’t rip.
- Changing Conditions Too Drastically: Post-repot, avoid direct sun, temperature swings, or low humidity. Acclimate them gently.
- Feeding Too Soon: Do not feed the plant or try to stimulate pitchers for at least a month. Let it focus on root establishment.
Essential Post-Repotting Care for Spring Vigor
Your job isn’t over after the pot is filled. Spring care is about supporting the new growth you’ve enabled.
- Watering: Continue using only distilled, rainwater, or reverse osmosis water. Keep the media consistently moist. I check daily by touching the surface.
- Light: As new growth confirms establishment, gradually return them to their full, bright, indirect light. Strong light is the primary pitcher trigger.
- Humidity: This is the key to pitcher formation. As your new leaves develop, ensure humidity remains above 60% at all times. For indoor growers, a humidifier or enclosed grow space is often essential. The new leaves will form pitcher buds at their tips; if the air is too dry, these will abort and become regular leaves.
- Patience: The first new leaf after repotting may not produce a pitcher. This is normal. The plant is investing in roots. The second or third leaf will likely carry the first of your spring pitchers.
Frequently Asked Questions
My Nepenthes has stopped producing pitchers since I repotted. What did I do wrong? Don’t panic—this is very common. The plant has prioritized root growth over pitcher production. Ensure it is receiving enough bright light and, most critically, high humidity. Pitchers are highly dependent on atmospheric moisture to form. As long as the plant is putting out new green leaves, it is healthy. The pitchers will follow once conditions are optimal.
Can I fertilize my Nepenthes after repotting to boost spring growth? You must wait until the plant is clearly growing again, typically at least 4-6 weeks post-repot. When you do, use an orchid or foliar fertilizer at 1/4 strength and apply it only to the leaves, not the soil. I spray mine monthly during the growing season. Over-fertilization is a far greater risk than under-fertilization.
How often should I repot my Nepenthes? There’s no rigid schedule. Repot when the media breaks down (becomes muddy or smells sour) or the plant becomes severely root-bound. For most mixes, this is every 1-2 years. Spring, just before the growth season, is the ideal time to perform this routine maintenance.
Repotting a Nepenthes is an act of preventative care and a commitment to its future. That slight nervousness you feel is a sign you care about getting it right. By following these steps—prioritizing root health, using the right media, and providing attentive aftercare—you’re not just changing a pot. You’re unlocking your plant’s potential, setting the stage for a spring and summer filled with the remarkable spectacle of vigorous vines and dewy, insect-trapping pitchers. The reward for this simple, timely task is a thriving, spectacular plant.





