 bluename
How to Care for Nepenthes After US Spring Transplanting: A Grower’s Survival Guide
You’ve just finished transplanting your beloved pitcher plant. The new pot looks great, the fresh media seems perfect, and you’re filled with that hopeful, springtime energy. But now, a quiet anxiety creeps in. Why does my Nepenthes look so sad? Is that leaf yellowing normal? Will it ever pitcher again? I’ve been there, staring at a freshly repotted plant, wondering if I’d just made a fatal mistake.
The weeks following a spring transplant are the most critical. This isn’t just about changing pots; it’s about guiding a sensitive plant through the shock of relocation and into a vigorous new growth cycle. Based on my years of trial, error, and careful observation, I’ll walk you through the exact post-transplant care regimen that has saved my plants time and again. I recently transplanted my Nepenthes x ‘Miranda’ and a tender Nepenthes ventricosa in mid-April, and for the next two weeks, their recovery became my daily ritual.
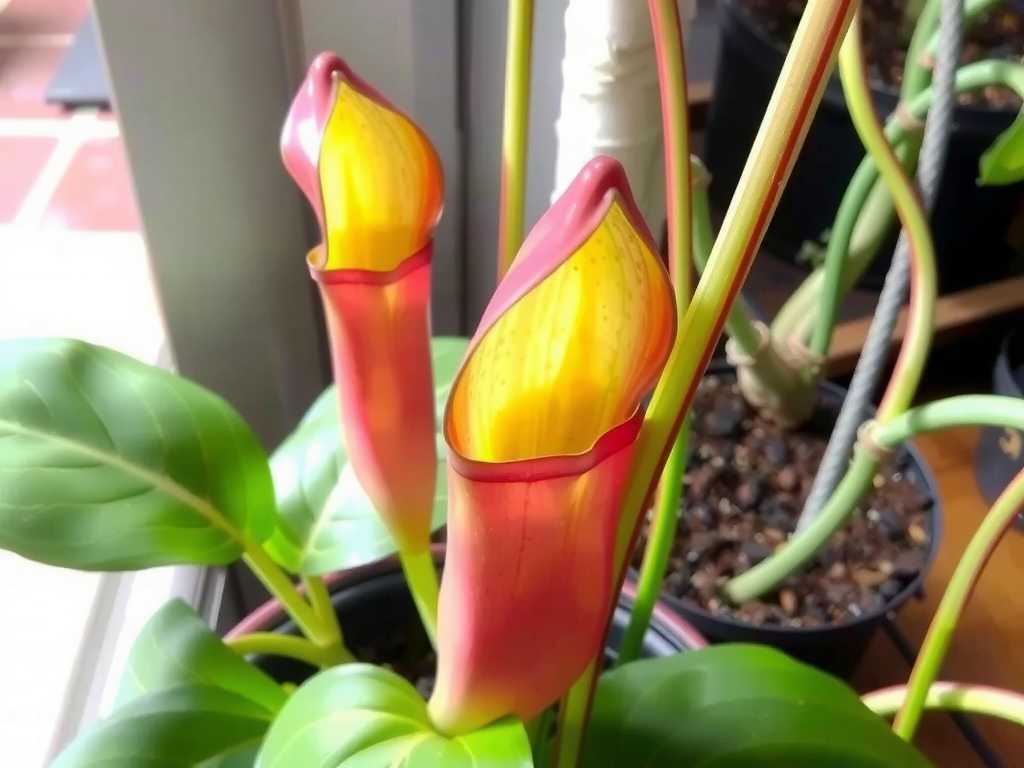
Understanding Post-Transplant Stress: The First 48 Hours Are Key
Immediately after transplanting, your Nepenthes isn’t thinking about growth. It’s in survival mode. The root system, no matter how careful you were, has experienced disturbance. Fine root hairs responsible for water uptake are damaged. The plant’s priority is to repair these microscopic structures and re-establish its connection to the new growing medium.
My ‘Miranda’ displayed this dramatically. For the first two days, its previously firm, turgid leaves went slightly limp. No discoloration, just a noticeable loss of rigidity. This is a classic sign of hydraulic shock—the plant’s water transport system is temporarily interrupted. Panic is the enemy here. The solution isn’t more water, which can suffocate the recovering roots, but optimized environment.
My Two-Week Recovery Protocol: A Step-by-Step Diary
Here is the exact care schedule I followed, observing and adjusting daily.
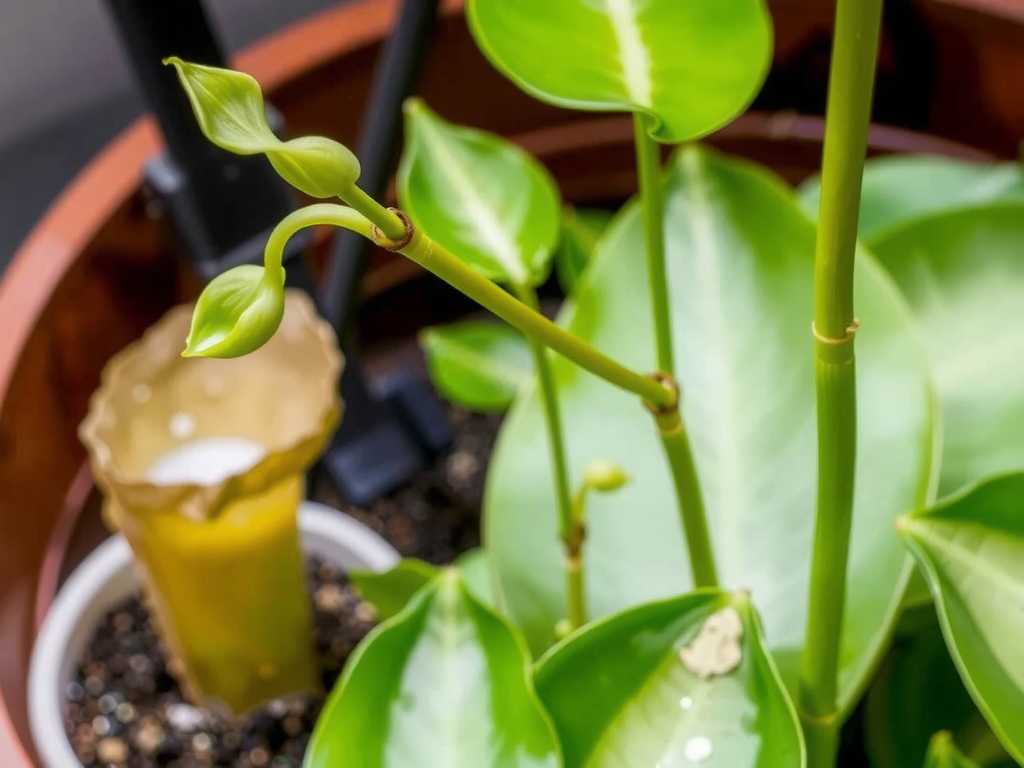
Week 1: The Stabilization Phase (Days 1-7)
The goal this week is not growth, but stabilization. You’re providing a crutch while the plant heals itself.
- Lighting: The Gentle Embrace. I moved both plants from their usual bright, filtered light spot to a location with about 30-40% less intensity. For me, this meant the dappled shade of a taller plant stand. The American Horticultural Society’s (AHA) emphasis on “right plant, right place” applies post-transplant too—the “right place” is now a gentler one. Direct sun forces transpiration, pulling water from leaves the roots can’t yet replace. I maintained this for the full first week.
- Humidity: Creating a Recovery Room. This is non-negotiable. High humidity (75%+) reduces the rate of water loss from leaves, easing the burden on the roots. I use a simple humidity dome—a large, clear plastic bag propped up with stakes—for my ventricosa. For the larger ‘Miranda’, I placed it on a wide humidity tray and ran a humidifier nearby for 6-8 hours daily. I observed the leaves perking up noticeably within 3 days under this humid shield.
- Watering: The Delicate Balance. This is where I’ve made my worst mistakes in the past. Overwatering leads to rot; underwatering exacerbates shock. My method: On transplant day, I water thoroughly with lukewarm, distilled water to settle the media. Then, I do not water from the top again until the surface feels just slightly damp, typically day 4 or 5. I check by touch, not a schedule. The Royal Horticultural Society (RHS) advises keeping carnivorous plant media “moist but not waterlogged,” a mantra I repeated to myself. I used a moisture meter to confirm the top inch was drying before the next deep, thorough soak.
The Pitfall I Encountered: On day 3, I noticed a faint, white fuzz on the media surface near the stem of my ventricosa. Alarmed, I realized my makeshift dome had too little air circulation, creating a fungal playground. My fix: I removed the dome for 30 minutes twice daily to allow fresh air exchange. The fungus halted immediately. The lesson: Humidity is vital, but airflow prevents disease.
Week 2: The Re-engagement Phase (Days 8-14)
By the start of week two, the limpness was gone. The plants looked stable but not yet growing. It was time to carefully encourage them back to normal life.
- Reintroducing Light. I began a slow transition back to their original light levels over 4-5 days. Each day, I moved them an hour closer to their long-term spot. By day 14, they were back in their full, bright, indirect light location. I watched for any sign of leaf bleaching or stress, but the gradual shift prevented it.
- Humidity & Watering Normalization. I stopped using the humidifier constantly, reducing it to just a few hours in the midday. The humidity tray remained. My watering shifted to a more standard routine—watering when the top 0.5-1 inch of media was dry. The key indicator? The pots felt noticeably lighter when lifted.
- The First Sign of Success: New Root Engagement. On day 12, I gave the ventricosa a very gentle tug at the base. There was a slight resistance that wasn’t there on day 5. This subtle “anchor” feeling is a thrilling sign that new root hairs have grown and are gripping the media. The ‘Miranda’ showed its approval differently—the tiniest hint of red blush on a new leaf node, signaling resumed metabolic activity.
Feeding and Fertilization: When to Resume
Hold all fertilizers for at least one month post-transplant. Burned root tips are incredibly vulnerable to fertilizer salts. My plants get all their nutrition from prey. However, if you use a diluted foliar fertilizer, you could consider a very weak application only after you see confirmed new leaf growth, not before. I waited a full 6 weeks before applying a 1/4 strength orchid fertilizer spray to the leaves of my ‘Miranda’.
Long-Term Adjustments for a Thriving Pitcher Plant
Your care after the initial two weeks sets the stage for spectacular pitching.
- Monitoring for Pitcher Production. Don’t expect new pitchers immediately. The plant invests energy in roots first. My ‘Miranda’ produced its first post-transplant pitcher after about 7 weeks. Ensure consistent high humidity and bright light as the primary pitchers.
- Seasonal Considerations After Spring Transplanting. A spring transplant leverages the entire growing season. As summer approaches, watch your watering closely. Warmer temperatures and more light will dry media faster. My summer watering frequency is nearly double my spring routine.
Troubleshooting Common Post-Repotting Problems
- Yellowing Lower Leaves: I lost one oldest leaf on my ‘Miranda’ in week two. This is often normal resource reallocation. The plant sacrifices an old leaf to fuel new root growth. Only worry if multiple leaves or new growth yellows.
- No New Growth for Weeks: Be patient. If the plant is stable (no worsening wilt, no blackening stems), it is working underground. Sometimes, a Nepenthes will pause for 4-6 weeks before exploding with growth.
- The Stem or Base Feels Soft: This is an emergency, often signaling rot from overly wet media. My drastic but successful fix in the past has been to unpot, cut away all soft tissue with a sterile blade, treat with fungicide, and re-root in fresh, barely damp sphagnum moss under a dome.
Addressing Your Top Concerns
How long should I expect my Nepenthes to be in shock after repotting? Most visible stress (like slight wilting) should resolve within 5-7 days if conditions are right. Full recovery, indicated by steady new leaf growth, can take 3-6 weeks. The two-week mark is typically the turning point from survival to recovery.
Can I use a rooting hormone when transplanting my pitcher plant? I have experimented with a gentle, seaweed-based root stimulant (not a synthetic hormone) in my watering can for the first soak. Anecdotally, I believe it helped reduce the initial wilt period. However, it is not a substitute for proper aftercare with high humidity and correct lighting.
My transplanted Nepenthes has stopped producing pitchers. What did I do wrong? Likely, nothing permanently wrong. Pitcher production is energy-intensive and is always the first function to halt under stress. It is the last to resume. Ensure your long-term light levels are high enough (bright, indirect for most hybrids) and humidity is consistently above 60%. Once the plant has rebuilt its root system and put out 2-3 new healthy leaves, it will almost certainly begin pitching again.
Transplanting a Nepenthes is an act of faith and a test of patience. The process doesn’t end when you tamp down the media. The careful, observant care you provide in the subsequent days and weeks determines your success. By mimicking a protective, humid microclimate and resisting the urge to over-love with water or fertilizer, you give your plant the quiet space it needs to heal. Watching that first new leaf unfurl, knowing it’s supported by a strong, re-established root system you helped nurture, is one of the most rewarding moments in plant keeping. Your patience will be repaid with a resilient, thriving pitcher plant ready to conquer the growing season.





