 bluename
How to Propagate Rare Nepenthes Safely in North America: A Grower’s Hands-On Guide
I’ve spent years cultivating rare Nepenthes in my North American home, and if there’s one question that keeps fellow enthusiasts up at night, it’s this: “How can I successfully propagate my prized, often expensive, rare pitcher plant without killing it?” The fear is real. A single misstep with a rare Nepenthes rajah, hamata, or jamban can mean losing a plant that took years to acquire and nurture. The challenges of climate control, sterile technique, and sheer patience form a daunting barrier. After numerous trials, errors, and finally, successes, I’ve developed a reliable, safe method tailored for our specific conditions. This guide is the one I wish I had when I started.
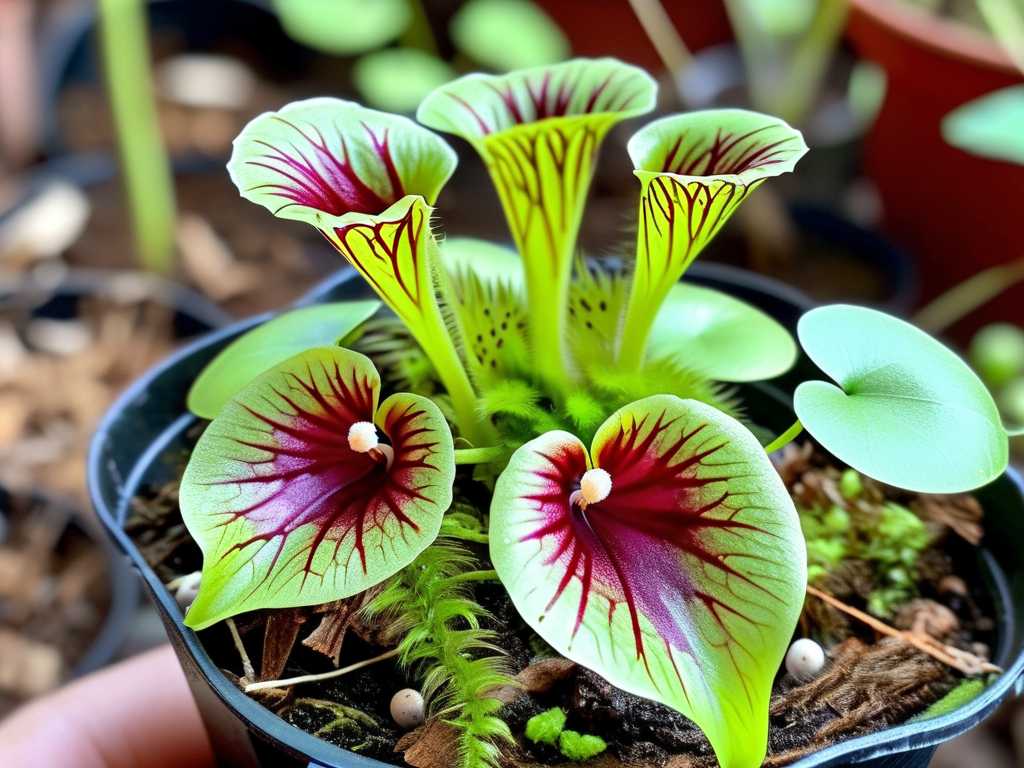
My focus here is on stem cuttings, the most practical method for most hobbyists to clone their rare specimens. We’ll also touch on other methods. The core of this process isn’t just about making a cut; it’s about managing the environment to ensure that cut survives and thrives. I recently propagated a rare Nepenthes edwardsiana hybrid using this exact protocol, and I’ll share my two-week observation journal alongside the steps.
Understanding Your Rare Nepenthes and the Propagation Imperative
Before you make the first cut, understanding why we propagate is crucial. For rare Nepenthes, it’s about preservation and sharing. The International Union for Conservation of Nature (IUCN) lists many highland species as threatened. Responsible propagation in cultivation, as supported by organizations like the Carnivorous Plant Society, acts as a safeguard against habitat loss. Furthermore, a study often cited by the North American Sarracenia Conservancy emphasizes that creating a robust, cultivated population reduces pressure on wild collections.
From a purely practical standpoint, a mature, vining Nepenthes can become leggy. Taking a cutting rejuvenates the mother plant, encouraging new basal growth, while giving you a genetic copy. The goal is to do this with near-surgical precision to minimize stress.
Pre-Propagation Preparation: The Foundation of Success
Fail here, and your cutting likely fails. I learned this the hard way when I lost a Nepenthes villosa tip cutting to fungal rot because I rushed setup.
Gathering Your Surgical Tools: You’ll need a razor blade or scalpel sterilized with isopropyl alcohol (not just wiped—soaked). Use fresh, long-fibered sphagnum moss (I prefer Chilean) and soak it in distilled water. Your rooting medium is critical. I use a mix of 50% long-fibered sphagnum and 50% perlite, which I microwave in a bowl of water for 5 minutes to pasteurize. Let it cool completely! Your pots should be small, clean, and have drainage.
Selecting and Preparing the Mother Plant: The donor plant must be in vigorous health. I ensure my plant is well-hydrated for a week prior but not recently fertilized. Choose a stem section with at least 3-4 nodes (the bumps where leaves emerge). The ideal cutting is from the growing tip or a mid-section with healthy, green stem. I avoid any woody, brown sections.
The Step-by-Step Safe Cutting and Rooting Protocol
This is the moment of truth. Follow these steps in order.
Step 1: The Sterile Cut. Re-sterilize your blade. Identify your cutting point below a node. The node will be the center of future root growth. Make one swift, clean, diagonal cut. I immediately place the cutting on a clean paper towel. The diagonal cut increases the surface area for rooting hormone application and helps you remember which end is down!
Step 2: Immediate Post-Cut Care. For the cutting: Trim the leaves. This is vital. Reduce each leaf by half to two-thirds. This dramatically cuts down on transpiration (water loss), allowing the cutting to focus energy on root production instead of sustaining large leaves. For the mother plant: Dust the fresh wound on the original stem with cinnamon (a natural fungicide) or sulfur powder to prevent infection. I’ve found this simple step prevents die-back on the parent.
Step 3: Applying Rooting Hormone. While many skip this, for rare Nepenthes, I don’t risk it. I use a hormone containing Indole-3-butyric acid (IBA). Dip the bottom 1 cm of the cutting, focusing on the node area, into the powder. Tap off the excess. Do not contaminate your hormone container with plant material.
Step 4: Potting and the Humidity Dome. Gently pot your cutting into the pre-moistened, cooled medium. Bury the node. Do not pack it tightly. Here’s the key: the environment. Place the pot inside a clear plastic dome or a sealed propagation box. This creates a near-100% humidity environment, eliminating water stress on the cutting. I use clear Sterilite boxes. Place it under bright, indirect light—never in direct sun, which will cook it. I use LED grow lights set on a 12-hour cycle.
My Two-Week Observation Log with Nepenthes edwardsiana Hybrid
To show you what to expect, here’s my real-time log.
- Day 1-3: Cutting potted, dome sealed. Leaves are firm, color is good. No visible change. The dome has slight condensation.
- Day 4-7: The first test. A tiny, dark spot appeared on the edge of one trimmed leaf. Panic? No. This is normal senescence. The dome condensation is consistent. I open it for 30 seconds every other day for minimal air exchange, preventing stagnation.
- Day 8-10: The dark spot hasn’t spread. The stem still looks green and firm at the soil line. This is a critical period where rot usually sets in if something is wrong. So far, so good.
- Day 11-14: The first sign of hope! Upon very gently tugging the cutting on Day 12, I felt the slightest resistance. By Day 14, I spotted a single, tiny white nub (a root primordium) peeking from the stem near the medium surface. Success. The cutting has “struck.” I continue to keep it domed.
The Pit I Fell Into (And How to Climb Out): My early mistake was opening the dome daily, causing humidity fluctuations that stressed cuttings. The solution: minimal interference. Open only 2-3 times a week for 30 seconds. My second mistake was using tap water to moisten the medium. Mineral buildup caused failure. Always use distilled or reverse osmosis water.
Beyond Stem Cuttings: Other Methods for Rare Nepenthes
While cuttings are my go-to, other safe propagation techniques exist.
Tissue Culture (TC): This is the gold standard for mass propagating rare tropical pitcher plants commercially. It requires a sterile lab environment (laminar flow hood, agar media). For the advanced hobbyist, home TC kits are available. It’s the best way to produce many identical plants from a tiny piece of tissue, but it has a steep learning curve.
Basal Shoots and Division: Sometimes, a rare Nepenthes will produce offshoots from its base. Once these have their own roots, they can be carefully divided. This is the least risky method, as the offspring is already rooted. Patience is required to let the shoot develop sufficiently.
The North American Grower’s Environmental Control Checklist
Our regional challenges are heating, cooling, and low humidity. Your propagation setup must address this.
- Temperature: Match the day/night cycle of your rare Nepenthes’ origin (highland vs. lowland). I use a simple inkbird thermostat connected to a heater mat (for highlands at night) or a small cooler.
- Humidity: The dome solves this initially. For acclimating rooted cuttings, a humidifier in an enclosed grow space or terrarium is essential. The American Horticultural Society’s guidelines on greenhouse propagation stress that consistent humidity is more important than extreme highs.
- Light: Bright, indirect light. 12-14 hours under LEDs (PPFD of 100-200 is sufficient for cuttings) works perfectly.
FAQ: Your Pressing Questions Answered
How long until I see significant root growth on my rare Nepenthes cutting? Patience is non-negotiable. While you might see a root nub in 2-4 weeks, substantial roots that can sustain the plant outside the dome often take 2-4 months, sometimes longer for slow highlanders. Wait for multiple roots several centimeters long before even considering acclimating it to lower humidity.
Can I use water propagation for rare Nepenthes? I strongly advise against it for rare specimens. While some common Nepenthes may root in water, the transition from water roots to soil roots is often problematic, and the risk of stem rot is higher. The sphagnum/perlite method provides a more natural and stable transition.
My cutting’s stem is turning black from the bottom up. What now? This is rot, usually from a non-sterile cut, contaminated medium, or waterlogged conditions. Act fast. Remove the cutting, re-sterilize your blade, and cut above the blackened area into healthy green tissue. Re-apply hormone and re-pot in fresh, pasteurized medium. Ensure your dome isn’t sitting in a cold draft, which can encourage fungal growth.
Propagating rare Nepenthes is a rewarding testament to a grower’s skill. It transforms anxiety over losing a single specimen into the confidence of cultivating a sustainable collection. By prioritizing sterile technique, environmental control, and—above all—patience, you can safely multiply these incredible plants. The process connects you deeply to the plant’s lifecycle, and there’s no greater thrill than seeing that first new leaf emerge from a cutting you nurtured yourself. Start with a robust plant, follow these steps, and you’ll be sharing your own rare Nepenthes successes in no time.





