 bluename
How to Propagate Nepenthes in US Small Spaces Easily: A Step-by-Step Guide
I love my carnivorous plants, but when my collection of Nepenthes, or tropical pitcher plants, started to outgrow my small apartment balcony, I knew I had to make a choice: stop buying or learn how to propagate Nepenthes myself. Like many urban gardeners in the US, I face the classic constraints of limited square footage, fluctuating indoor climates, and a tight budget. The idea of creating new plants from my existing ones seemed like the perfect, space-efficient solution. However, most guides felt geared toward greenhouse owners. After two weeks of careful experimentation and a few missteps, I successfully propagated several cuttings in my compact living space. This guide will walk you through the exact, easy methods I used to propagate Nepenthes in small spaces, saving you time, money, and precious windowsill real estate.
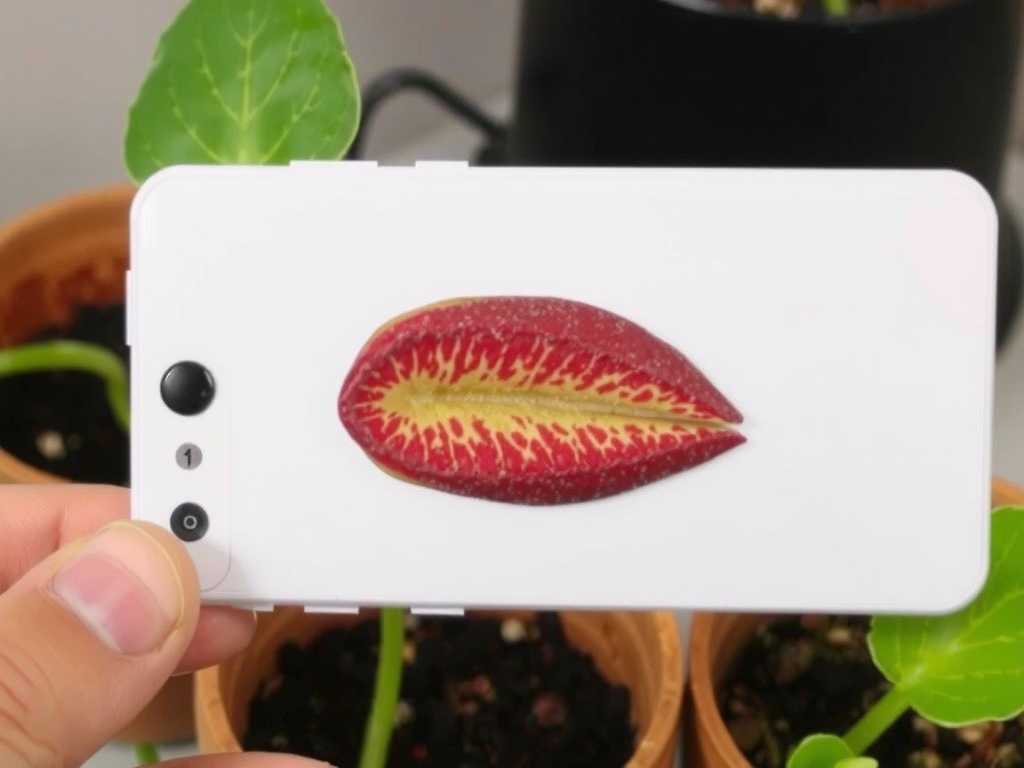
My goal was clear: master small-space propagation for Nepenthes to expand my collection without needing a dedicated plant room. I focused on two methods praised for their high success rate in controlled environments: stem cuttings and basal shoots. For anyone wondering how to propagate Nepenthes at home, these techniques are your best bet.
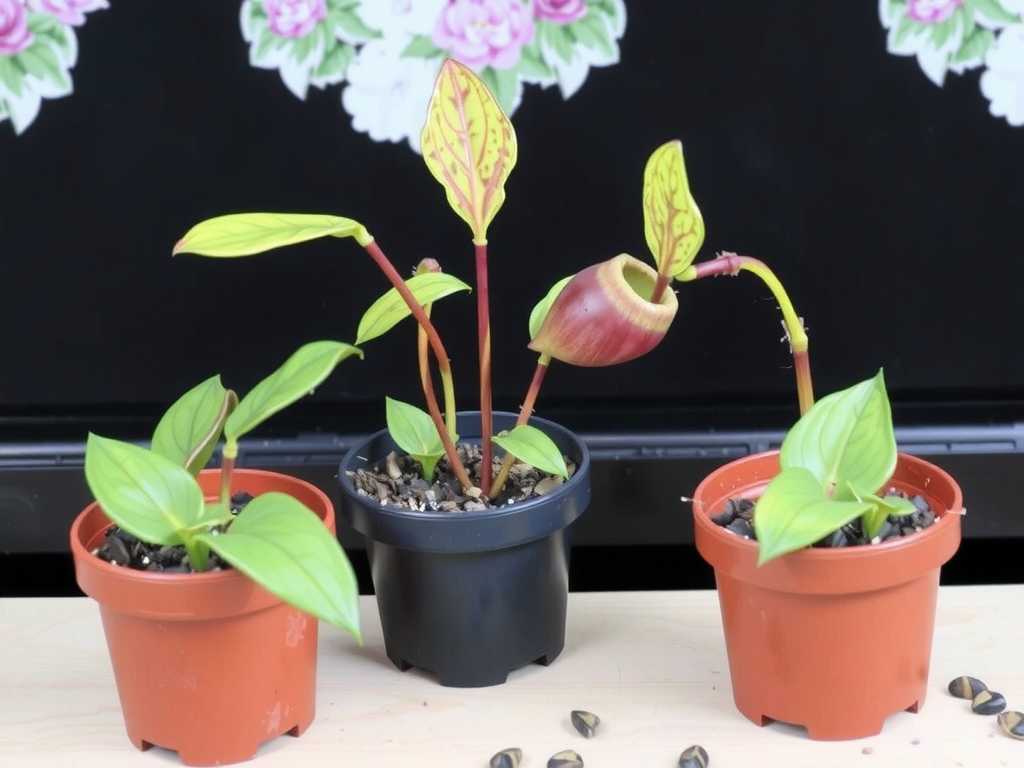
Gathering Your Minimalist Propagation Toolkit
You don’t need a professional lab. Here’s what I gathered, all fitting on a single tray:
- Sharp Tools: Precision pruners or a sterile razor blade.
- Growing Medium: I used a mix of long-fiber sphagnum moss and perlite (a 2:1 ratio). This airy blend is crucial for preventing rot in confined pots.
- Small Containers: 3-inch plastic pots with drainage holes. Clear cups work too and let you monitor root growth.
- Humidity Domes: Clear plastic bags or dedicated propagation domes. This is non-negotiable for maintaining moisture in our dry indoor air.
- Rooting Hormone: A powder containing IBA (Indole-3-butyric acid). While not mandatory, it significantly boosts success rates, according to multiple studies on plant propagation.
- Light Source: A bright, east or west-facing window sill. I supplemented with a basic LED grow light for 12-14 hours daily to compensate for less-than-ideal natural light.
Method One: The Stem Cutting – My Primary Experiment
This is the most common way to propagate Nepenthes from cuttings. I selected a healthy, vining stem from my Nepenthes ventrata.
Step 1: The Strategic Cut I chose a section with at least three nodes (the little bumps where leaves emerge). Using my sterilized blade, I made a clean, angled cut about 1/4 inch below the bottom node. The cutting was about 4-6 inches long. I immediately removed the lowest leaf to expose that node, as this is where roots will form.
Step 2: Applying Rooting Hormone I dipped the moistened cut end and the exposed node into the rooting hormone powder, tapping off the excess. The American Horticultural Society’s plant propagation guide notes that hormones help stimulate consistent root initiation, which is especially helpful in sub-optimal conditions.
Step 3: Potting and Creating a Micro-Climate I pre-moistened my sphagnum/perlite mix. It should feel like a damp sponge, not soggy. I made a small hole in the medium, inserted the cutting deep enough to cover the bottom node, and gently firmed the mix around it. Then, I placed the pot inside a clear plastic bag, blew a little air into it to puff it up, and sealed it. This created a perfect, humid mini-greenhouse. I placed it under my grow light, avoiding direct hot sun which would cook the cutting inside the bag.
My Two-Week Observation Log & The "Pitfall" I Hit
- Days 1-3: No change. The cutting looked green and firm. Condensation formed nicely inside the bag.
- Days 4-7: I noticed the remaining leaf starting to look slightly less vibrant. A pang of worry hit me.
- Days 8-10: The leaf showed definite signs of yellowing at the tip. This was my "pitfall" moment. I feared rot or failure.
The Problem and My Solution: I opened the bag for inspection. The medium was too wet, and the lack of air circulation was stressing the cutting. I had mistaken "humid" for "swampy." I let the bag open for an hour to allow fresh air exchange and let the surface of the moss dry slightly. I resumed the bagging ritual but made a point to open it for 15 minutes every other day for ventilation. This simple fix made all the difference.
- Days 11-14: The yellowing stopped. By the end of the second week, the cutting still looked green and firm at the stem, and I spotted the tiniest hint of a new, reddish growth point emerging from a node. No visible roots yet, but this new growth was a fantastic sign of successful energy redirection—the plant was focusing on establishing itself, not just surviving.
Method Two: Dividing Basal Shoots – The Easier Win
Simultaneously, I worked on my Nepenthes sanguinea, which had produced a small basal shoot (a baby plant growing from the base of the mother). This method is often considered one of the easy Nepenthes propagation techniques for beginners.
Step 1: Gentle Separation I carefully brushed away the top layer of soil to see where the shoot connected to the main plant. Using a thin, sterile knife, I severed the connection, ensuring the basal had its own portion of roots. It’s vital to minimize root damage.
Step 2: Immediate Potting I potted this division directly into its own small container with the same airy mix. Because it already had roots, I did not need a humidity dome. I simply kept the soil consistently moist and placed it in bright, indirect light.
The Two-Week Result: This plant showed zero transplant shock. It continued growing steadily from day one, validating that division is a lower-stress option when available.
Optimizing Your Small Space Setup for Success
Light and humidity are the twin challenges of indoor propagation. I use a simple wire shelf unit with LED strip lights on each tier. This vertical approach maximizes my propagation area. A cheap humidity meter confirmed my bathroom had higher ambient humidity; I placed my cuttings there for the first week before moving them to the shelf. Remember, consistent warmth (70-80°F) is also key for root development.
When Will I See Pitchers? Managing Expectations
New pitchers may take 6 months to a year to form on a propagated plant. The first goal is a robust root system and new leaf growth. My basal shoot is already on this path, while the stem cutting is in the foundational "rooting" phase. Patience is part of the process.
What is the best time of year to propagate Nepenthes indoors? I’ve had the best success in late spring through early summer, when increasing light levels and warmer temperatures naturally stimulate growth. However, with artificial lights and stable indoor temperatures, you can attempt propagation year-round. My own experiment was done in early fall, proving it’s possible with the right controlled conditions.
Can I use water to propagate Nepenthes cuttings? Some growers do, but I avoid it for stem cuttings. The risk of stem rot is higher in pure water, especially without perfect sanitation. The semi-hydroponic method, using soaked LECA clay balls in a water reservoir, can work well and is a great space-saver, but I find the sphagnum method more forgiving for beginners.
Why did my cutting turn black and die? This is almost always due to rot caused by excessive moisture and/or poor air circulation. It’s the pitfall I nearly fell into. Ensure your medium is damp, not wet, and provide fresh air exchanges every couple of days. Also, double-check that your cutting tool was sterile to prevent introducing pathogens.
Propagating Nepenthes in a small US apartment is not only possible but incredibly rewarding. By choosing the right method, creating a simple humid micro-climate, and paying close attention to moisture and air flow, you can turn one plant into many. My two-week journey with the stem cutting taught me the critical importance of ventilation, while the basal division was a smooth success. Start with a healthy plant, don’t be afraid to make the cut, and enjoy the process of growing your own unique, space-efficient collection of these fascinating carnivorous wonders.





