 bluename
How to Propagate Nepenthes for US Mini Terrariums This Season
I’ve been there. You’ve found the perfect miniature Nepenthes for your US terrarium, fallen in love with its intricate, jewel-like pitchers, and now you’re hit with a dilemma. You want more of these captivating carnivores, but the thought of complex propagation feels daunting. Buying new, mature plants for every tiny glass ecosystem is expensive and impractical. What if you could create your own, ensuring a perfect fit for your miniature landscape and the immense satisfaction of nurturing life from a tiny cutting? This season, I decided to master the art of propagating Nepenthes specifically for the unique environment of a mini terrarium. After two weeks of meticulous care, observation, and a few critical mistakes, I’m here to guide you through a proven, hands-on method.
My goal was clear: to successfully root Nepenthes cuttings using accessible materials and maintain them in conditions that would pre-adapt them for life in a controlled, humid mini-terrarium. The journey wasn’t without its hiccups, but the results were incredibly rewarding. Let’s dive into the exact process I followed, what I learned, and how you can replicate this success for your own miniature carnivorous garden.
Understanding Your Nepenthes and Terrarium Synergy
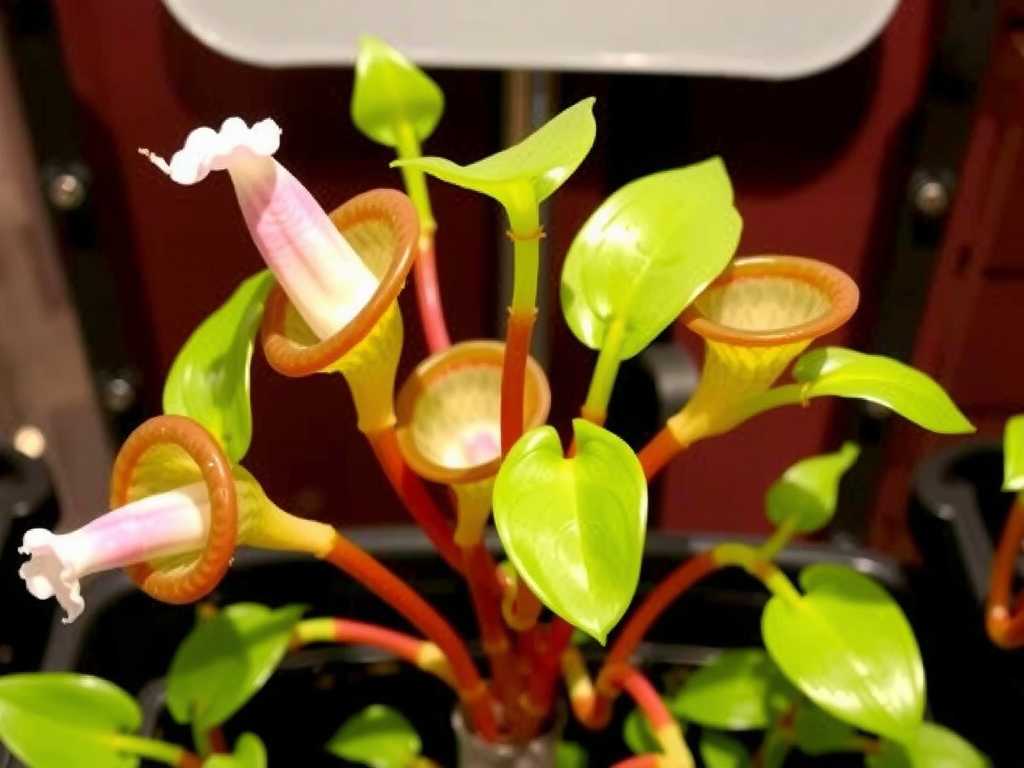
Before making the first cut, it’s crucial to understand why certain Nepenthes species are ideal for mini terrariums and how propagation aligns with their needs. Mini terrariums, especially popular in the US for their space-saving beauty, create a stable, humid microclimate. This is perfect for highland Nepenthes varieties like N. ventricosa, N. sanguinea, or the ever-popular N. ‘Ventrata’, which thrive in consistent moisture and cooler nights.
According to the Carnivorous Plant Society and insights from experienced growers, successful propagation hinges on mimicking the plant’s natural humid, bright, but not scorching, environment. A terrarium-ready cutting isn’t just about roots; it’s about cultivating a plant already acclimated to high humidity and diffused light. This foresight prevents transplant shock later. I chose a healthy, mature Nepenthes ‘Ventrata’ as my mother plant—a robust hybrid known for being a forgiving subject for beginners and a superstar in terrarium settings.
My Step-by-Step Propagation Method for Terrarium Success
Here is the exact procedure I used, from selection to the two-week observation mark. I’ll note where I stumbled and how I corrected course.
Gathering the Right Materials
I gathered everything beforehand to avoid stressing the cuttings. You’ll need:
- Sharp, Sterilized Scissors or Blade: I used pruning shears cleaned with isopropyl alcohol. This is non-negotiable to prevent disease.
- Sphagnum Moss: I prefer high-quality, long-fiber sphagnum moss, soaked in distilled water. Tap water is a major pitfall due to minerals.
- Small Propagation Pots or Clear Cups: Clear cups allowed me to monitor root growth without disturbance.
- Rooting Hormone (Powder or Gel): While optional, I used a hormone containing IBA to encourage faster root development.
- Distilled or Rainwater: The cornerstone of carnivorous plant care.
- A Clear Propagation Dome or Plastic Bag: To maintain near-100% humidity.
- A Bright, Warm Location: I used a shelf with bright, indirect light, away from direct sun which would cook the cuttings.
Taking and Preparing the Cuttings
- Selecting the Stem: I looked for a vigorous, green stem with at least 3-4 nodes (the little bumps where leaves emerge). The stem should be firm, not woody. I made my cut about 1/4 inch below a node, at a 45-degree angle to increase the surface area for rooting.
- Preparing the Cutting: I trimmed the leaves on the lower half of the cutting to reduce moisture loss. The top leaves were left intact. Here was my first mistake: I initially left a leaf too close to the base, which later sat in damp moss and began to rot. I had to carefully remove it later. Lesson learned: ensure no foliage touches the rooting medium.
- Applying Rooting Hormone: I dipped the moistened cut end into the rooting hormone powder, tapping off the excess. This step seems simple, but it provides a significant boost.
The Rooting Setup and Initial Care
I filled my clear cups about halfway with pre-soaked, wrung-out sphagnum moss. Using a pencil, I made a hole and inserted the cutting, gently firming the moss around it. I then placed the cups inside my clear propagation tray with a dome. The key is humidity, not wetness. The moss should be moist like a damp sponge, not soggy.
I placed the setup in a bright area where it receives about 12 hours of gentle light from a grow light. Temperature was maintained around 75-80°F (24-27°C) during the day. I made sure the dome had slight ventilation to prevent fungal growth—another crucial tip from expert growers to balance humidity and air flow.
The Critical Two-Week Observation Period
This is where patience and daily checks become your best tools.
Days 1-4: The cuttings looked unchanged, which is good. No wilting meant the humidity dome was working. I checked for condensation daily. Days 5-7: I noticed the first sign of trouble. On one cutting, that lower leaf I mentioned started turning yellow at the base where it met the moss. This was the early rot I feared. I immediately removed the dome, carefully extracted the cutting, and snipped off the offending leaf with sterilized tweezers. I applied a little more rooting hormone to the area and re-planted it. This fix saved the cutting. The other cuttings showed no issues. Days 8-10: A thrilling development! By gently tilting one cup, I could see tiny, white nubs emerging from the buried node. These were the first root initials. No tugging on the plant! I simply noted the progress. Days 11-14: Root growth became more visible against the clear cup. Several fine, white roots about 1/2 inch long had formed on the healthiest cutting. The one that had the leaf issue was slower but showed one small root nub. The environment remained stable. I began a very light acclimation process, propping the dome open slightly more each day for an hour to prepare them for lower humidity.
Transitioning Your New Nepenthes to the Mini Terrarium
After two weeks, the cuttings are not ready to be fully planted in a competitive terrarium landscape. They are still fragile. The American Horticultural Society’s plant propagation guidelines emphasize a gradual hardening-off process. Here’s my plan for the next phase:
- Extended Root Development: I will let the roots establish further in the cups for another 2-4 weeks until a healthy root ball forms.
- Potting Up: I’ll then pot them into tiny, permanent pots using a well-draining Nepenthes mix (like sphagnum moss with perlite or orchid bark).
- Pre-Terrarium Acclimation: These pots will live outside the terrarium but inside a high-humidity environment (like a large, clear jar) for a few weeks, allowing me to control their care individually.
- Final Placement: Only when the plant is actively growing and pitchering in its pot will I consider integrating it into the mini terrarium community, ensuring it has adequate space and light.
Common Questions from Fellow Enthusiasts
Can I propagate Nepenthes directly in water? While some houseplants thrive with water propagation, Nepenthes cuttings are highly susceptible to rot when submerged. The semi-aerobic environment of moist sphagnum moss is far superior and mimics their natural rooting conditions much more effectively. I tried a water prop once as an experiment, and it resulted in a mushy stem within a week.
My cutting is turning black at the base. Is it doomed? Not necessarily, but act fast. This is likely stem rot. Remove the cutting, sterilize your blade, and cut above the blackened area into healthy, green tissue. Let the cut callous over for an hour, reapply rooting hormone, and start again in fresh, sterile moss. Improving air circulation around the cutting is key.
How long until my new Nepenthes starts growing pitchers? Patience is essential. A rooted cutting must establish a robust root system and then focus on vegetative leaf growth. Pitcher production is energy-intensive and typically begins only after the plant is settled and receiving adequate light and humidity. In my experience, don’t expect functional pitchers for several months. Focus on healthy green growth as your initial success metric.
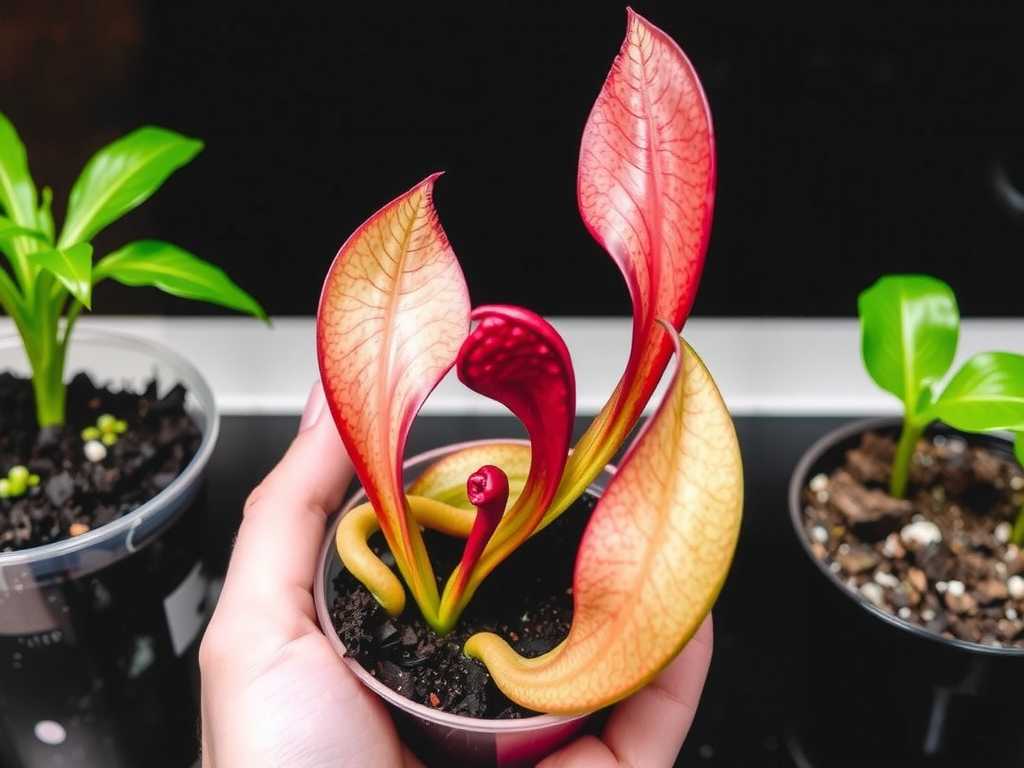
Propagating Nepenthes for your mini terrarium is a deeply fulfilling project that blends science with art. It requires attention to detail—sterile tools, the right medium, consistent humidity, and vigilant observation. My two-week journey highlighted how a simple misstep with a leaf can set you back, but also how a quick, informed correction can lead to success. By creating these plants yourself, you gain not only affordable terrarium inhabitants but also a profound connection to the lifecycle of these extraordinary carnivorous plants. Start this season with a healthy mother plant, follow these steps, and you’ll be well on your way to populating your miniature glass worlds with your own homegrown Nepenthes.





