 bluename
How to Boost Nepenthes Propagation Success: A US Grower's Guide from Trial to Triumph
For years, I stared at my prized Nepenthes, admiring its intricate pitchers, yet feeling a pang of intimidation. Propagating these captivating carnivores felt like a high-stakes secret, reserved for greenhouse gurus. My early attempts—a clumsy stem cutting shoved into standard potting mix—ended in mushy disappointment. The core frustration for us U.S. growers is clear: we invest in these exotic beauties, but reliable, clear-cut guidance for multiplying them successfully at home seems scattered and overly technical. I was determined to crack the code. After extensive research, trial, and significant error, I developed a straightforward, repeatable system. This guide isn't just theory; it's my documented journey, including the pitfalls and the precise steps that finally led me to consistent Nepenthes propagation success.
Understanding the "Why" Before the "How": Propagation Basics
Before we dive into the soil and sphagnum, it's crucial to understand what we're asking the plant to do. Propagating Nepenthes plants isn't like sowing seeds; it's convincing a piece of an existing plant to generate its own roots and become independent. The two most accessible methods for hobbyists are stem cuttings and air layering. My focus here will be on stem cuttings, as it's the most common starting point, and briefly touch on air layering as a fantastic alternative for longer vines.
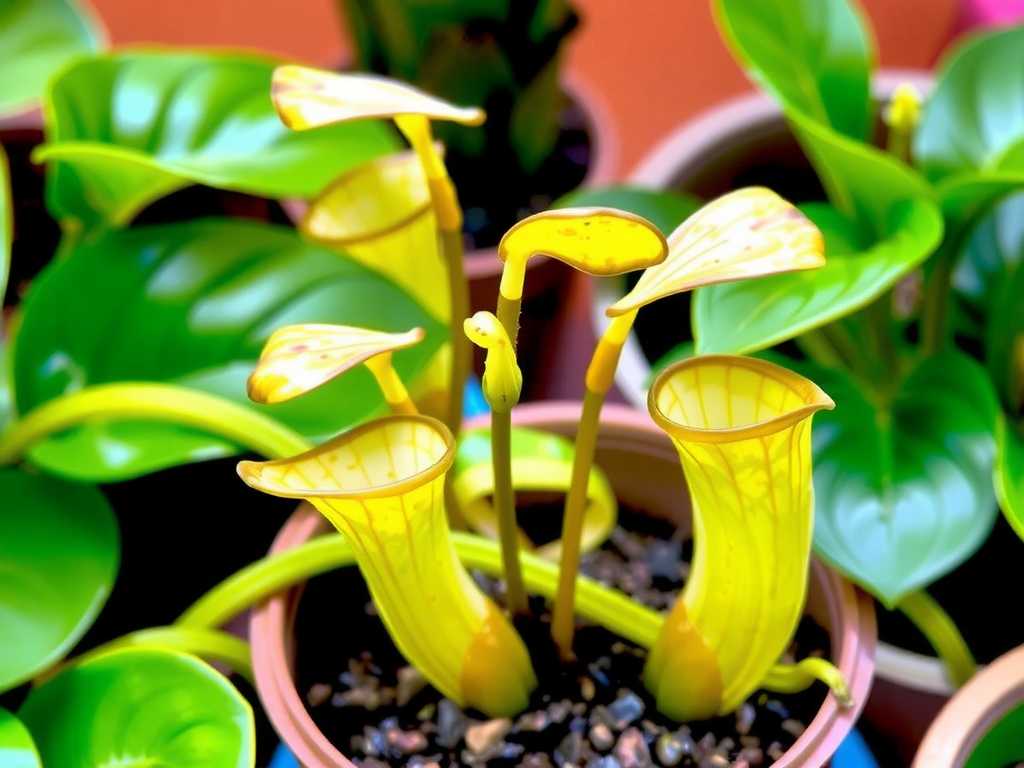
A key authority in the carnivorous plant world, the International Carnivorous Plant Society (ICPS), emphasizes that the parent plant's health is paramount. A stressed or weak Nepenthes will have a drastically lower chance of producing viable cuttings. As Tony Avent of Plant Delights Nursery often notes, "Propagation starts with the mother plant's vigor." I learned this the hard way. My first successful propagation came not from my flashiest hybrid, but from a robust, happily growing Nepenthes ventrata that had been thriving in my care for over a year.
My Step-by-Step Blueprint for Rooting Nepenthes Cuttings
Here is the exact process I now follow, refined through both failure and success.
Gathering Your Propagation Toolkit
You don't need a lab, but you do need the right supplies:
- Sharp, Sterilized Blade: I use a single-edge razor blade disinfected with isopropyl alcohol. Clean cuts are non-negotiable to prevent infection.
- Rooting Hormone: While debated, I’ve had significantly higher success with a hormone containing IBA (Indole-3-butyric acid). I use a gel formulation for easy, even application.
- Sphagnum Moss: Long-fibered sphagnum moss is my champion medium. I rehydrate it with distilled or reverse osmosis (RO) water until it’s damp, not sopping wet.
- Propagation Chamber: This is the game-changer. A clear plastic container with a lid (like a large deli container) creates the consistent, humid environment cuttings crave.
- Pot and Well-Draining Mix: For potting up the rooted cutting, I use a mix of long-fiber sphagnum, perlite, and orchid bark (about a 2:1:1 ratio).
The Cutting Procedure: A Delicate Operation
- Selecting the Cutting: I look for a healthy, semi-hardwood section of vine. The ideal piece has at least 3-4 nodes (the little bumps where leaves emerge) and is 4-6 inches long. Using my sterile blade, I make a clean, angled cut just below a node.
- Preparing the Cutting: I carefully remove the lowest 1-2 leaves to expose those nodes. This is where roots will ideally form. The top leaves are left intact, though I sometimes trim the very tip of the newest leaf to reduce transpiration.
- Applying Hormone: I dip the cut end and the exposed nodes into the rooting hormone gel, ensuring a thin, complete coat.
- Potting and Enclosing: I gently pack the pre-moistened sphagnum moss around the base of the cutting in a small pot. This pot then goes into the propagation chamber. I lightly mist the inside of the lid and close it, placing the entire setup under my grow lights but out of direct, scorching sun.
The Critical First Two Weeks: My Observation Log
This is where patience and observation are key. I committed to checking my cuttings daily without disturbing them.
- Days 1-3: No visible change. The medium remained damp from the initial watering. The cutting looked unchanged—a good sign.
- Days 4-7: I noticed slight condensation on the container walls each morning, indicating stable humidity. The cutting still looked green and firm.
- Days 8-10: Here was my first "pitfall" moment. I noticed a tiny speck of fuzzy white mold on the stem of one cutting. Panic! But instead of discarding it, I carefully removed the pot, dabbed the spot with a cotton swab dipped in diluted hydrogen peroxide (1 part 3% H2O2 to 4 parts water), and allowed the chamber to air out for an hour before resealing. The mold did not return. This is a common issue in high humidity.
- Days 11-14: The most exciting development! At the base of the cutting, nestled against the sphagnum, I saw the first undeniable, bright white nubs of root initials. The existing leaves remained healthy, and the stem showed no signs of shrinking or rot.
Navigating Common Pitfalls and Their Solutions
My journey wasn't all white roots and green leaves. Here are the major hurdles I faced and how I solved them.
- Pitfall 1: Rotting Before Rooting. This was my initial failure. The cause? Overly wet medium and poor air circulation. Solution: I now "wring out" my sphagnum moss like a damp sponge before use. I also crack the lid of my propagation chamber for 10 minutes every other day to allow fresh air exchange, drastically reducing rot and mold risk.
- Pitfall 2: The Cutting Withers. If the leaves dry up and turn crispy, humidity is too low or the cutting had insufficient leaf mass to sustain itself. Solution: Ensure your chamber is properly sealed. For smaller cuttings with few leaves, I sometimes use a clear plastic bag tented over the pot, which can create an even more intimate humid microclimate.
- Pitfall 3: No Roots After a Month. Sometimes, a cutting just sits there. Solution: Don't give up immediately. Gently tug on the cutting after 4-5 weeks; slight resistance can indicate root formation you can't see. If there's none, consider re-cutting the base to expose fresh tissue, reapplying hormone, and trying a fresh batch of medium.
The Air Layering Alternative: A Lower-Risk Method
For a particularly long or valuable vine I didn't want to sever immediately, I tried air layering. This involves wounding a section of stem on the still-attached vine, wrapping it in moist sphagnum, and enclosing it in plastic until roots form before cutting it off. The American Hobbyist Society of Agriculturists (AHSA) highlights this as an excellent low-stress method. My success rate with this has been near 100%. It takes longer (6-8 weeks), but the security of knowing roots are present before separation is a huge confidence booster for increasing pitcher plant propagation rates.
From Rooted Cutting to Established Plant: The Transition
Once a healthy cluster of roots about an inch long is visible (I gently brushed the moss aside to check at the 5-week mark), the real test begins: acclimating it to normal conditions.
- Potting Up: I prepared a small 3-inch pot with my standard Nepenthes mix. Creating a small hole, I placed the rooted cutting in, gently firming the mix around the new roots.
- The Hardening Off Process: This is critical. I did not move the plant directly to my main grow rack. Instead, I kept it in its original propagation chamber but with the lid progressively cracked open more each day over a week. This slowly lowers humidity, allowing the plant to adapt without shock.
- Final Placement: After a week, I removed the lid entirely but kept the pot on a humidity tray (a shallow tray filled with pebbles and water) near my other Nepenthes. Within another week, it was fully integrated into my collection, and I saw its first new leaf growth—the ultimate sign of success.
How long does it take for a Nepenthes cutting to root? Under ideal conditions with high humidity and warm temperatures (70-80°F), you may see root initials in as little as two weeks, like I did. However, it typically takes 4-8 weeks for a cutting to develop a root system substantial enough for potting. Patience is not just a virtue; it's a requirement.
What is the best time of year to propagate Nepenthes? The active growing season is best. For most indoor growers in the US, late spring through early fall is ideal, when light levels and ambient temperatures are naturally higher, mimicking the plant's tropical growth cycle and providing the energy needed for root development.
Can I propagate a Nepenthes from a leaf? Unlike some succulents, a Nepenthes leaf alone, without a piece of stem containing a node, will not generate a new plant. The node is essential as it contains the meristematic tissue capable of producing new growth. Always ensure your cutting includes at least one node.
Watching a tiny root nub emerge from a piece of stem you carefully prepared is one of the most rewarding experiences in plant keeping. It transforms Nepenthes from a static display into a dynamic, living story you're actively writing. The keys are a healthy parent plant, a clean and controlled environment, and the discipline to observe and adjust. By managing humidity meticulously and having the patience to allow nature to work, you can turn the daunting task of propagation into a regular and successful part of your growing journey. Start with a resilient species, follow these steps, and you'll soon be sharing your own cuttings with fellow enthusiasts.





