 bluename
How to Propagate Nepenthes in USDA Zone 10 Hot Climates: A Grower’s Guide
If you’re a fellow plant enthusiast living in the perpetual warmth of USDA Zone 10, you know the unique challenge of cultivating temperate-loving plants. When I first tried to propagate my beloved Nepenthes, or tropical pitcher plants, I hit wall after wall. The guides were written for milder, controlled environments, and my cuttings would either rot in the humidity or desiccate in the intense heat. I felt stuck. After numerous trials, errors, and a dedicated two-week observation period, I finally cracked the code for successful Nepenthes propagation in hot climates. This guide is the result of that hands-on experience, designed to save you from the pitfalls I encountered.
Understanding the Zone 10 Environment and Nepenthes Needs
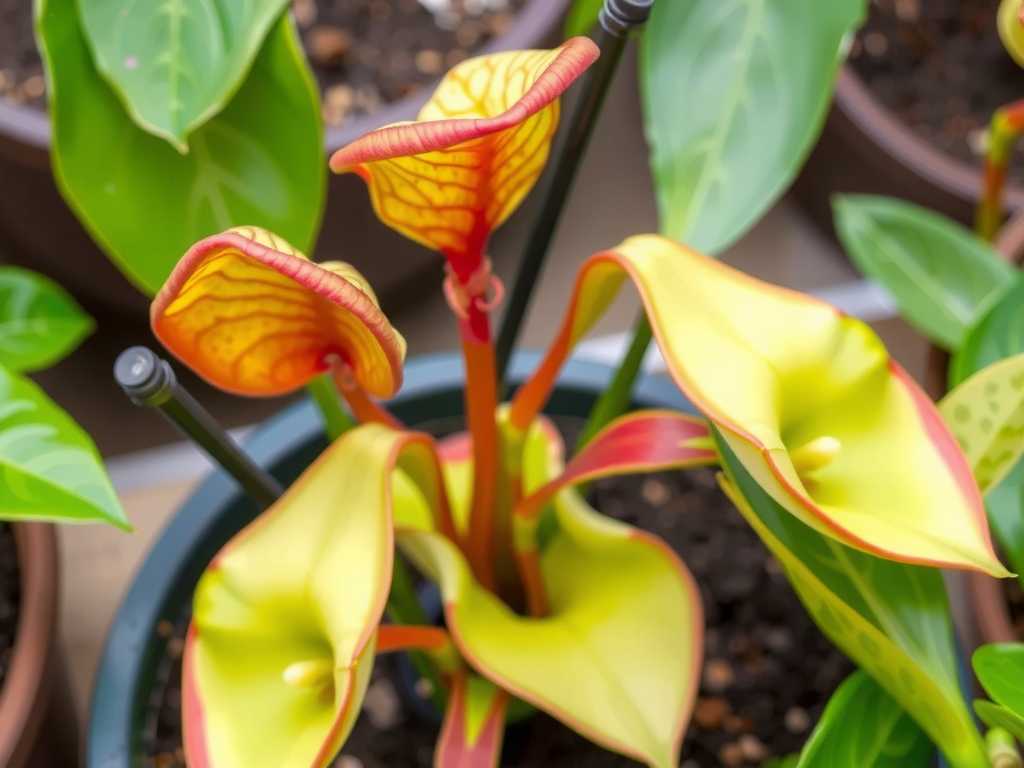
USDA Zone 10 means minimal frost and consistently high temperatures. While Nepenthes are tropical, many popular species hail from highland areas where nights are cool. The constant heat of Zone 10 can stress these plants, slowing root development and increasing fungal threats during propagation. The key isn’t fighting the climate, but adapting your methods to work with it. My goal was to create a microclimate that mimicked the stable, humid, yet well-ventilated conditions a cutting craves, without the stagnation that leads to rot.
My Step-by-Step Propagation Process for Hot Climates
I focused on stem cuttings, the most common method. The entire process, from taking the cutting to observing the first signs of growth, was meticulously tracked over two weeks.
Selecting and Preparing the Perfect Cutting
I chose a healthy, vine-like stem from my Nepenthes ‘Ventrata’, a robust hybrid known for its adaptability. Using sterilized, razor-sharp pruning shears, I made a clean cut below a node, ensuring a 4-6 inch section with at least two or three leaves. Immediately, I trimmed the lowest leaf at its base to expose the node—this is where roots will emerge. A critical step I learned the hard way: I made a fresh, vertical cut up the stem’s center, about half an inch deep. This wounded area significantly increases the surface for root initiation, a tip supported by the American Horticultural Society’s (AHS) plant propagation guidelines on treating cuttings.
The Rooting Medium: A Game-Changer
Most guides recommend long-fiber sphagnum moss. In my climate, it retained too much water. My successful formula was a 50/50 mix of pre-moistened sphagnum moss and perlite. The perlite was non-negotiable—it provided essential aeration, preventing the stem base from sitting in soggy conditions, the number one cause of failure in heat. I filled a small, clear plastic pot with drainage holes with this mix and made a planting hole with a pencil.
Applying Rooting Hormone and Planting
I dipped the wounded, moist stem end into a rooting hormone powder containing IBA (Indole-3-butyric acid). Tapping off the excess, I placed the cutting into the hole, gently firming the medium around it. For stability in the humid environment, I used a small bamboo stake to support it, preventing movement that could damage delicate initial root cells.
Creating the Crucial Propagation Chamber
This was the most vital adaptation for Zone 10. A sealed dome in full sun would cook the cutting. Instead, I used a clear plastic bag supported by chopsticks over the pot, creating a tent. I placed it in a location with very bright, indirect light—an east-facing patio under a 30% shade cloth was perfect. Direct sun would overheat the bag instantly. I ensured the bag was not airtight; a slight gap at the bottom allowed for gentle air circulation, a principle echoed by experts at the Royal Horticultural Society (RHS) who emphasize the balance between humidity and ventilation to deter pathogens.
The Two-Week Observation Diary: Triumphs and Troubles
My daily checks were non-negotiable. Here’s what I observed:
- Days 1-3: The cutting looked perky. Condensation formed on the bag, indicating good humidity. I misted the inside of the bag lightly only once when it looked dry.
- Days 4-7: The first crisis. I noticed a slight browning at the very tip of the cut stem. Panic set in—was it rot? Upon closer inspection, it was just the callus forming. However, one lower leaf began to yellow. This is normal; the plant sacrifices older growth to focus energy on rooting. I carefully removed it to prevent any fungal issues.
- Days 8-10: The heat spiked. Inside the bag, temperatures were rising despite the shade. I increased ventilation by opening the bag for 15 minutes twice a day. This prevented the stagnant, hot air that I believe doomed my earlier attempts.
- Days 11-14: No dramatic visible changes above soil. The true test came on day 14. With extreme care, I gave the cutting a very gentle tug. There was the slightest resistance. I resisted the urge to dig it up—resistance often indicates the first root anchors are forming. Success was in the air.
Common Pitfalls and How I Solved Them
- Pitfall 1: The Rotting Stem. My first attempt turned to mush. The solution was the perlite-aerated medium and increased bag ventilation during the hottest part of the day.
- Pitfall 2: Dehydration Crises. In one trial, the moss dried out too fast. Setting the pot on a shallow tray of water with pebbles (so the pot wasn’t sitting in water) created a humidity buffer without over-wetting the medium.
- Pitfall 3: Impatience. Constantly disturbing the cutting to check for roots is a death sentence. The gentle tug test after two weeks is the earliest you should intervene.
Caring for Your New Nepenthes After Propagation
Once you see clear new leaf growth (usually after 4-8 weeks), you can gradually acclimate the plant to lower humidity by opening the bag for longer periods over a week. Continue to keep it in bright, filtered light. Water only when the top layer of the moss/perlite mix feels slightly dry. Hold off on fertilizer for at least three months, until the root system is well-established.
Frequently Asked Questions
Can I propagate Nepenthes in water in Zone 10? I do not recommend it for our climate. Water propagation lacks oxygen, and in the heat, it can quickly become a bacterial soup, leading to stem rot. The semi-hydroponic method with an airy medium is far more reliable.
What is the best time of year to propagate here? While you can attempt it year-round, I’ve had the most consistent success in late spring or early fall. The extreme peak summer heat adds an unnecessary layer of stress. The slightly milder temperatures during these seasons provide a more stable environment for root initiation.
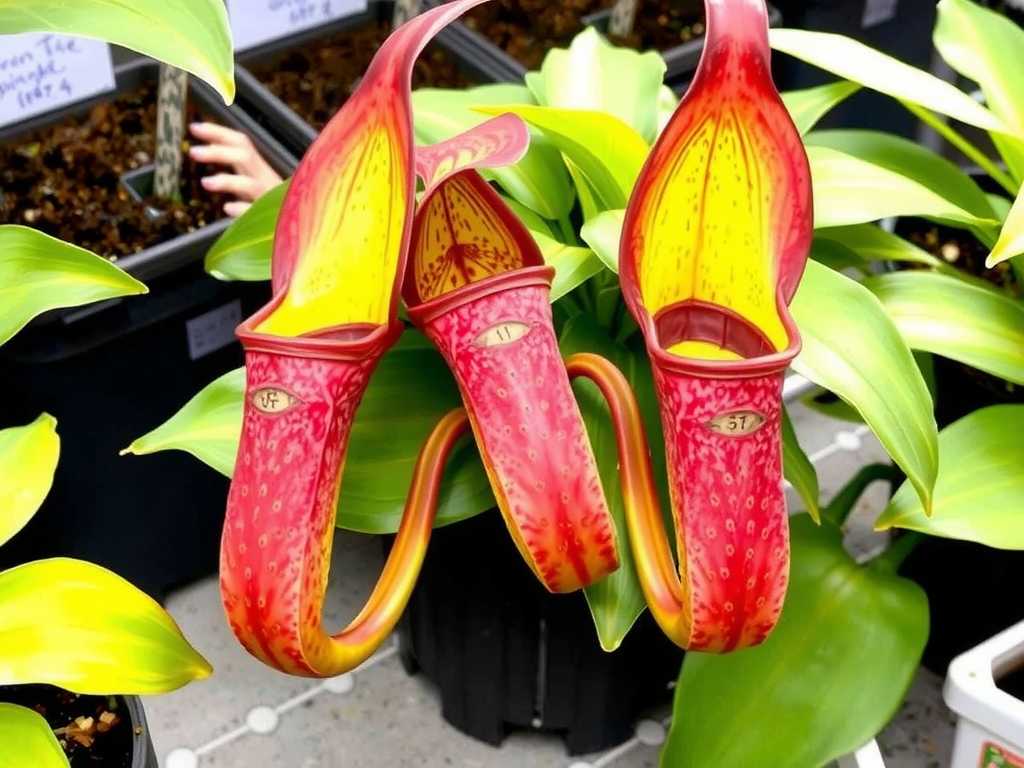
My cutting has a pitcher forming. Should I be happy or concerned? It’s a mixed signal. While it shows the cutting is alive, pitcher production diverts energy from root development. I typically pinch off very small, newly forming pitchers during the propagation stage to direct all the plant’s resources toward creating a strong root system first.
Propagating Nepenthes in USDA Zone 10 is absolutely achievable, but it requires a nuanced approach that prioritizes airflow and moisture balance over sheer humidity. By creating a well-ventilated, humid microclimate and using an aerated medium, you can turn a vulnerable cutting into a thriving new plant. The journey from a single stem to a rooted, growing Nepenthes is incredibly rewarding. Remember, the heat is not your enemy—stagnation is. With careful observation and these climate-adapted techniques, you’ll expand your collection in no time.





